
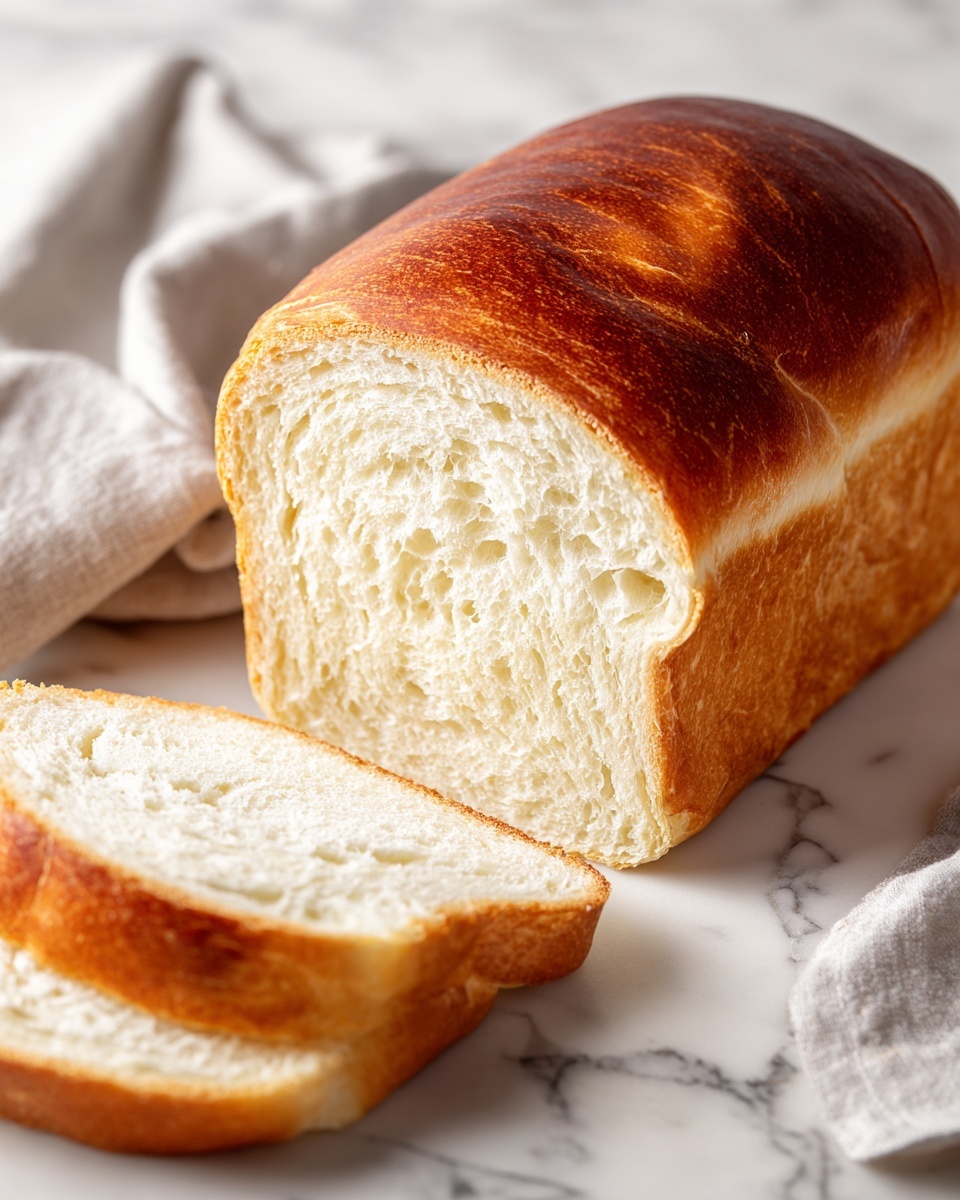
If you’ve ever dreamed of pulling warm, soft bread from your oven that tastes like a hug in loaf form, look no further than Grandma’s Perfect Homemade Bread Recipe. This classic, comforting recipe combines simple ingredients you probably already have on hand, transforming them into golden, fluffy loaves with a tender crumb and a buttery crust that everyone will adore. Whether you’re an experienced baker or trying bread-making for the first time, this recipe delivers consistent, delicious results that feel like a cherished family secret passed down through generations.

Ingredients You’ll Need
The beauty of Grandma’s Perfect Homemade Bread Recipe is how straightforward and accessible the ingredients are. Each one plays a crucial role in bringing together texture, flavor, and that inviting golden color you want in every slice.
- 2¼ teaspoons active dry yeast (1 packet): The magic starter that helps your dough rise to fluffy perfection.
- 2¼ cups warm water (about 110°F): Activates the yeast and makes the dough pliable and easy to work with.
- 2 tablespoons granulated sugar: Feeds the yeast for a healthy rise and adds a touch of sweetness.
- 1 tablespoon salt: Enhances the flavor and controls yeast activity for balanced dough.
- 2 tablespoons vegetable oil or melted butter: Adds moistness and a tender crumb for soft, sliceable bread.
- 6 cups all-purpose flour (more as needed): Forms the dough’s structure—add a little extra while kneading if needed to keep it from sticking.
How to Make Grandma’s Perfect Homemade Bread Recipe
Step 1: Activate the Yeast
Begin by dissolving your yeast and sugar in the warm water within a large mixing bowl—this is where the magic starts. Allow the mixture to sit for 5 to 10 minutes until it becomes foamy; this means your yeast is alive and ready to do its rising work.
Step 2: Mix in Salt, Oil, and Flour
Once your yeast mixture is bubbly, stir in the salt and vegetable oil or melted butter to add flavor and richness. Then, gradually add the flour, one cup at a time, stirring thoroughly after each addition. This slow incorporation ensures a smooth dough that won’t turn out too stiff or too sticky.
Step 3: Knead the Dough
Once the dough starts to come together, transfer it to a floured surface and knead for 8 to 10 minutes. This step develops the gluten, giving your bread that elastic, tender texture you’re aiming for. If the dough feels too sticky, sprinkle a bit more flour, but keep it slightly tacky for the best result.
Step 4: First Rise
Place your kneaded dough in a greased bowl and cover it with a clean towel to keep it warm. Let it rise in a cozy spot for about 1 hour, or until it doubles in size. This slow fermentation builds flavor and makes the bread wonderfully airy.
Step 5: Shape and Second Rise
Give your dough a gentle punch to release excess air, then divide it into two equal parts. Shape each into a loaf and place them in greased 9×5-inch loaf pans. Cover again and allow the dough to rise for another 30 to 45 minutes, or until it peeks just over the edges of the pans, signaling it’s ready to bake.
Step 6: Bake to Golden Perfection
Preheat your oven to 375°F and bake the loaves for 25 to 30 minutes. The bread should turn a beautiful golden brown, and tapping the bottom of the loaves will produce a hollow sound—that’s the sign of perfectly baked bread. Let them cool in the pans for a few minutes before transferring to a wire rack to cool completely.
How to Serve Grandma’s Perfect Homemade Bread Recipe
Garnishes
Although the bread is wonderful on its own, brushing the tops with melted butter right out of the oven makes the crust incredibly soft and adds a subtle richness. For a savory touch, sprinkle some herbs or a little sea salt on top before baking to elevate the experience.
Side Dishes
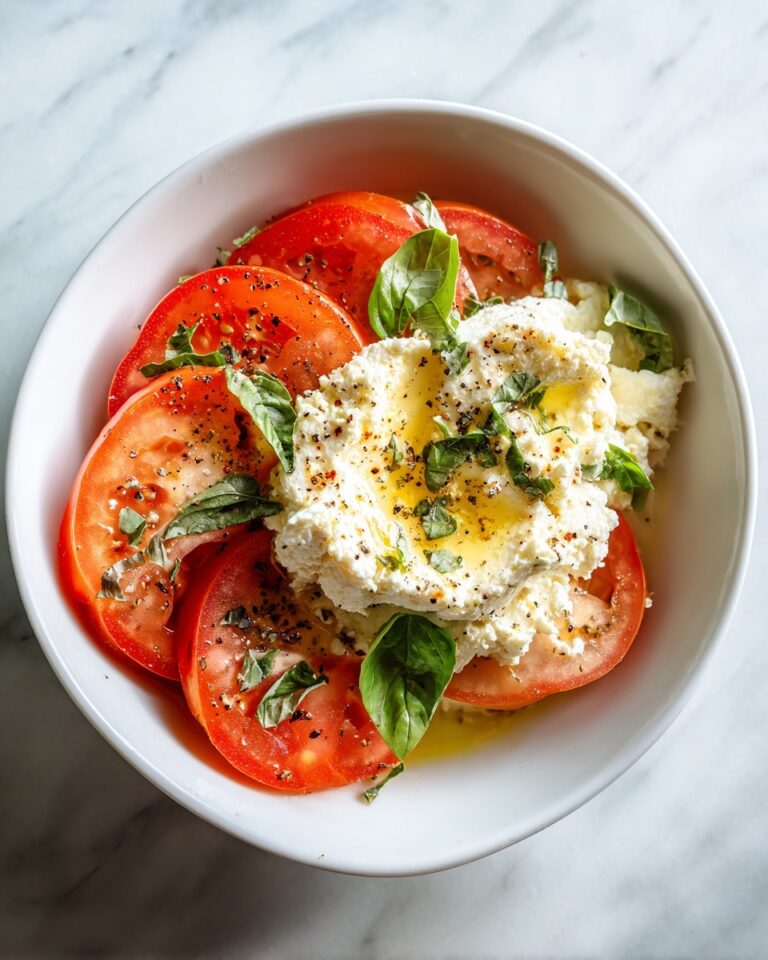
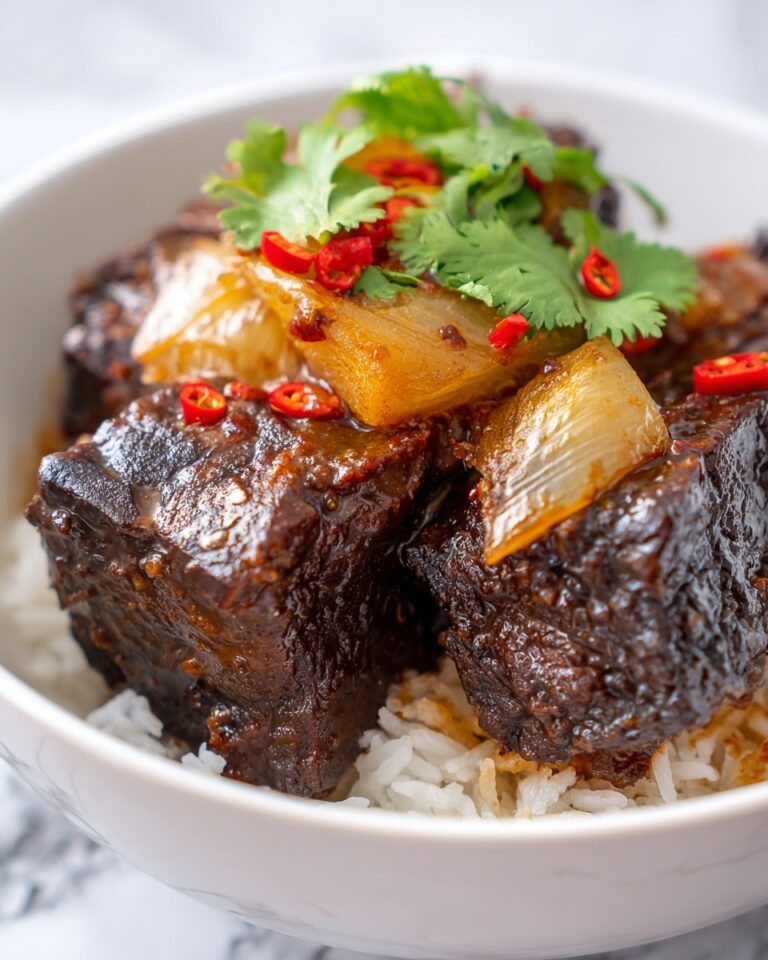
This homemade bread shines alongside a variety of dishes. It pairs beautifully with hearty soups, fresh garden salads, or a classic grilled cheese sandwich. Its soft texture and mild flavor make it an ideal companion for everything from savory stews to sweet jams.
Creative Ways to Present
Slice your loaf thick and use it to create open-faced sandwiches piled with fresh greens, cheese, and sliced meats for an inviting appetizer. You can also toast the bread lightly and serve with flavored butters or olive oil dips to bring a new dimension to a classic staple.
Make Ahead and Storage
Storing Leftovers
If you have bread left over (though it’s tough to resist!), store it in an airtight container or wrap it tightly in plastic wrap to keep it fresh for a couple of days. This helps retain that tender crumb and keeps the loaf from drying out too quickly.
Freezing
Grandma’s Perfect Homemade Bread Recipe freezes beautifully. Wrap cooled loaves tightly in plastic wrap followed by aluminum foil or place slices in freezer bags. Frozen bread maintains its quality for up to three months and can be thawed at room temperature or toasted directly from the freezer.
Reheating
To bring leftover bread back to life, warm it in the oven at 350°F for about 10 minutes wrapped in foil, or toast slices as desired. Reheating restores the soft interior and its slightly crisp crust, making every bite just as delightful as freshly baked.
FAQs
Can I use whole wheat flour in Grandma’s Perfect Homemade Bread Recipe?
Absolutely! You can substitute up to half of the all-purpose flour with whole wheat flour for a heartier loaf with a nutty flavor. Just keep in mind the dough might require a little extra water and a slightly longer kneading time.
What if my dough doesn’t rise?
If your dough fails to rise, it might be due to inactive yeast or water that’s too hot or cold. Always use fresh yeast and warm water around 110°F to activate the yeast properly. Giving the dough a warm, draft-free place to rest will also encourage a good rise.
Is it necessary to punch down the dough?
Yes! Punching down the dough releases excess gas produced by the yeast and helps create a finer crumb in your bread. It also redistributes the yeast and sugars, promoting a second rise that improves texture and flavor.
Can I make the dough ahead of time?
You can prepare the dough and refrigerate it after the first rise for up to 24 hours. Just bring it back to room temperature before shaping and proceeding with the second rise and baking for perfect results.
How do I get a softer crust?
Brushing melted butter over the loaves immediately after baking softens the crust beautifully. Alternatively, covering the bread with a clean towel while it cools will help keep it tender instead of crusty.
Final Thoughts
There’s something truly special about baking bread from scratch, and Grandma’s Perfect Homemade Bread Recipe brings not only a delicious loaf to your table but also the warmth and joy of tradition. With simple steps and ingredients, you’ll create bread that feels homemade in every sense—a real crowd-pleaser and a nourishing treat you’ll want to make again and again. Get ready to fill your kitchen with comforting aromas and your home with smiles.
Print
Grandma’s Perfect Homemade Bread Recipe
- Prep Time: 20 minutes
- Cook Time: 30 minutes
- Total Time: 2 hours 30 minutes
- Yield: 2 loaves (about 24 slices)
- Category: Bread
- Method: Baking
- Cuisine: American
- Diet: Vegetarian
Description
Grandma’s Perfect Homemade Bread is a classic, soft white bread made from scratch using simple ingredients. This recipe yields two fluffy loaves with a tender crumb and golden crust, perfect for sandwiches or toast. The dough requires rising time to develop flavor and texture, then bakes to a beautiful golden brown. Ideal for home bakers seeking a reliable recipe for fresh, delicious bread.
Ingredients
Ingredients
- 2¼ teaspoons active dry yeast (1 packet)
- 2¼ cups warm water (about 110°F)
- 2 tablespoons granulated sugar
- 1 tablespoon salt
- 2 tablespoons vegetable oil or melted butter
- 6 cups all-purpose flour (more as needed for kneading)
Instructions
- Activate the yeast: In a large mixing bowl, dissolve the yeast and sugar in warm water. Let sit for 5–10 minutes until foamy to ensure the yeast is active.
- Mix the dough: Stir in salt and oil into the yeast mixture. Gradually add flour, one cup at a time, mixing well after each addition until the dough starts to come together.
- Knead the dough: Transfer the dough to a floured surface and knead for 8–10 minutes until smooth and elastic, developing gluten for structure and chew.
- First rise: Place the dough in a greased bowl, cover with a clean towel, and let it rise in a warm place for about 1 hour or until doubled in size.
- Shape the loaves: Punch down the dough to remove gas, divide it in half, and shape into two loaves. Place each loaf into two greased 9×5-inch loaf pans.
- Second rise: Cover the pans and let the dough rise again for 30–45 minutes until the dough has risen just above the rim of the pans.
- Preheat the oven: While the dough is rising, preheat your oven to 375°F (190°C).
- Bake the bread: Bake the loaves for 25–30 minutes, or until golden brown and the bottoms sound hollow when tapped, indicating they are fully baked.
- Cool the bread: Let the loaves cool in the pans for 5–10 minutes, then transfer to a wire rack to cool completely before slicing.
Notes
- Brush the tops with melted butter immediately after baking for a softer, richer crust.
- Substitute up to 50% of the all-purpose flour with whole wheat flour to make a heartier, more nutritious loaf.


