Why You’ll Love This Recipe
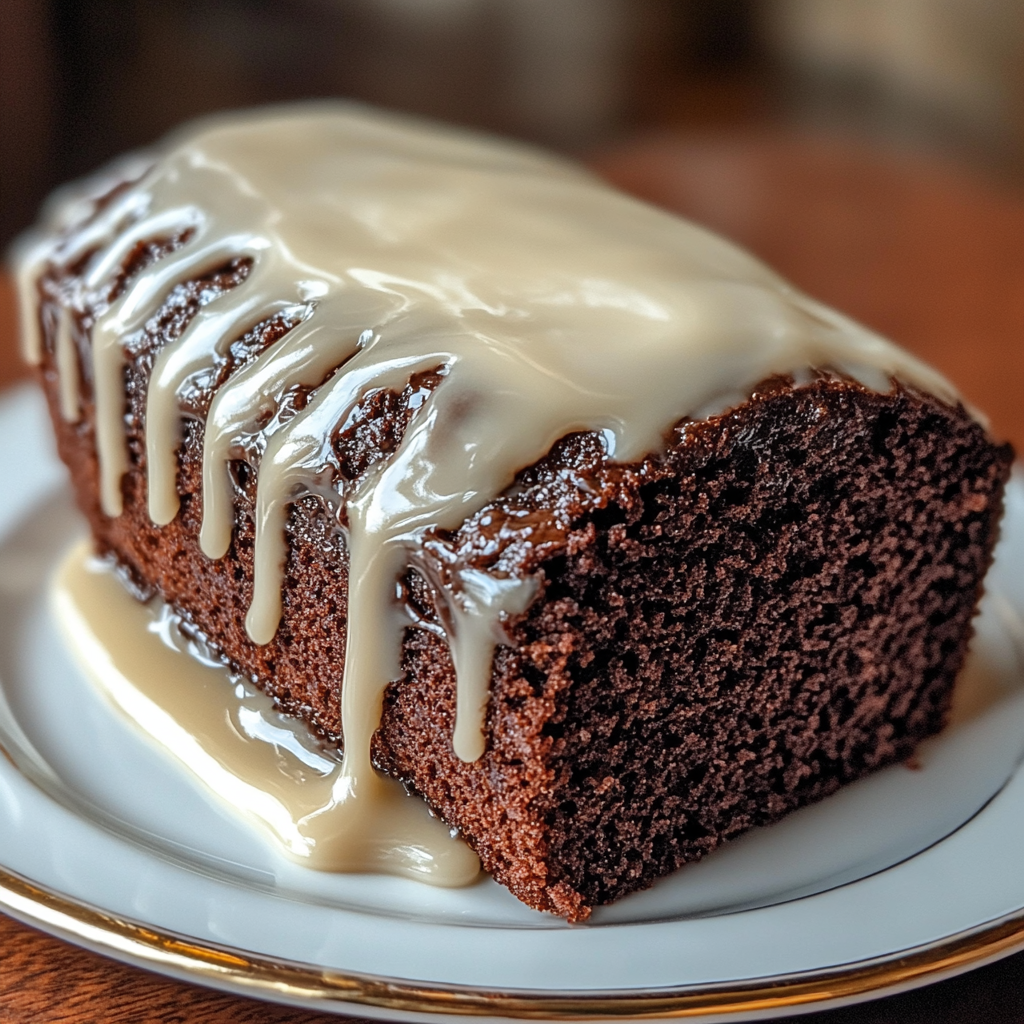
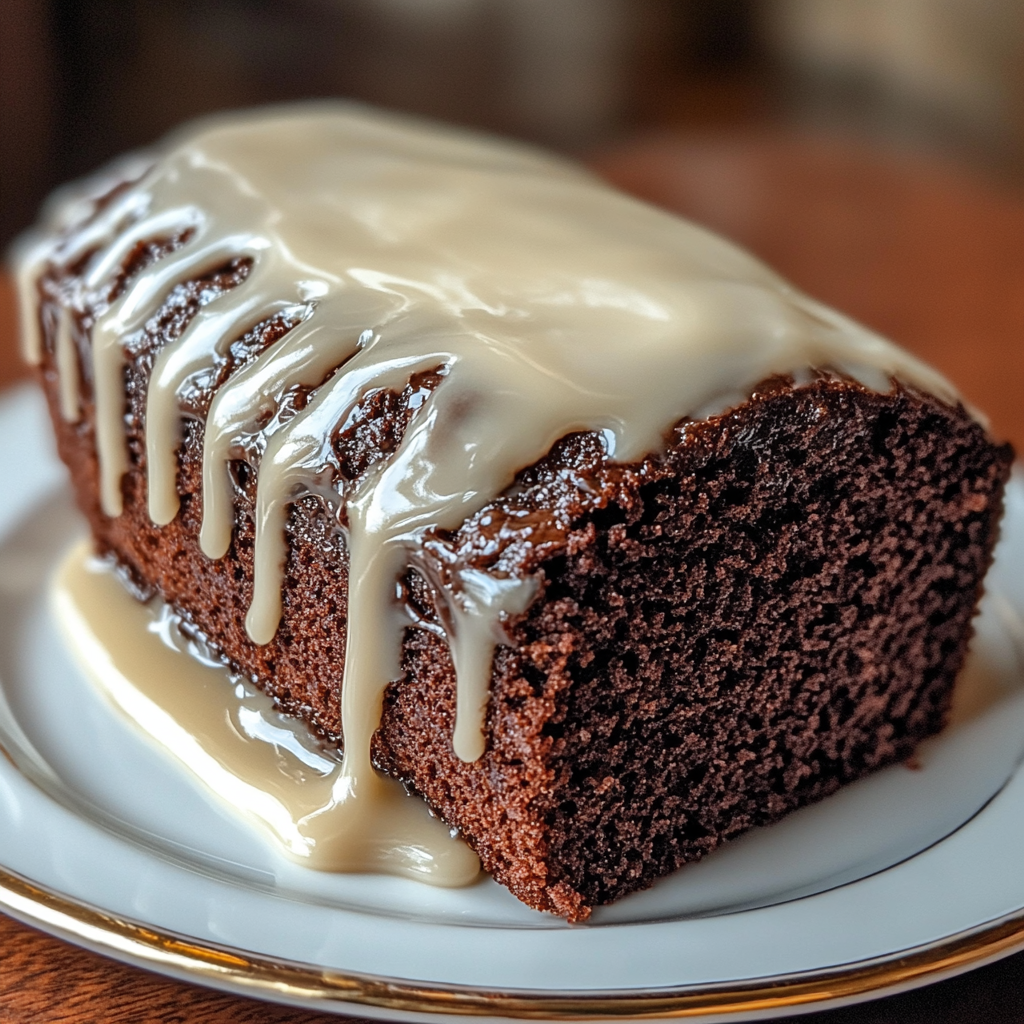
Chocolate Peppermint Bread is a delightful combination of rich, moist chocolate bread with the refreshing zing of peppermint. Perfect for the holidays or any time you’re craving a festive treat, this bread has a delicious balance of sweetness and minty freshness. It’s easy to make, and the combination of chocolate and peppermint will fill your kitchen with an irresistible aroma.
ingredients
(Tip: You’ll find the full list of ingredients and measurements in the recipe card below.)
- 1 1/2 cups all-purpose flour
- 1/2 cup unsweetened cocoa powder
- 1 teaspoon baking soda
- 1/4 teaspoon salt
- 1/2 teaspoon peppermint extract
- 1/2 cup unsalted butter, softened
- 1 cup granulated sugar
- 2 large eggs
- 1/2 cup sour cream or plain yogurt
- 1 teaspoon vanilla extract
- 1/2 cup semi-sweet chocolate chips
- 1/4 cup crushed peppermint candies or peppermint bark (optional, for topping)
directions
- Preheat the Oven:
Preheat your oven to 350°F (175°C). Grease and flour a loaf pan (8×4 inches) or line it with parchment paper. - Mix Dry Ingredients:
In a medium bowl, whisk together the flour, cocoa powder, baking soda, and salt. Set aside. - Cream Butter and Sugar:
In a large bowl, beat the softened butter and granulated sugar together until light and fluffy, about 2-3 minutes. - Add Eggs and Flavorings:
Add the eggs one at a time, beating well after each addition. Then, stir in the peppermint extract and vanilla extract. - Combine Wet and Dry Ingredients:
Gradually add the dry ingredients to the wet mixture, alternating with the sour cream or yogurt. Begin and end with the dry ingredients, mixing just until combined. - Fold in Chocolate Chips:
Gently fold the chocolate chips into the batter. - Bake the Bread:
Pour the batter into the prepared loaf pan and smooth the top with a spatula. If using, sprinkle the crushed peppermint candies or peppermint bark over the top for added festive flair. - Bake and Cool:
Bake the bread for 55-65 minutes, or until a toothpick inserted into the center comes out clean or with just a few crumbs. Let the bread cool in the pan for about 10 minutes, then transfer to a wire rack to cool completely. - Serve:
Slice and enjoy the bread once it has cooled. It’s perfect on its own, or you can serve it with a dusting of powdered sugar or a drizzle of melted chocolate for extra indulgence.
Servings and timing
This recipe makes 1 loaf (about 10-12 slices).
- Preparation time: 15 minutes
- Baking time: 55-65 minutes
- Total time: 1 hour 15 minutes
Variations
- Add chocolate chunks instead of chips for extra gooey pockets of chocolate.
- Use Greek yogurt instead of sour cream for a tangier flavor and added protein.
- Top with chocolate ganache for a more decadent finish.
- Add a handful of mini marshmallows to the batter for a fun, gooey surprise inside.
- Swap crushed gingerbread cookies or toffee bits for a different holiday twist.
storage/reheating
- Store leftover chocolate peppermint bread in an airtight container at room temperature for up to 4 days.
- For longer storage, wrap it tightly in plastic wrap and foil, and freeze for up to 3 months. Thaw at room temperature before serving.

FAQs
Can I use a different type of extract?
Yes! You can swap peppermint extract for vanilla or almond extract if you prefer a different flavor.
Can I make this bread ahead of time?
Yes, this bread keeps well for a few days and actually becomes more flavorful as it sits. Make it ahead and store it in an airtight container for easy snacking.
Can I add more peppermint flavor?
If you love a strong peppermint taste, try adding a few drops of peppermint oil in place of some of the extract, but be careful as it’s more concentrated.
Can I make mini loaves of this bread?
Yes, you can divide the batter into mini loaf pans. Adjust the baking time to around 30-40 minutes, depending on the size of the pans.
Conclusion
Chocolate Peppermint Bread is the perfect festive treat, offering a rich and chocolatey base with a refreshing peppermint twist. This bread is simple to make, yet it feels like a special holiday indulgence. Whether you’re sharing it with family and friends or enjoying a slice with your coffee, this sweet and minty bread will surely become a holiday favorite!
Print
Chocolate Peppermint Bread
- Prep Time: 15 minutes
- Cook Time: 55–60 minutes
- Total Time: 1 hour 15 minutes
- Yield: 1 loaf (about 12 slices)
- Category: Dessert, Bread
- Method: Baking
- Cuisine: American
- Diet: Vegetarian
Description
This Chocolate Peppermint Bread is a festive, moist quick bread filled with rich chocolate and refreshing peppermint. Perfect for holiday baking or a sweet treat all year round, this bread combines the best of chocolate and mint, with a slight crunch from the peppermint pieces. It’s a delightful way to celebrate the season or indulge in something extra special!
Ingredients
For the Bread:
-
1 3/4 cups all-purpose flour
-
1 teaspoon baking powder
-
1/2 teaspoon baking soda
-
1/4 teaspoon salt
-
1/2 cup unsweetened cocoa powder
-
1 teaspoon peppermint extract
-
2 large eggs
-
1 cup granulated sugar
-
1/2 cup unsalted butter (softened)
-
1 cup buttermilk (or regular milk with 1 tablespoon lemon juice or vinegar)
-
1/2 cup mini chocolate chips
-
1/4 cup crushed peppermint candies (or peppermint bark, optional)
For the Topping (Optional):
-
2 tablespoons mini chocolate chips (for sprinkling)
-
2 tablespoons crushed peppermint candies (for sprinkling)
Instructions
-
Preheat the Oven:
-
Preheat your oven to 350°F (175°C). Grease and flour a 9×5-inch loaf pan, or line it with parchment paper for easy removal.
-
-
Combine the Dry Ingredients:
-
In a medium bowl, whisk together the flour, baking powder, baking soda, salt, and cocoa powder. Set aside.
-
-
Prepare the Wet Ingredients:
-
In a large bowl, cream together the softened butter and granulated sugar until light and fluffy (about 2–3 minutes).
-
Add the eggs one at a time, beating well after each addition. Stir in the peppermint extract.
-
-
Mix the Wet and Dry Ingredients:
-
Gradually add the dry ingredients to the wet mixture, alternating with the buttermilk. Start and end with the dry ingredients.
-
Mix until just combined—do not overmix.
-
-
Add the Chocolate and Peppermint:
-
Gently fold in the mini chocolate chips and crushed peppermint candies (if using). Make sure they’re evenly distributed.
-
-
Bake the Bread:
-
Pour the batter into the prepared loaf pan and smooth the top.
-
Sprinkle with additional mini chocolate chips and crushed peppermint candies, if desired.
-
Bake for 55–60 minutes, or until a toothpick inserted into the center comes out clean. If the top starts to brown too quickly, cover it loosely with aluminum foil.
-
-
Cool and Serve:
-
Allow the bread to cool in the pan for 10 minutes, then transfer to a wire rack to cool completely before slicing.
-
Notes
-
This bread keeps well at room temperature for 3–4 days or can be wrapped tightly and frozen for up to 3 months.
-
For extra minty flavor, add a few drops of peppermint oil to the batter, but be careful not to overdo it, as peppermint extract is already quite potent.
-
You can use regular-sized chocolate chips if mini chocolate chips are unavailable.


Your email address will not be published. Required fields are marked *