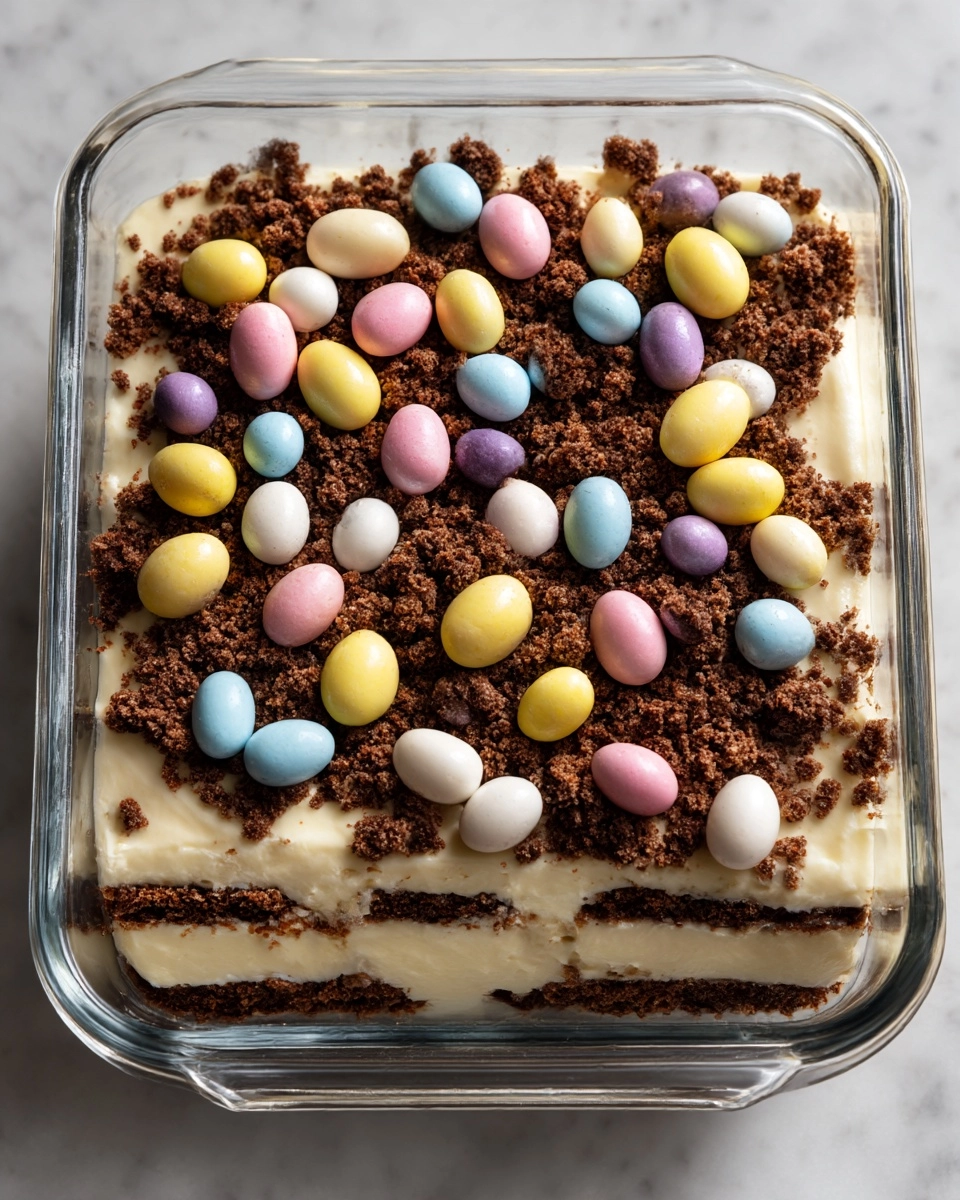
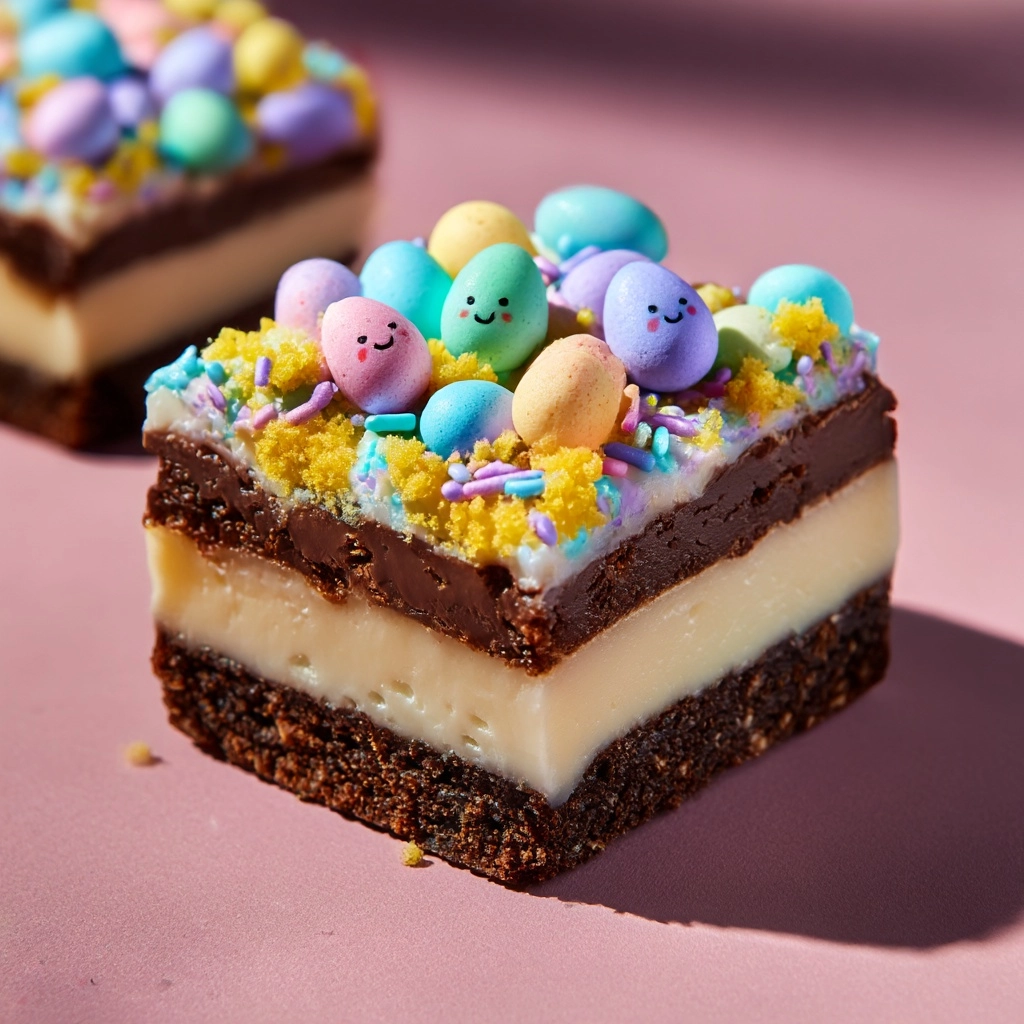
If you’re searching for a showstopping holiday treat that’s equal parts nostalgic and delightfully playful, look no further than Easter Dirt Cake Dessert. This whimsical no-bake creation layers velvety pudding, cloud-like whipped topping, and crushed chocolate cookies for a taste that brings out everyone’s inner child. Bright pops of pastel candies and gummy worms make it a festive centerpiece—and best of all, it’s so easy to put together that you’ll want to make it all spring long for every celebration!
Ingredients You’ll Need
Ingredients You’ll Need
Part of the magic of this recipe is its simplicity—each ingredient is chosen for the flavor, color, and layer of texture it adds. It’s amazing how just a handful of grocery store staples transform into this fun-loving dessert everyone can’t wait to dig into.
- Chocolate Sandwich Cookies: These become the “dirt” topping! Crushing them gives the top layer that signature look and just the right cookie crunch.
- Instant Vanilla Pudding Mix: This creates the creamy backbone of the filling, soaking up the sweet flavors for a luscious bite.
- Cold Milk: Essential for whipping up your pudding base—plus, it keeps the filling extra smooth and rich.
- Cream Cheese: Adds tanginess and makes the pudding mixture even creamier, balancing the sweetness.
- Powdered Sugar: Sweetens the cream cheese and helps it blend seamlessly into the pudding.
- Whipped Topping (like Cool Whip): This makes the filling feather-light and adds a dreamy texture to every bite.
- Gummy Worms and Easter Egg Candies: These cheerful accents are edible decorations, bringing that trademark Easter flair and bright pops of color.
- Sprinkles (optional): Add a shower of color for even more festive, celebratory fun.
How to Make Easter Dirt Cake Dessert
Step 1: Crush the Cookies
Start by placing your chocolate sandwich cookies in a large zip-top bag and give them a good bash with a rolling pin until you have fine, crumbly “dirt.” You can also pulse them in a food processor if you prefer, but a little chunkiness makes the layers more interesting!
Step 2: Make the Pudding Mixture
In a big mixing bowl, whisk together the instant vanilla pudding mix and the cold milk until thickened, creamy, and irresistibly smooth. This only takes a couple of minutes. Let it sit while you prep the rest so it’s set and ready to fold together.
Step 3: Cream Cheese Layer
Beat the cream cheese and powdered sugar together until light and fluffy—no lumps allowed! This step ensures that every spoonful of your Easter Dirt Cake Dessert will melt effortlessly on your tongue. Now, add the fluffy whipped topping and mix gently until everything blends into one dreamy velvet mixture.
Step 4: Combine the Layers
Using a spatula, gently fold your pudding into the cream cheese mixture. Don’t rush this step—gentle folding keeps the filling ultra-light and airy. Get excited, because this is where all those luscious layers start coming together!
Step 5: Assemble and Chill
Grab your serving dish (a trifle bowl or 9×13-inch pan works beautifully) and get ready for the fun part. Start with a layer of crushed cookies at the bottom, then scoop in half the pudding mixture, top with more cookie crumbs, then repeat, finishing with a thick “dirt” layer. Cover and chill for at least 2 hours—overnight is even better if you’ve got the patience!
Step 6: Decorate for Easter
Once chilled and set, let the creativity flow! Scatter gummy worms, pastel candies, and a handful of festive sprinkles right before serving. This is where your Easter Dirt Cake Dessert becomes an edible centerpiece everyone will be oohing and ahhing over.
How to Serve Easter Dirt Cake Dessert
Garnishes
The best part about this dessert is dressing it up—pile on more cookie “dirt,” nestle in gummy worms as if they’re really tunneling through, sprinkle with chocolate rocks, or artfully arrange speckled candy eggs. If you want to go all out, try shredded coconut dyed green for an edible “grass” effect.
Side Dishes
This playful dessert pairs wonderfully with fresh fruit platters or a tart lemon sorbet for contrast. If you’re serving a crowd, surround the pan with bowls of extra Easter candies or mini chocolate rabbits—guests will love mixing and matching bites with their dirt cake!
Creative Ways to Present
For parties or kids’ tables, try making individual servings in clear cups or mason jars so everyone gets their own little garden. Or, use a flowerpot as the vessel for a truly attention-grabbing display—just line it with parchment and fill as usual. However you serve it, Easter Dirt Cake Dessert is guaranteed to bring smiles to every table.
Make Ahead and Storage
Storing Leftovers
If you somehow have leftovers, keep the dish tightly covered in the fridge. It will stay fresh and delicious for up to 3 days—though the cookies will soften a bit, giving each spoonful that irresistible cake-like texture.
Freezing
You can freeze Easter Dirt Cake Dessert for up to a month without any major loss in flavor or texture. Just skip the candy garnishes until you’re ready to serve. Thaw overnight in the refrigerator, then decorate and enjoy as usual.
Reheating
This dessert is best served chilled, straight from the fridge! No heating required; just let it sit for a couple of minutes at room temperature if the filling is too firm for scooping.
FAQs
Can I use homemade whipped cream instead of store-bought?
Absolutely! Homemade whipped cream makes the filling even more luscious. Just whip heavy cream with a touch of sugar until soft peaks form and use it in place of whipped topping, cup-for-cup.
What other cookies work besides chocolate sandwich cookies?
If you want a twist on the classic, try chocolate graham crackers, vanilla Oreos, or even a gluten-free sandwich cookie. Each brings its own unique texture and flavor to the Easter Dirt Cake Dessert.
Can I make this dessert ahead of time?
Yes, it’s a perfect make-ahead treat! Assemble and chill the day before. Just wait to add the candies or gummies until right before serving so their colors stay bright and the cake doesn’t get soggy.
Is it possible to make this recipe dairy-free?
You sure can! Choose dairy-free pudding mix, non-dairy milk, and a vegan cream cheese and whipped topping. There are plenty of great-tasting swaps on the market now to keep this dessert inclusive for everyone.
What can I use if I don’t have a food processor?
No worries—just place cookies in a sturdy bag and crush with a rolling pin, meat mallet, or even your hands. A bit of extra texture in your dirt is part of the fun!
Final Thoughts
I hope you’re feeling inspired and ready to spread some cheer with this fabulous Easter Dirt Cake Dessert. It’s a recipe that’s as much about memories and celebration as it is about taste—so gather your loved ones, unleash your creativity, and let the sweet springtime magic begin!
Print
Easter Dirt Cake Dessert Recipe
- Prep Time: 20 minutes
- Total Time: 1 hour 20 minutes
- Yield: 8 servings 1x
- Category: Dessert
- Method: Mixing, Layering
- Cuisine: American
- Diet: Vegetarian
Description
This Easter Dirt Cake Dessert is a fun and delicious treat that the whole family will love. Layers of creamy pudding, crushed cookies, and festive candy eggs make for a delightful dessert that is perfect for Easter celebrations.
Ingredients
Pudding Layer:
- 2 boxes instant vanilla pudding
- 4 cups milk
- 1 cup whipped cream
Dirt Layer:
- 1 package chocolate sandwich cookies
- 1/2 cup butter, melted
Topping:
- 1 cup whipped cream
- Assorted candy eggs
Instructions
- Prepare Pudding: In a mixing bowl, whisk together the instant pudding mix and milk until thickened. Fold in the whipped cream.
- Make Dirt Layer: Place the chocolate sandwich cookies in a zip-top bag and crush them with a rolling pin. Mix the crushed cookies with melted butter.
- Assemble: In a trifle dish or individual cups, layer the pudding, followed by the cookie mixture. Repeat layers, ending with the cookie mixture on top.
- Add Toppings: Spread whipped cream over the top layer and garnish with assorted candy eggs.
- Chill: Refrigerate for at least 1 hour before serving to allow the flavors to meld.
Notes
- You can get creative with the toppings by adding gummy worms or edible flowers for a whimsical touch.
- This dessert can be made in advance and stored in the refrigerator until ready to serve.
Nutrition
- Serving Size: 1 serving
- Calories: 320
- Sugar: 24g
- Sodium: 340mg
- Fat: 15g
- Saturated Fat: 8g
- Unsaturated Fat: 6g
- Trans Fat: 0g
- Carbohydrates: 42g
- Fiber: 1g
- Protein: 5g
- Cholesterol: 25mg


Your email address will not be published. Required fields are marked *