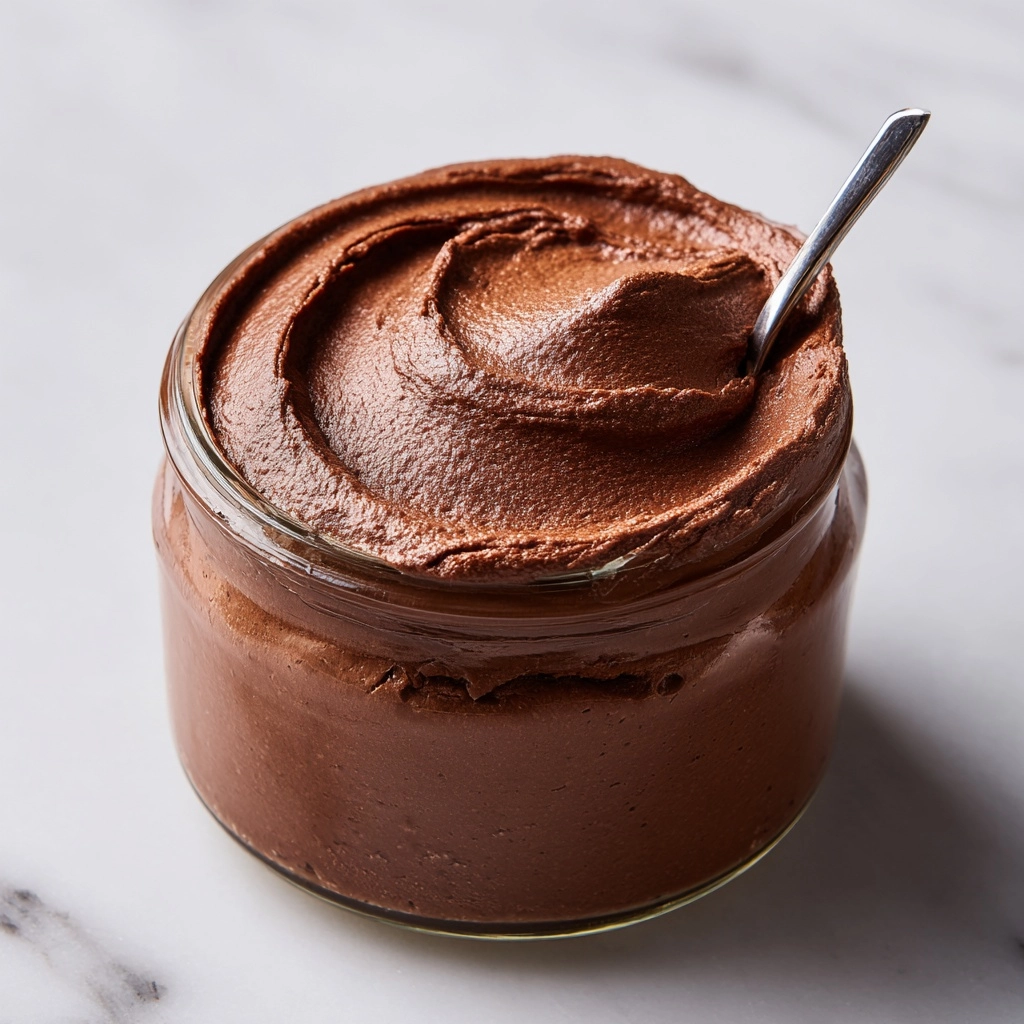
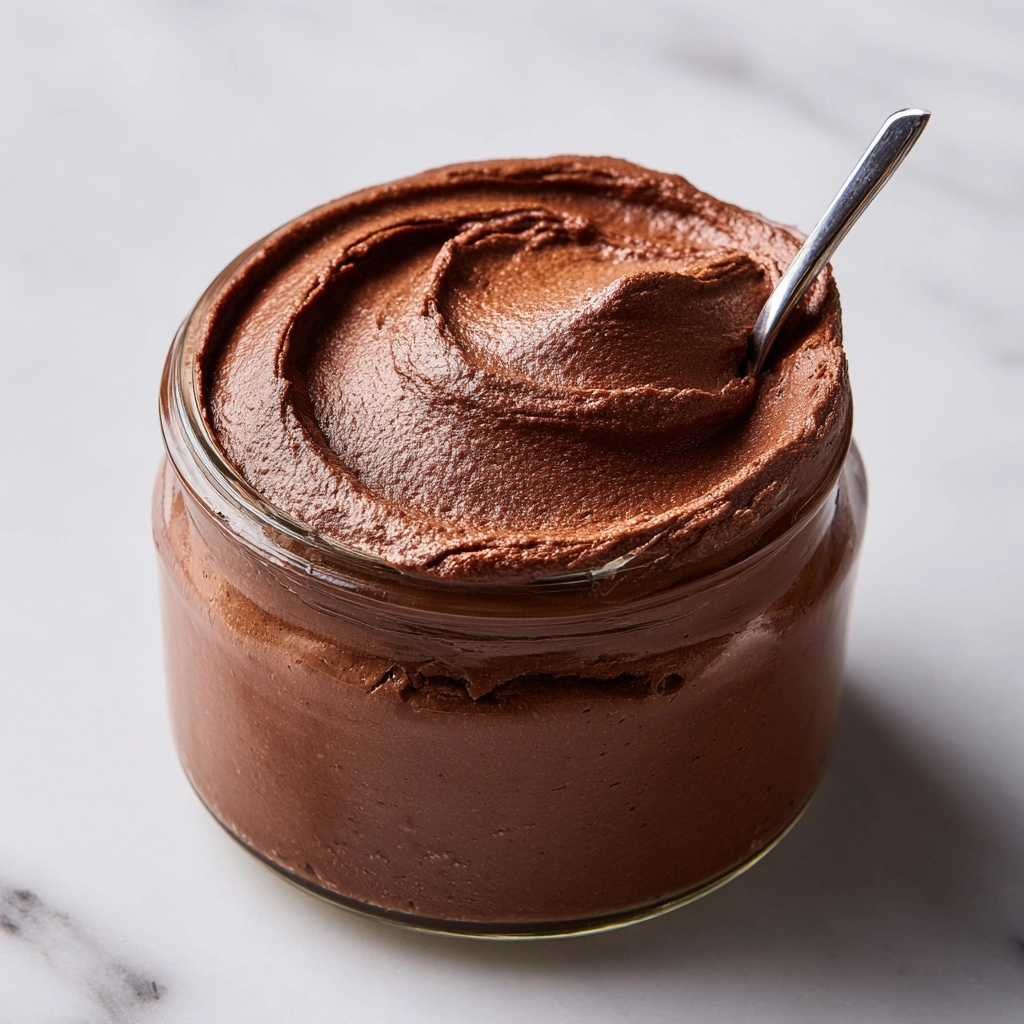
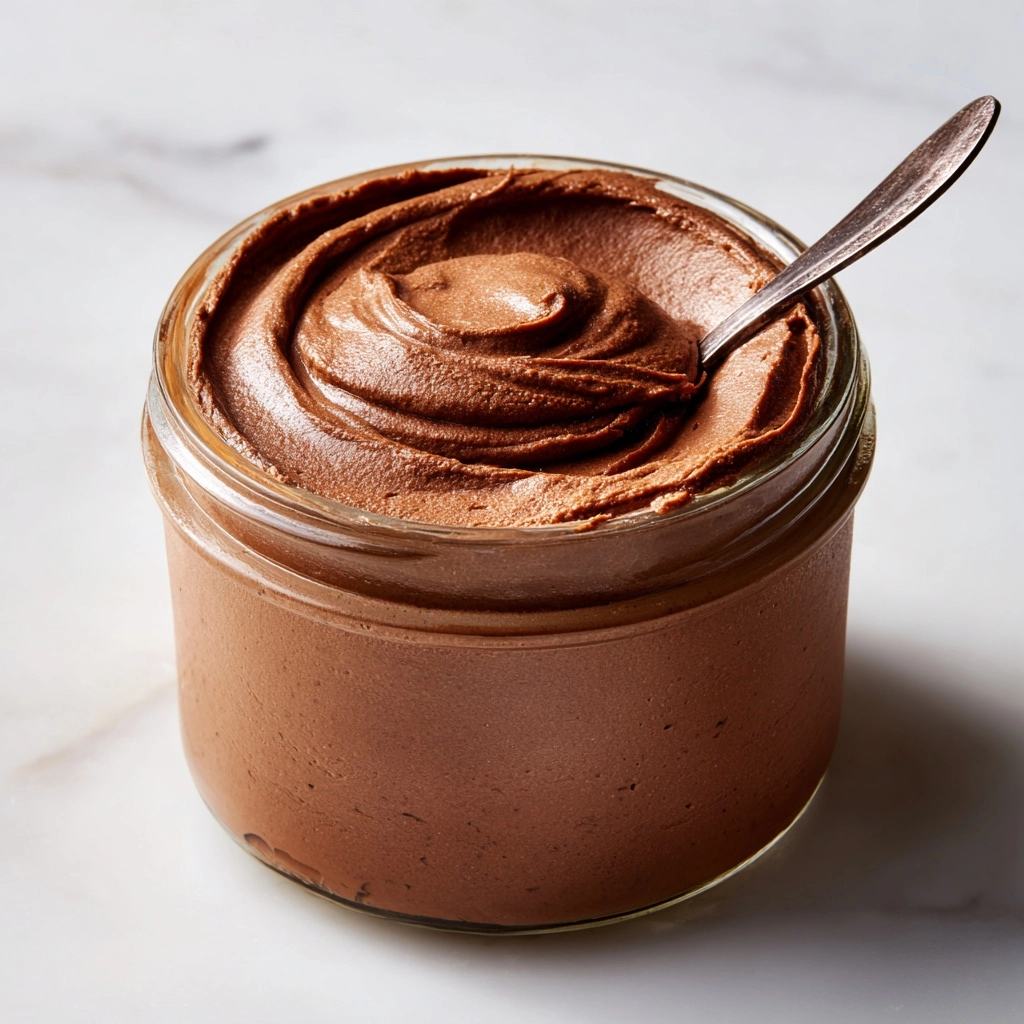
Get ready to fall in love with the creamy, dreamy world of homemade BASIC VANILLA ICE CREAM. This classic treat is all about pure, simple ingredients swirling together to create a scoopable cloud of sweet vanilla goodness. It’s the kind of dessert that brings out childlike joy in everyone, and making it from scratch at home feels truly magical. Whether you’re serving it solo in a bowl, doling out cones for the family, or using it to crown a delicious dessert, BASIC VANILLA ICE CREAM never fails to hit the spot.
Ingredients You’ll Need
Let’s keep things easy yet irresistible. Each ingredient in this BASIC VANILLA ICE CREAM recipe is chosen not just for flavor, but for the rich, creamy texture and luscious color it creates. Don’t be surprised if you find yourself wanting to sneak a spoonful straight out of the churn.
- Heavy Cream: The all-star of any ice cream, it gives your vanilla treat its signature creamy luxury and smooth mouthfeel.
- Whole Milk: Adds just the right level of lightness and helps balance the richness of the cream.
- Egg Yolks: These are the secret to a velvety, custard-like texture and that gorgeous, pale-yellow hue.
- Granulated Sugar: Just enough sweetness to make each bite sing without overpowering the vanilla flavor.
- Pure Vanilla Extract: This is where you get that irresistibly fragrant, deep vanilla flavor—don’t be shy with it!
- Salt: A tiny pinch makes all the other flavors pop more vibrantly in every scoop.
How to Make BASIC VANILLA ICE CREAM
Step 1: Whisk the Yolks and Sugar
In a medium bowl, whisk together the egg yolks and sugar until the mixture turns pale and velvety. This step isn’t just about combining; you’re dissolving the sugar and adding air, which helps give your BASIC VANILLA ICE CREAM a luscious, scoopable softness.
Step 2: Heat the Cream and Milk
Pour the heavy cream and whole milk into a saucepan, and gently warm it over medium heat until you see steam curling up—just before it starts to simmer. Don’t let it boil! This gentle heat coaxes out a silky texture without risking curdled eggs later on.
Step 3: Temper the Eggs
Slowly add a ladle of the warm dairy mixture into your yolks, whisking all the while. Repeat this a couple of times to gently raise the temperature of the eggs, so they don’t scramble! Once your yolks feel warm, pour everything back into the saucepan.
Step 4: Cook the Custard
Set the pan over low heat and stir constantly, with a wooden spoon or spatula, until the custard thickens enough to coat the back of the spoon. Patience here is key for the silkiest BASIC VANILLA ICE CREAM—just keep stirring and watch it go from liquid to custard magic.
Step 5: Strain and Flavor
Remove the custard from the heat and pour it through a fine mesh sieve into a clean bowl. This step catches any accidentally cooked egg bits and ensures ultimate smoothness. Stir in your vanilla extract and a pinch of salt, breathing in that heavenly aroma.
Step 6: Chill Thoroughly
Cover with plastic wrap, pressing it against the surface to prevent a skin. Then chill the custard in the fridge for at least four hours, or even overnight. Cold custard freezes better and churns into that fluffily scoopable BASIC VANILLA ICE CREAM you’re craving.
Step 7: Churn to Perfection
Pour the chilled custard into your ice cream maker and churn following the manufacturer’s instructions. You’ll know it’s ready when it thickens and looks like soft-serve. It’s hard to resist grabbing a spoon right then and there!
Step 8: Freeze Firm
Transfer the churned ice cream to a freezer-safe container and press a piece of parchment or wax paper against the top before sealing it up. Freeze for about 4 hours, until it’s scoopably firm. Now you’re officially ready to enjoy the best BASIC VANILLA ICE CREAM you’ve ever tasted.
How to Serve BASIC VANILLA ICE CREAM

Garnishes
The beauty of BASIC VANILLA ICE CREAM is how perfectly it plays with so many toppings! Try a handful of chopped nuts for crunch, a drizzle of homemade caramel or chocolate sauce, fresh berry compote, or even a few rainbow sprinkles for a burst of color and fun.
Side Dishes
BASIC VANILLA ICE CREAM is the ultimate sidekick for classic desserts, from warm apple pie to fudgy brownies or a simple fruit crisp. Add a scoop to pancakes or waffles at brunch for an instant upgrade that’ll wow your family or guests.
Creative Ways to Present
Step up your game with playful presentations! Sandwich a scoop between homemade cookies, serve affogato-style with a shot of hot espresso poured over, or go retro with a banana split loaded with toppings. The simplicity of BASIC VANILLA ICE CREAM is a blank canvas for your sweetest dreams.
Make Ahead and Storage
Storing Leftovers
Keep any extra ice cream tightly covered in the coldest part of your freezer. Pressing parchment or plastic wrap right against the surface helps prevent ice crystals, so every bite stays creamy and smooth.
Freezing
This BASIC VANILLA ICE CREAM keeps beautifully in the freezer for up to two weeks. For the freshest flavor, always use an airtight container and don’t forget to label it—though honestly, you’ll probably finish it long before you need a reminder.
Reheating
While you won’t “reheat” ice cream, if your ice cream is too firm to scoop, just let the container sit on the counter for 5 to 10 minutes. It’ll soften up and scoop like a dream—no microwave needed!
FAQs
Can I make BASIC VANILLA ICE CREAM without an ice cream maker?
Absolutely! You can pour the chilled custard into a freezer-safe dish, freeze until it starts to firm up, then beat it every 30 minutes until smooth. It won’t be quite as airy, but it’s still deliciously satisfying.
Can I use a different type of milk?
Whole milk holds the perfect balance for creamy ice cream, but in a pinch, you can swap in 2 percent. Keep in mind, using lower fat will change the texture and richness of your BASIC VANILLA ICE CREAM.
How do I get a super-strong vanilla flavor?
For even deeper vanilla flavor, try steeping a split vanilla bean in the cream while heating it. Scrape the seeds in, pull out the pod before churning, and prepare for truly mind-blowing BASIC VANILLA ICE CREAM.
Is this recipe gluten-free?
Yes! Provided your vanilla extract is certified gluten-free, this recipe contains no gluten ingredients, making it great for those with sensitivities.
What if I want to add mix-ins?
Add your favorite extras like chocolate chips, cookie dough bits, or fruit pieces in the last few minutes of churning. They’ll distribute evenly without sinking to the bottom.
Final Thoughts
I can’t wait for you to take your first spoonful of homemade BASIC VANILLA ICE CREAM. Every bite is a testament to how simple ingredients can create pure magic in your kitchen. Gather your loved ones, share a scoop (or three), and celebrate this timeless, crowd-pleasing classic!
Print
BASIC VANILLA ICE CREAM Recipe
- Prep Time: 10 minutes
- Cook Time: 20 minutes
- Total Time: 4 hours 30 minutes
- Yield: 1 quart 1x
- Category: Dessert
- Method: Churning
- Cuisine: American
- Diet: Vegetarian
Description
This basic vanilla ice cream recipe is a classic treat that is rich, creamy, and bursting with vanilla flavor. Perfect for enjoying on its own or alongside your favorite desserts.
Ingredients
Ingredients:
- 2 cups heavy cream
- 1 cup whole milk
- 3/4 cup granulated sugar
- Pinch of salt
- 2 teaspoons pure vanilla extract
Instructions
- Combine Ingredients: In a mixing bowl, whisk together the heavy cream, whole milk, sugar, salt, and vanilla extract until the sugar has dissolved.
- Chill Mixture: Cover the bowl and refrigerate for at least 2 hours, or overnight, to chill the mixture thoroughly.
- Churn Ice Cream: Pour the chilled mixture into an ice cream maker and churn according to the manufacturer’s instructions until it reaches a soft-serve consistency.
- Freeze: Transfer the churned ice cream to a lidded container and freeze for at least 4 hours or until firm.
- Serve: Scoop the delicious vanilla ice cream into bowls or cones and enjoy!
Notes
- You can customize this recipe by adding in mix-ins like chocolate chips, crushed cookies, or fruit.
- For a richer flavor, consider using vanilla bean paste or fresh vanilla bean instead of extract.
Nutrition
- Serving Size: 1/2 cup
- Calories: 280
- Sugar: 20g
- Sodium: 50mg
- Fat: 22g
- Saturated Fat: 14g
- Unsaturated Fat: 6g
- Trans Fat: 0g
- Carbohydrates: 21g
- Fiber: 0g
- Protein: 2g
- Cholesterol: 85mg


Your email address will not be published. Required fields are marked *