Why You’ll Love This Recipe
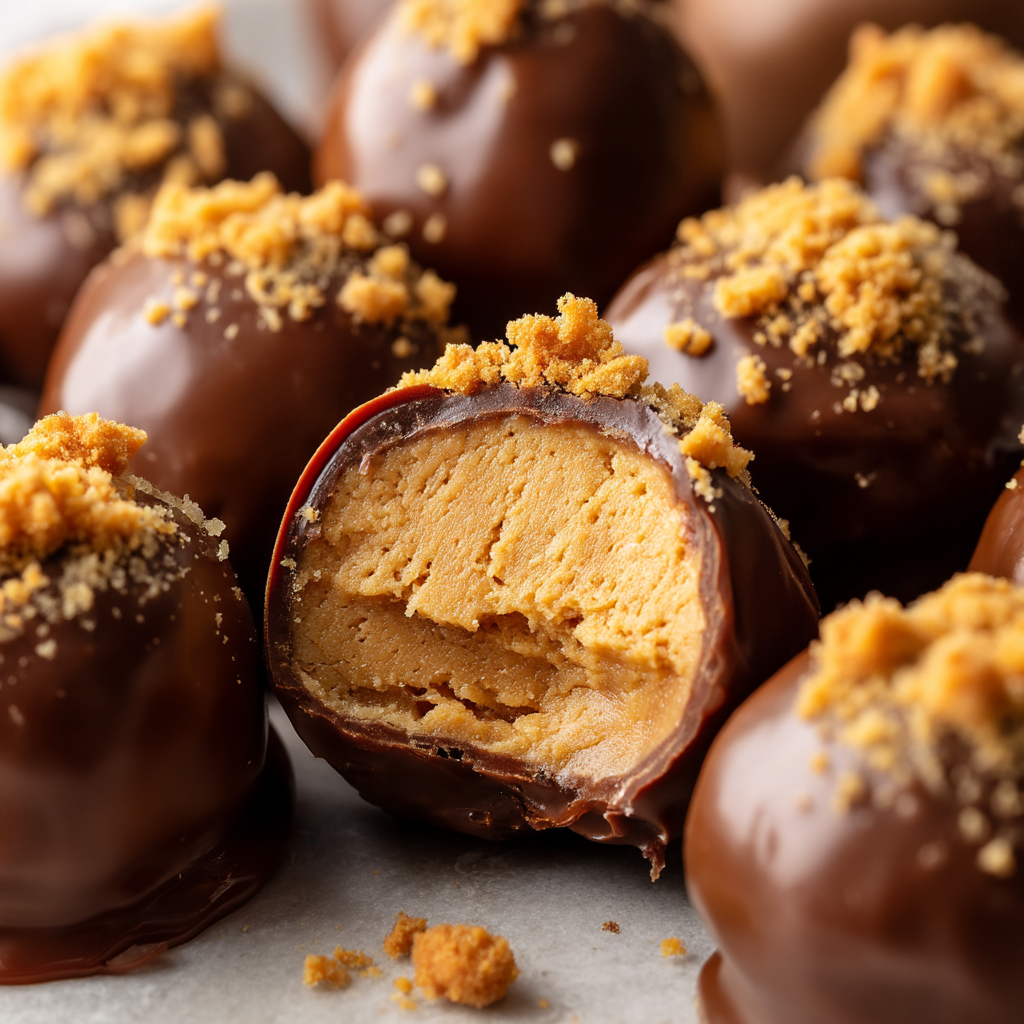
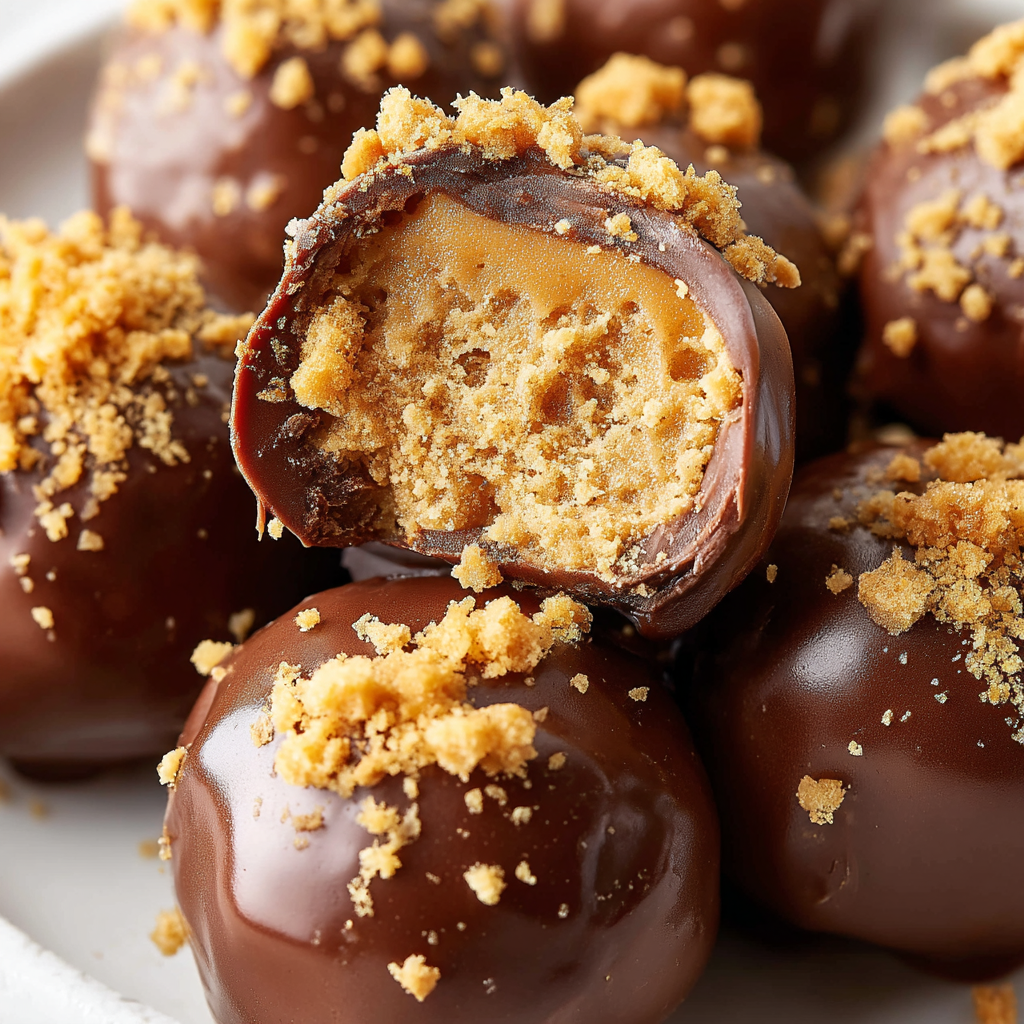
Butterfinger Balls are a decadent, no-bake treat that combines the irresistible crunch of Butterfinger candy with a rich, creamy filling. These bite-sized delights are perfect for satisfying your sweet tooth and make an ideal treat for parties, holidays, or whenever you’re craving something indulgent. With just a few simple ingredients, these balls come together in no time and are sure to become a favorite in your dessert repertoire.
Ingredients
(Tip: You’ll find the full list of ingredients and measurements in the recipe card below.)
- 1 package (8 ounces) cream cheese (softened)
- 1 1/2 cups powdered sugar
- 1 1/2 cups crushed Butterfinger candy bars (about 4-5 bars)
- 1 teaspoon vanilla extract
- 2 cups semisweet chocolate chips (for coating)
Directions
- In a large bowl, beat the softened cream cheese until smooth and creamy.
- Gradually add the powdered sugar, mixing until fully incorporated.
- Stir in the crushed Butterfinger candy and vanilla extract until well combined.
- Roll the mixture into small balls, about 1 inch in diameter, and place them on a parchment-lined baking sheet.
- Freeze the balls for 20-30 minutes to firm up.
- While the balls are chilling, melt the chocolate chips in a microwave-safe bowl, heating in 30-second intervals, stirring between each, until smooth and fully melted.
- Dip each Butterfinger ball into the melted chocolate, coating it completely. Place the coated balls back onto the parchment-lined baking sheet.
- Once all the balls are coated, refrigerate them for at least 1 hour or until the chocolate is set and firm.
- Serve the Butterfinger balls chilled, and enjoy!
Servings and timing
This recipe makes about 20-25 Butterfinger balls. Prep time is 15 minutes, chill time is around 1 hour, bringing the total time to approximately 1 hour and 15 minutes.
Variations
- Add a handful of chopped peanuts or crushed pretzels to the filling for extra crunch.
- Use milk chocolate chips instead of semisweet chocolate for a sweeter coating.
- For a festive touch, dip the balls in white chocolate and add sprinkles.
- For a salted caramel twist, drizzle the balls with caramel sauce before serving.
- Make them peanut butter flavored by adding peanut butter to the filling in place of some of the cream cheese.
storage/reheating
Store leftover Butterfinger balls in an airtight container in the refrigerator for up to 1 week.

FAQs
Can I use other candy instead of Butterfinger?
Yes, you can use other candy bars, such as Snickers or Reese’s Peanut Butter Cups, for a different flavor.
Can I make these ahead of time?
Yes, you can make these a day ahead and store them in the refrigerator until ready to serve.
Can I freeze these Butterfinger balls?
Yes, you can freeze the balls before or after dipping in chocolate. Store them in a freezer-safe container for up to 3 months. Let them thaw in the fridge before serving.
How do I store leftovers?
Store leftovers in an airtight container in the refrigerator for up to 1 week.
Can I add more Butterfinger candy?
Yes, you can increase the amount of crushed Butterfinger candy for a more intense flavor and crunch.
Can I use a different type of chocolate for coating?
Yes, you can use white chocolate, milk chocolate, or even a combination for a different flavor.
How do I know when the balls are set?
The balls are set once the chocolate coating is firm to the touch and no longer sticky.
Can I use crunchy peanut butter instead of creamy?
Yes, crunchy peanut butter can be used to add even more texture to the filling.
How do I make these balls without cream cheese?
If you want to avoid cream cheese, you can use a mixture of peanut butter and powdered sugar for a different flavor profile.
How do I make these balls more chocolatey?
You can roll the balls in extra crushed chocolate or dip them in two layers of chocolate for more richness.
Conclusion
Butterfinger Balls are a fun, no-bake treat that combines the sweet, crunchy goodness of Butterfinger candy with a creamy filling and a decadent chocolate coating. Perfect for any occasion, these balls are sure to become a favorite sweet treat. Easy to make, customizable, and utterly irresistible, they are perfect for sharing or enjoying on your own!
Print
Butterfinger Balls
- Prep Time: 15 minutes
- Cook Time: 0 minutes
- Total Time: 1 hour 15 minutes
- Yield: 20-24 balls
- Category: Dessert
- Method: No Bake/No Cook
- Cuisine: American
- Diet: Vegetarian
Description
Butterfinger Balls are a no-bake, bite-sized treat that combines the irresistible crunch of Butterfinger candy bars with peanut butter and chocolate. These sweet, creamy, and crunchy treats are easy to make and perfect for satisfying your sweet tooth!
Ingredients
-
5 regular-sized Butterfinger bars, crushed
-
1 cup creamy peanut butter
-
1 1/2 cups powdered sugar
-
1 1/2 cups graham cracker crumbs
-
1 cup semi-sweet chocolate chips
-
1 tablespoon unsalted butter
Instructions
-
Prepare the mixture: In a large bowl, combine the crushed Butterfinger bars, peanut butter, powdered sugar, and graham cracker crumbs. Stir everything together until fully combined. The mixture will be thick and a little crumbly, but it should come together when pressed.
-
Form the balls: Scoop out tablespoon-sized portions of the mixture and roll them into balls using your hands. Place each ball on a baking sheet lined with parchment paper. Once all the balls are formed, refrigerate them for at least 30 minutes to set.
-
Melt the chocolate: While the balls are chilling, melt the chocolate chips and butter together. You can do this in the microwave in 30-second intervals, stirring in between, or use a double boiler on the stovetop. Stir until the chocolate is smooth and fully melted.
-
Dip the balls: Once the balls are chilled and firm, dip each one into the melted chocolate, ensuring it’s fully coated. Return the chocolate-dipped balls to the parchment-lined baking sheet.
-
Chill the balls: After all the balls are coated, refrigerate them for an additional 30 minutes to allow the chocolate to set.
-
Serve: Once the chocolate is set, the Butterfinger balls are ready to enjoy! Keep them refrigerated for up to a week.
Notes
-
If you prefer, you can use milk chocolate or white chocolate instead of semi-sweet for the coating.
-
For an extra touch, drizzle some melted chocolate over the top of the finished balls for decoration.
-
These treats can be made ahead of time and stored in an airtight container for later.


Your email address will not be published. Required fields are marked *