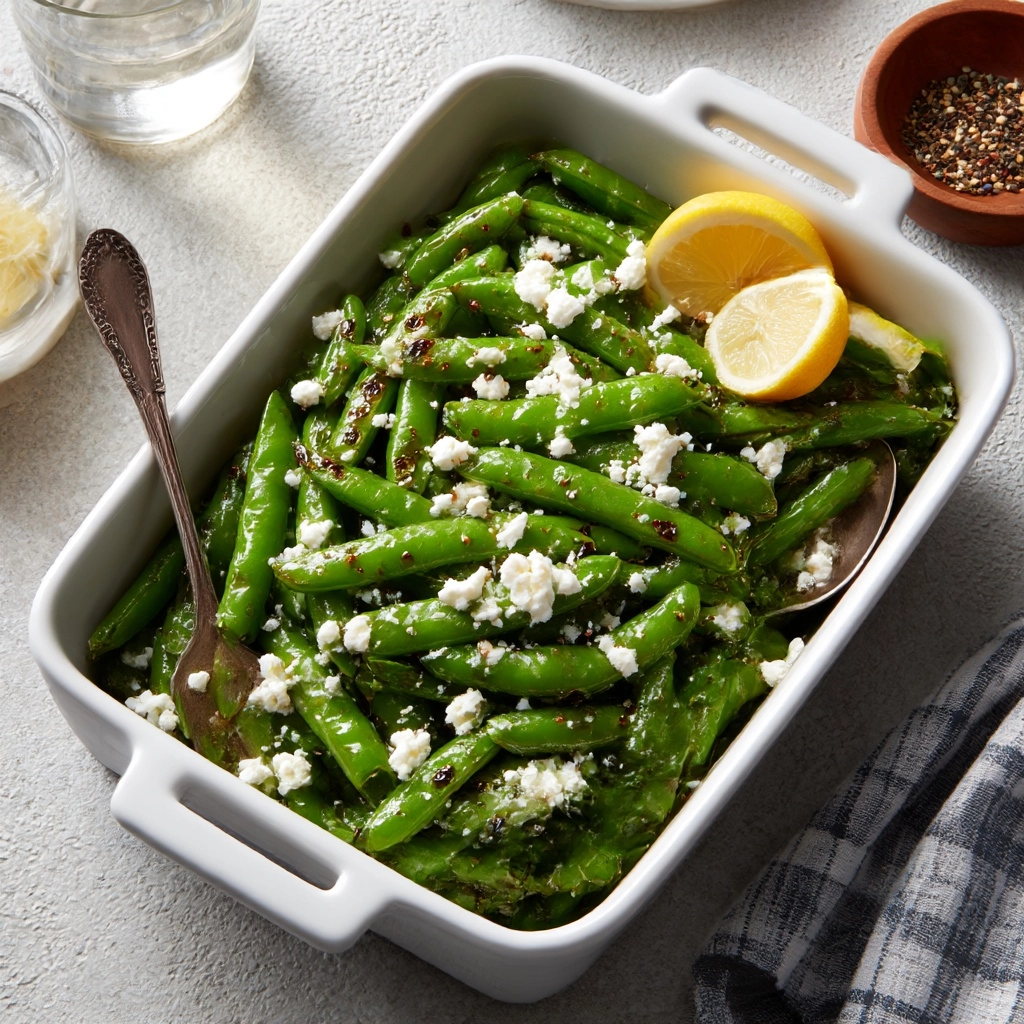
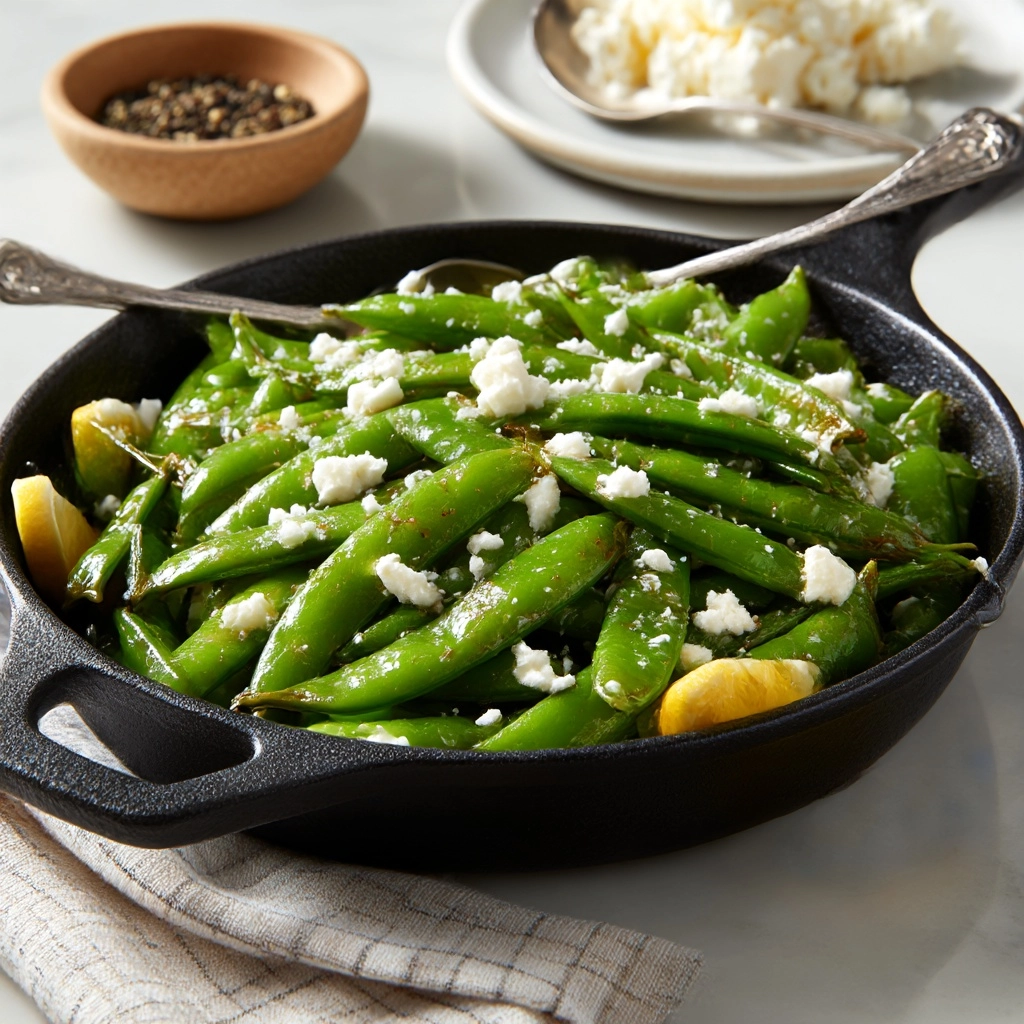
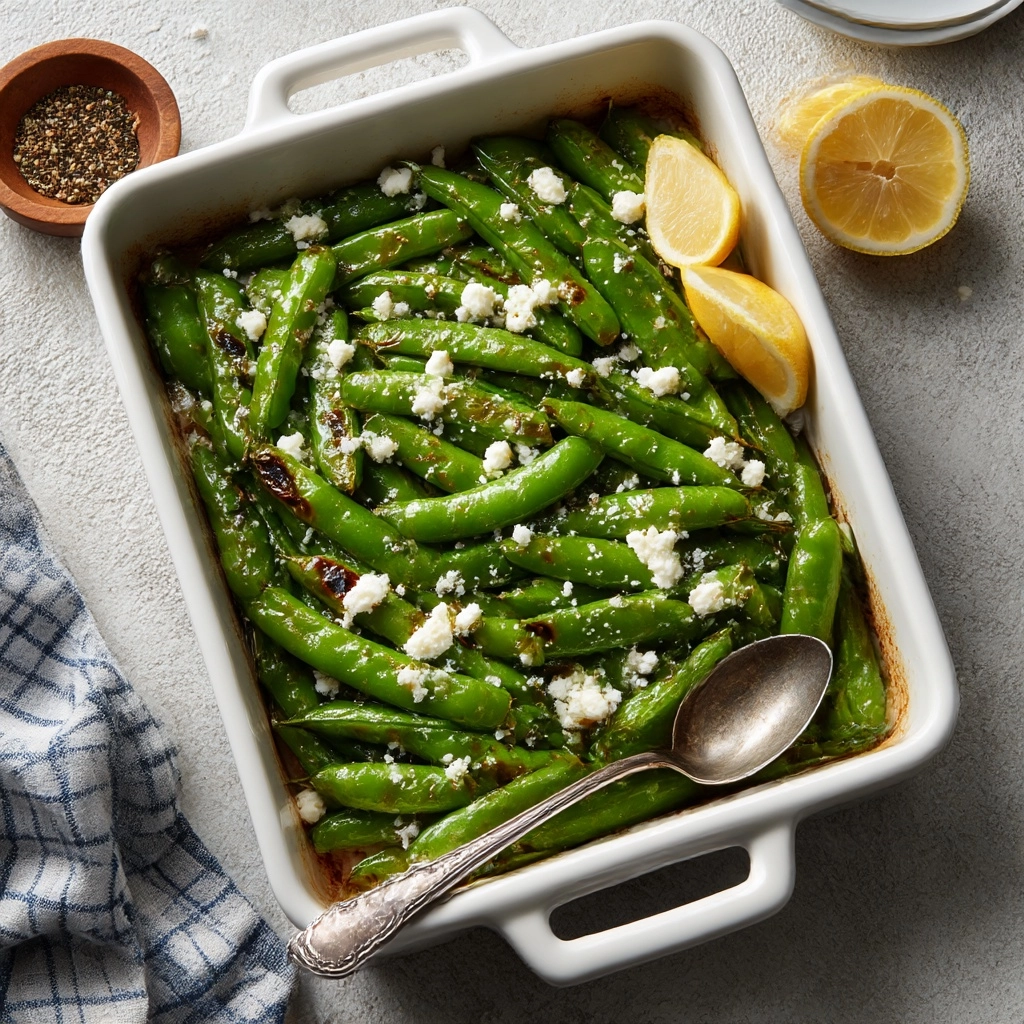
If you’re looking for a vibrant, quick side that absolutely bursts with freshness and flavor, look no further than Charred Sugar Snap Peas. This dish transforms humble peas into the star of your table, thanks to a kiss of high heat, zesty lemon, and a sprinkle of sea salt. Every bite delivers a delightful snap, a little smokiness from the charring, and a brightness that makes these peas unforgettable. Whether served with a big dinner or enjoyed as a wholesome snack, Charred Sugar Snap Peas are a craveable staple you’ll want on repeat.
Ingredients You’ll Need
The magic of this dish lies in its simplicity: each ingredient has a job, whether it’s lending color, crunch, bold flavor, or a lick of citrusy zing. Assemble these pantry- and fridge-friendly items and you’re halfway to pea perfection!
- Olive oil: Adds silkiness and helps the peas blister beautifully in the hot pan.
- Sugar snap peas: The star of the show! Trimmed and ready for their close-up, they offer sweet flavor and irresistible crunch.
- Garlic: Just one fresh clove adds amazing depth and a punch of aromatic flavor.
- Flaky sea salt: Elevates the sweetness of the peas and adds crunchy texture.
- Black pepper: Brings a gentle warmth and rounds out the flavors.
- Lemon zest: Freshly grated for a burst of sunny aroma and brightness.
- Lemon juice: Enhances the charred flavor and keeps everything lively.
- Optional toppings: Red pepper flakes for heat, shaved Parmesan for richness, and chopped mint for a fresh herbal pop. Mix and match to your taste!
How to Make Charred Sugar Snap Peas
Step 1: Preheat Your Pan
Place a large skillet or grill pan on your stove over high heat. Let it get nice and hot—this is crucial for achieving those beautiful, smoky char marks that make Charred Sugar Snap Peas so special. A sizzling pan ensures the peas stay crisp, not soggy.
Step 2: Sauté the Peas
Pour in the olive oil and swirl to coat the surface evenly. Toss in the sugar snap peas (carefully, as the oil will be hot!) and let them cook undisturbed for 2 to 3 minutes. This step is all about patience; letting the peas sit gives you that gorgeous charring on one side.
Step 3: Flip and Finish Cooking
Give the peas a good stir to move them around so they char on all sides. Continue cooking for another 2 to 3 minutes, stirring occasionally, until the pods blister and turn bright green but still feel delightfully snappy to the bite.
Step 4: Add Garlic and Seasonings
Add the minced garlic to the pan and sauté for about 30 seconds—just long enough to become fragrant, but not more, to avoid burning. Immediately remove the pan from the heat and sprinkle over the flaky sea salt, black pepper, lemon zest, and lemon juice. Toss everything well so those cheerful flavors coat every pea.
Step 5: Plate and Garnish
Transfer your Charred Sugar Snap Peas to a serving plate. If you like, shower them with any (or all) of the optional toppings: a pinch of red pepper flakes for zing, a snowstorm of shaved Parmesan, or a sprinkle of chopped fresh mint. Serve right away and enjoy the applause!
How to Serve Charred Sugar Snap Peas

Garnishes
Finishing touches make all the difference! For Charred Sugar Snap Peas, a little extra lemon zest or a flurry of Parmesan cheese adds wow-factor and flavor. Red pepper flakes offer a subtle heat, while chopped mint or parsley brings cooling freshness and an elegant touch. Pick your favorite, or try them all to keep things interesting.
Side Dishes
Pair these peas with nearly any main course, from grilled salmon to roasted chicken to a hearty grain bowl. Charred Sugar Snap Peas also shine alongside creamy risotto or over a pile of fluffy quinoa. They’re wonderfully versatile and brighten up anything you plate with them.
Creative Ways to Present
Think outside the bowl! Charred Sugar Snap Peas make a killer addition to a spring salad, tossed with leafy greens and a citrus vinaigrette. For a party, skewer them for easy, elegant finger food. Or, serve atop a platter of hummus for an irresistible appetizer that grabs attention and taste buds.
Make Ahead and Storage
Storing Leftovers
If you’ve managed to resist polishing off your entire pan at once, save your leftovers in an airtight container in the fridge. Charred Sugar Snap Peas will stay crisp and flavorful for up to 2 days, making them perfect for prepping ahead for lunches or busy nights.
Freezing
While peas generally freeze well, Charred Sugar Snap Peas do best when enjoyed fresh. Freezing may soften their signature crunch and dull their bright color. If you must freeze them, do so in flat layers and thaw gently in the fridge before reheating.
Reheating
To bring Charred Sugar Snap Peas back to life, simply toss them in a hot skillet for a minute or two until warmed through. Microwaving works for convenience, but a quick sauté keeps that delightful snap and prevents sogginess.
FAQs
Can I use frozen sugar snap peas for this recipe?
Yes, you can, though fresh peas give the best crunch and color. Thaw frozen sugar snap peas completely and pat them dry before cooking to avoid excess moisture and to get those crave-worthy charred edges.
Are Charred Sugar Snap Peas suitable for vegan and gluten-free diets?
Absolutely! The basic recipe is both vegan and gluten-free. If you use cheese as a topping, be sure to choose a vegan Parmesan if needed. All other ingredients are naturally friendly for these diets.
Can I add extra flavors or spices to the dish?
Definitely! Charred Sugar Snap Peas are endlessly adaptable. Try adding toasted sesame seeds and a splash of sesame oil for an Asian twist, or experiment with smoked paprika or cumin for even more depth.
How do I keep the peas from overcooking?
High heat and short cooking time are your friends here. Don’t walk away from the stove—the peas cook fast! Stir as soon as they’re charred and remove them from the heat once they’re crisp-tender to preserve their texture.
Can I serve Charred Sugar Snap Peas cold?
Yes! They’re fantastic as a chilled salad topper or tossed into grain bowls. Just let them cool, refrigerate, and use within two days for the freshest flavor and crunch.
Final Thoughts
Once you try Charred Sugar Snap Peas, they’ll quickly become your go-to for easy weeknights, gathering-worthy sides, or anytime a little brightness is needed on your plate. Don’t be surprised if you find yourself snacking on them straight from the pan—give them a try and see why they’re one of my absolute favorites!
Print
Charred Sugar Snap Peas Recipe
- Prep Time: 5 minutes
- Cook Time: 6 minutes
- Total Time: 11 minutes
- Yield: 4 servings 1x
- Category: Side Dish
- Method: Stovetop
- Cuisine: American
- Diet: Vegan
Description
Charred Sugar Snap Peas is a quick and flavorful side dish that combines the crunch of sugar snap peas with the zing of lemon and garlic. Perfect for a healthy and vibrant addition to any meal.
Ingredients
Ingredients:
- 1 tablespoon olive oil
- 12 ounces sugar snap peas, trimmed
- 1 garlic clove, minced
- 1/2 teaspoon flaky sea salt
- 1/4 teaspoon black pepper
- 1 teaspoon lemon zest
- 1 tablespoon lemon juice
- Optional toppings: red pepper flakes, shaved Parmesan, chopped fresh mint
Instructions
- Heat the skillet: Heat a large skillet or grill pan over high heat until very hot.
- Sear the snap peas: Add olive oil and snap peas to the pan, cook undisturbed for 2–3 minutes until charred. Stir and cook for another 2–3 minutes until tender-crisp and blistered.
- Add flavor: Add minced garlic and cook for 30 seconds. Season with sea salt, black pepper, lemon zest, and lemon juice. Toss to coat.
- Serve: Transfer to a serving dish, garnish with optional toppings, and serve immediately.
Notes
- For extra flavor, drizzle with sesame oil or top with toasted sesame seeds.
- These make a quick and healthy side or snack option.
Nutrition
- Serving Size: 1 portion
- Calories: 80
- Sugar: 4g
- Sodium: 240mg
- Fat: 5g
- Saturated Fat: 0.5g
- Unsaturated Fat: 4.5g
- Trans Fat: 0g
- Carbohydrates: 7g
- Fiber: 2g
- Protein: 2g
- Cholesterol: 0mg


Your email address will not be published. Required fields are marked *