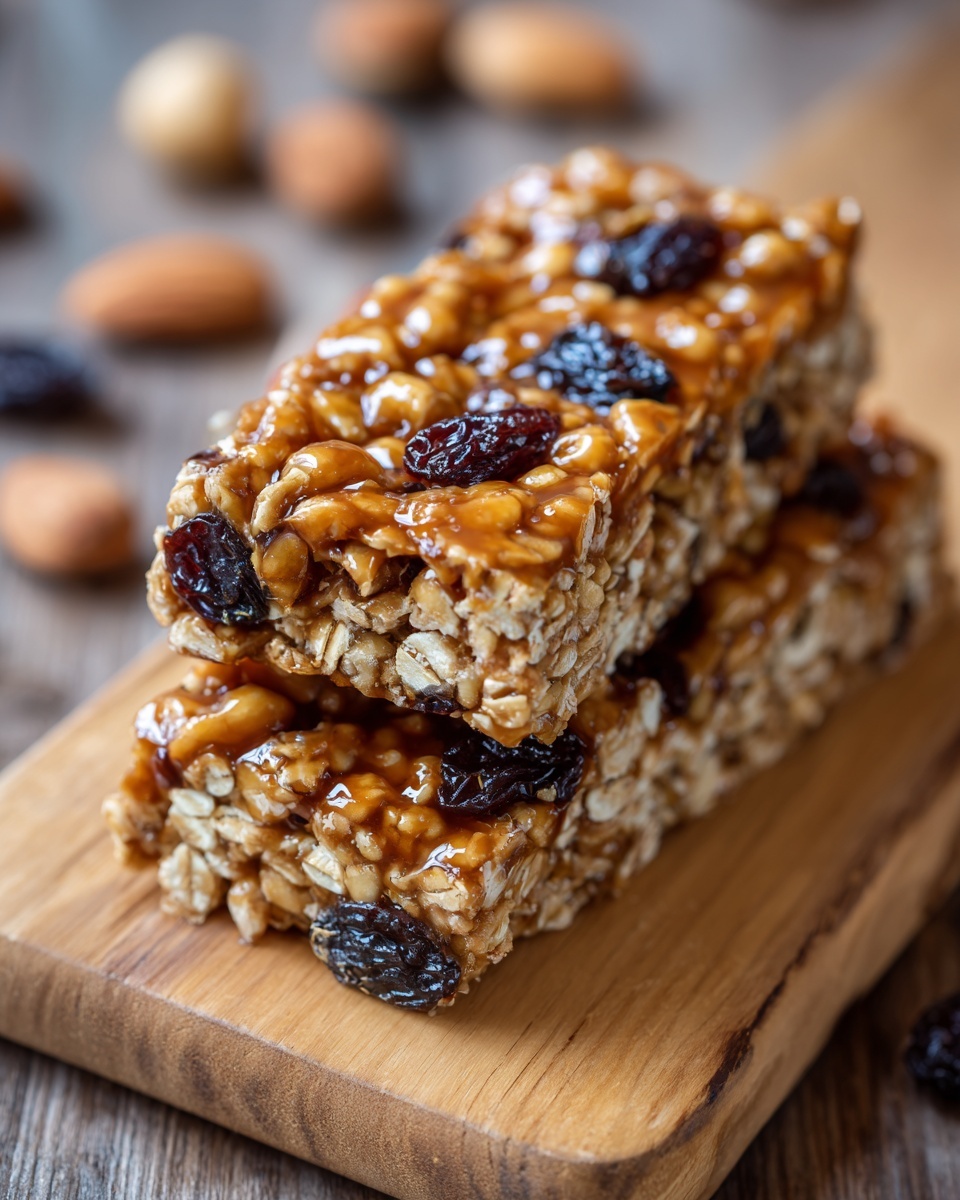
If you’re craving a snack that perfectly balances sweet, chewy, and just a touch of crunch, you are going to love this Chewy Homemade Granola Bars Recipe. These bars are packed with wholesome rolled oats and rice cereal, combined with the nostalgic gooeyness of mini marshmallows and the irresistible richness of chocolate chips. They make the perfect grab-and-go treat, whether for a quick breakfast, an energizing midday boost, or a delightful after-school snack. Plus, they come together with simple pantry ingredients and require no baking, making them a total win for busy days and snack attacks alike.
Ingredients You’ll Need
Let’s talk about how straightforward and essential these ingredients are. Each one brings its own magic to the Chewy Homemade Granola Bars Recipe — from the hearty texture of rolled oats to the delicate sweetness of honey, every element hits the spot in taste and consistency.
- Rolled oats: The hearty base that adds great chew and wholesome fiber.
- Mini marshmallows: These melt slightly for that perfect gooey chewiness.
- Chocolate chips: Little pockets of melty, sweet indulgence throughout.
- Graham cracker crumbs: Adds a subtle sweetness and pleasant crumbly texture.
- Rice cereal: Provides a light crunch to balance the chewiness.
- Honey (or maple syrup or brown rice syrup): Acts as the natural sweetener and sticky binder.
- Butter: Brings richness and helps meld all ingredients into a cohesive bar.
How to Make Chewy Homemade Granola Bars Recipe
Step 1: Melt the Butter and Honey
Start by melting the butter and honey together in a saucepan over medium heat. Stir gently until the mixture begins to bubble and thicken just a little. This warm, golden syrup is the key to binding all those dry ingredients into chewy bars that hold together perfectly.
Step 2: Mix the Dry Ingredients
While the butter and honey are warming up, grab a large bowl and combine rolled oats, graham cracker crumbs, and rice cereal. The combination of these dry ingredients creates a wonderful textural foundation that’s both satisfying and fun to bite into.
Step 3: Coat the Dry Mix
Pour the warm butter and honey mixture over the dry ingredients. Stir thoroughly so every oat and crumb is coated with that sticky, sweet goodness, ensuring your bars will stay chewy and packed with flavor.
Step 4: Fold in Marshmallows and Chocolate Chips
Let the mixture cool just enough so the mini marshmallows don’t melt completely, then gently fold them in along with the chocolate chips. This step adds the gooey pockets of sweetness and rich chocolate throughout your granola bars, perfectly balancing texture and taste.
Step 5: Press into Baking Dish
Transfer your mixture into a greased or parchment-lined 9×13-inch baking dish. Press it down firmly and evenly so the bars hold their shape and slice cleanly later.
Step 6: Cool and Slice
Allow the granola bars to cool completely at room temperature—this part is essential for that ideal chewy texture. Once firm, slice into 16 generous bars and get ready to enjoy!
How to Serve Chewy Homemade Granola Bars Recipe
Garnishes
Though these granola bars are amazing on their own, a light drizzle of melted chocolate or a sprinkle of sea salt on top right before cutting can elevate them into something truly special. Toasted coconut flakes or chopped nuts add a delightful finish too.
Side Dishes
Pair your bars with a refreshing cup of tea or a cold glass of milk for a classic snack combo. They also make an excellent companion to yogurt or fresh fruit if you want a wholesome breakfast or a more filling afternoon treat.
Creative Ways to Present
Wrap individual bars in parchment paper tied with rustic twine for a charming homemade gift. Or layer them on a dessert platter with fresh berries and small bowls of nut butter or fruit preserves for an inviting snack board that’s sure to impress guests.
Make Ahead and Storage
Storing Leftovers
Store these chewy homemade granola bars in an airtight container at room temperature for up to 5 days. Keeping them sealed helps maintain that perfect chewy texture and prevents them from drying out.
Freezing
If you want to stock up, these bars freeze beautifully. Wrap each bar individually in plastic wrap and place them in a freezer-safe bag. They’ll keep well for up to 3 months. Thaw at room temperature when you’re ready to enjoy.
Reheating
To bring back that freshly made softness, microwave a bar for about 10 seconds or warm it briefly in a preheated oven. This gentle heat restores the chewy texture and brings out the melty chocolate and marshmallow goodness perfectly.
FAQs
Can I substitute the marshmallows?
Absolutely! If you want to avoid marshmallows or cater to dietary preferences, try using dried fruit like cranberries or chopped dates. Just keep in mind this will change the texture and sweetness level.
What if I don’t have graham crackers?
You can substitute graham cracker crumbs with crushed digestive biscuits or vanilla wafers. These options work well and still provide a nice crumbly texture.
Can I use maple syrup instead of honey?
Yes, maple syrup is a great alternative that offers a slightly different but delicious flavor profile. Brown rice syrup also works well as a binder and sweetener if you prefer.
Are these granola bars gluten-free?
To make the Chewy Homemade Granola Bars Recipe gluten-free, just ensure you use certified gluten-free oats and rice cereal, and substitute the graham cracker crumbs with a gluten-free alternative.
How do I make the bars less sticky?
Let the mixture cool slightly before adding marshmallows and chocolate chips, and make sure to press the bars firmly when transferring to the pan. This will help them hold together without being overly sticky.
Final Thoughts
I hope you’ll give this Chewy Homemade Granola Bars Recipe a try soon because it truly is one of those simple homemade treats that feels like a warm hug in snack form. With minimal ingredients and fuss, it’s perfect to whip up whenever a craving strikes or you want to share something delicious with family and friends. Enjoy every chewy, melty, chocolaty bite!
Print
Chewy Homemade Granola Bars Recipe
- Prep Time: 10 minutes
- Cook Time: 5 minutes
- Total Time: 50 minutes
- Yield: 16 bars
- Category: Snack
- Method: Stovetop
- Cuisine: American
- Diet: Vegetarian
Description
These chewy homemade granola bars are a delicious and easy-to-make snack perfect for any time of day. Packed with rolled oats, rice cereal, mini marshmallows, and chocolate chips, they strike the perfect balance between sweet and chewy with a hint of buttery richness. Naturally sweetened with honey and a touch of graham cracker crumbs for extra flavor and texture, these bars come together quickly with a stovetop preparation and require no baking.
Ingredients
Dry Ingredients
- 3 cups rolled oats
- 1 cup rice cereal
- 1/2 cup graham cracker crumbs
- 1 cup mini marshmallows
- 1 cup chocolate chips
Wet Ingredients
- 1 cup honey (or maple syrup or brown rice syrup)
- 1/2 cup butter
Instructions
- Melt butter and honey: In a saucepan over medium heat, melt the butter together with the honey. Cook the mixture, stirring occasionally, until it begins to bubble and thickens slightly, which helps bind the granola bars.
- Combine dry ingredients: In a large mixing bowl, combine the rolled oats, graham cracker crumbs, and rice cereal. Stir to evenly distribute all the dry components.
- Mix wet and dry: Pour the warm honey and butter mixture over the dry ingredients. Stir well to ensure all the oats, cereal, and cracker crumbs are thoroughly coated with the sticky liquid.
- Fold in marshmallows and chocolate chips: Allow the mixture to cool slightly for a few minutes to prevent melting the marshmallows completely. Then gently fold in the mini marshmallows and chocolate chips, distributing them evenly without crushing.
- Press mixture into baking dish: Transfer the mixture into a greased or parchment-lined 9×13-inch baking dish. Press it down firmly and evenly to compact the ingredients together into a solid layer.
- Cool and slice: Let the pressed mixture cool completely at room temperature until firm, about 30 minutes or longer. Once set, cut into 16 bars and serve as a sweet, chewy snack.
Notes
- You can substitute honey with maple syrup or brown rice syrup for a different sweetener option.
- For firmer bars, chill in the refrigerator after pressing into the pan.
- Use parchment paper to line the pan for quick removal and easy cleanup.
- Store bars in an airtight container at room temperature for up to one week or freeze for longer storage.
- Feel free to add nuts or dried fruit for extra texture and flavor.


