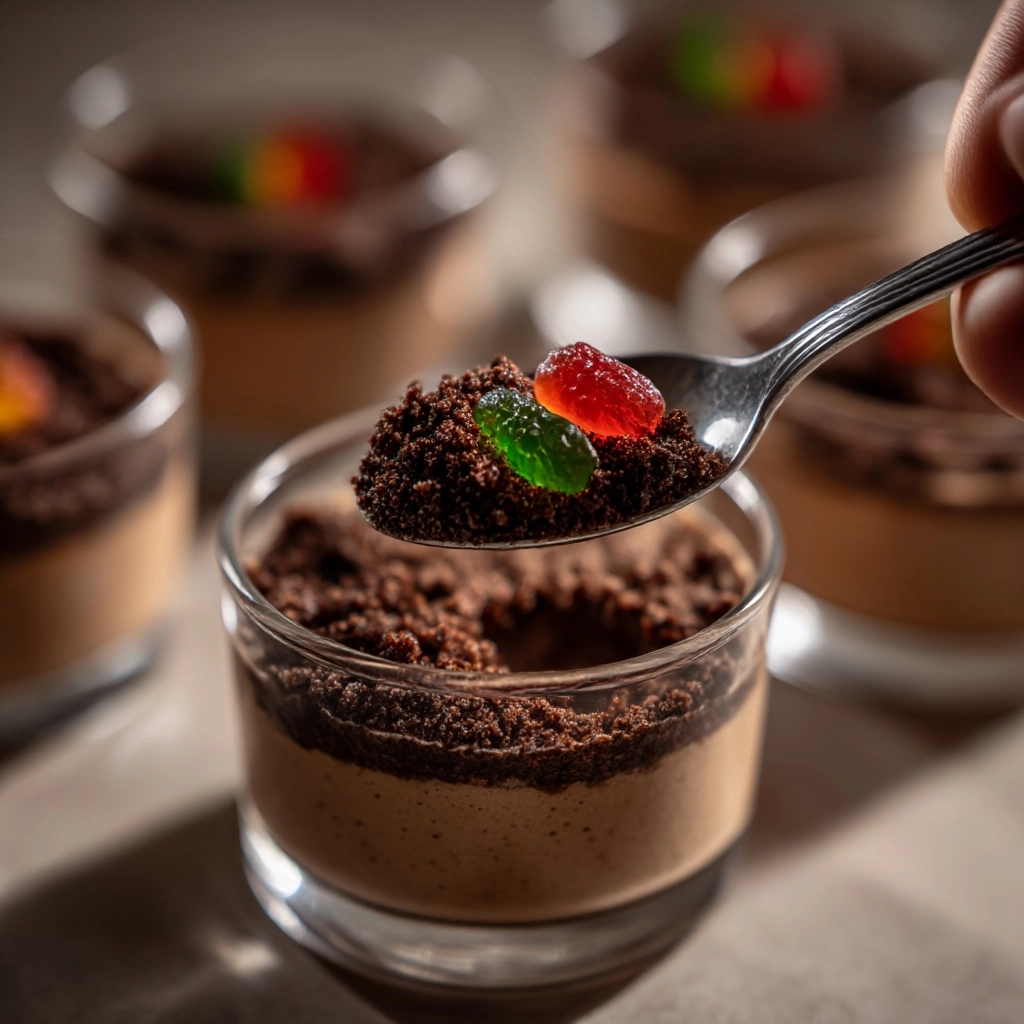
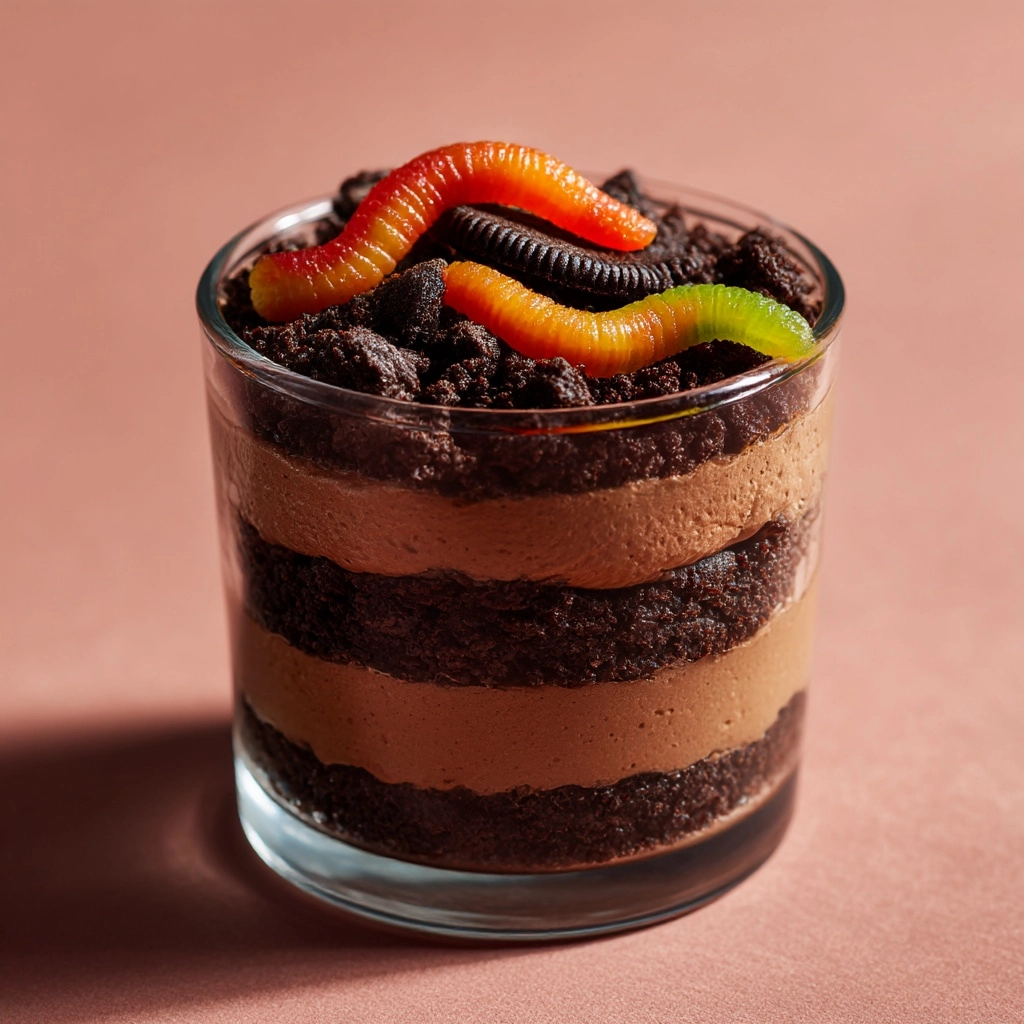
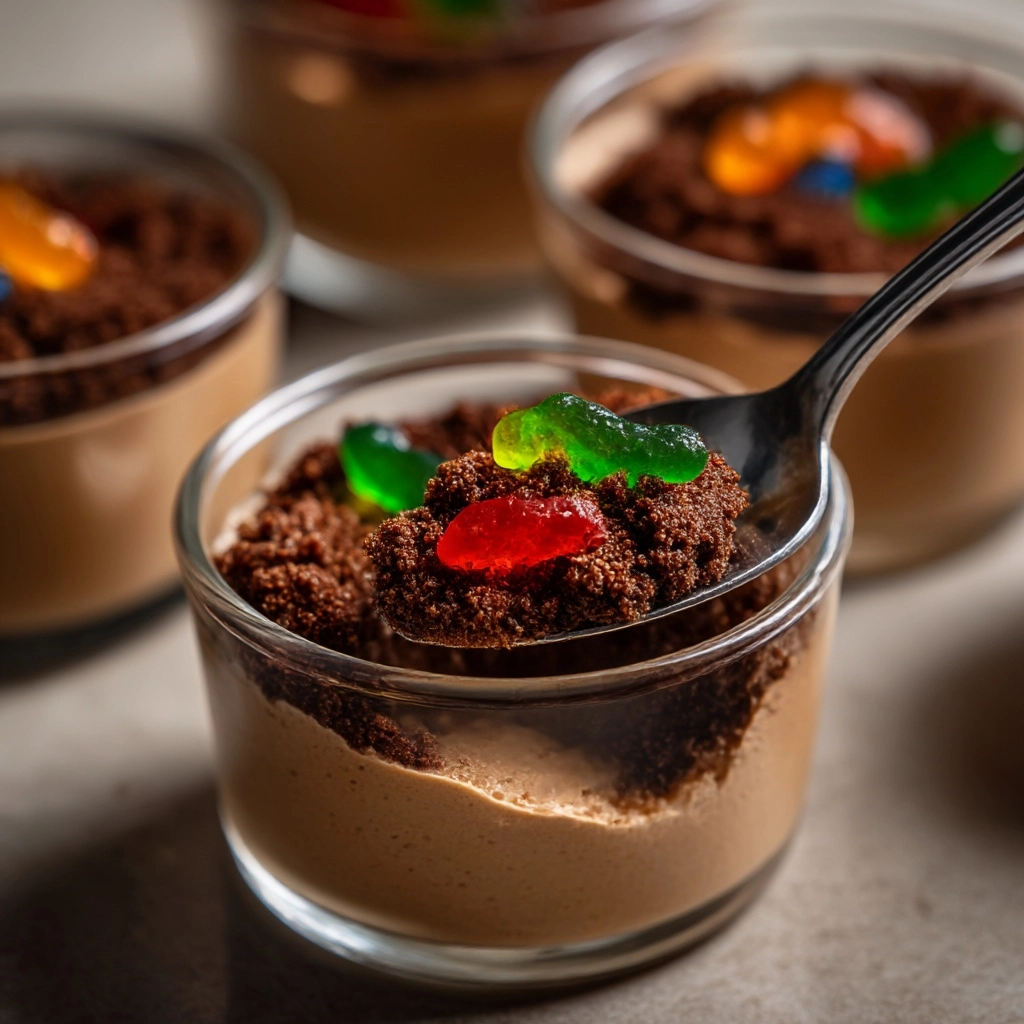
If you’re searching for a nostalgic, fun, and irresistibly tasty dessert that’s as delightful for kids as it is for adults, Dirt Cups are about to become your go-to treat. Imagine layers of creamy chocolate pudding and fluffy whipped topping, crushed chocolate cookies for a deliciously “earthy” crunch, and playful gummy worms peeking out from the top—just like digging in the garden with a spoon! These Dirt Cups are easy to make, incredibly satisfying, and perfect for any occasion, from birthday parties to movie nights or even your next potluck.
Ingredients You’ll Need
-
Pudding Mixture:
- 1 (3.9 oz) box instant chocolate pudding mix
- 2 cups cold milk
- 1 (8 oz) container whipped topping (like Cool Whip), thawed
Layers:
- 10 Oreo cookies, crushed
- 1/2 cup chocolate cookie crumbs or extra Oreos for layering
- Gummy worms for decoration
How to Make Dirt Cups
Step 1: Whisk the Chocolate Pudding
Start by combining your instant chocolate pudding mix with cold milk in a medium mixing bowl. Whisk them together for about 2 minutes, or until the mixture thickens beautifully. This step sets the scene for a velvety, rich pudding base, and that signature chocolate flavor we all adore.
Step 2: Fold in the Whipped Topping
Once the pudding has set and thickened, gently fold in the thawed whipped topping. Take your time and use a spatula to create a light, pillowy mixture. This extra step makes your pudding base ultra-creamy—think of it as the secret ingredient that adds a dreamy texture to your Dirt Cups.
Step 3: Prepare and Layer the “Dirt”
Crush your Oreo cookies (you can do this by sealing them in a plastic bag and giving them a good whack with a rolling pin). Spoon about a tablespoon of crushed cookies or chocolate crumbs into the bottoms of clear plastic cups or jars for that dramatic garden effect. Next, add a generous layer of the pudding mixture. Continue with more crushed Oreos or cookie crumbs, repeating as you like—always finish with a thick layer of crumbs on top to look like “dirt.”
Step 4: Add the Gummy Worms
Now comes the fun part: nestle gummy worms into the top of each cup, letting a few peek out of the “soil.” This detail is what brings Dirt Cups to life, making every single serving feel like an adventure (and guaranteeing a few giggles).
Step 5: Chill Until Set
Place your assembled Dirt Cups in the refrigerator for at least 1 hour so all the flavors mingle and the pudding sets fully. The chilling time is crucial—don’t skip it! Waiting just makes that first creamy, crunchy bite all the more rewarding.
How to Serve Dirt Cups

Garnishes
For a burst of color and an extra-special touch, top your Dirt Cups with more crushed cookies, colorful sprinkles, or even edible flowers for a garden party vibe. For a holiday twist, try pumpkin- or ghost-shaped gummies for Halloween, or pastel gummies for birthday celebrations.
Side Dishes
Since Dirt Cups are rich and sweet, they pair nicely with light fruit salads, a platter of fresh strawberries, or even a scoop of vanilla frozen yogurt. If you’re serving at a party, set up a dessert buffet with fresh berries, popcorn, and little cheese cubes to balance out the flavors.
Creative Ways to Present
Presentation is half the fun with Dirt Cups! Serve them in mini flowerpots, mason jars, or even small plastic buckets with a shovel-shaped spoon for a garden party. For individual treats, use shot glasses for bite-size fun, or set up a DIY Dirt Cup bar where guests can build their own creations with toppings of their choice.
Make Ahead and Storage
Storing Leftovers
If you have extra Dirt Cups (which is rare because they vanish fast), simply cover each cup with plastic wrap or lids and store them in the refrigerator. They’ll stay wonderfully fresh for up to 2 days. For best texture, hold off on adding the gummy worms until right before serving, as they can become a bit too soft if left in the pudding for too long.
Freezing
Freezing Dirt Cups isn’t generally recommended, as the texture of the pudding and whipped topping may become icy or watery when thawed. If you must freeze, wrap tightly and Thaw in the fridge, but expect the layers to lose some creaminess and the cookies to soften considerably.
Reheating
Dirt Cups are a cool, creamy dessert and don’t require reheating at all! If you’ve made them ahead, just remove from the fridge a few minutes before serving to take the chill off. If the cups seem a bit dense after chilling, a quick gentle stir of the pudding before serving can help bring back some fluffiness.
FAQs
Can I make Dirt Cups in advance?
Absolutely! You can prep the pudding mixture and cookie layers up to a day ahead. Just hold back the gummy worms until just before serving so they stay chewy and brightly colored. The flavors actually get even better as the layers have time to meld.
What’s the best way to crush the cookies?
The easiest method is to add cookies to a zip-top bag and use a rolling pin to crush them into fine crumbs. A food processor works too, but be careful not to pulverize them into powder—you want a little crunch!
Are there gluten-free or dairy-free options?
Definitely! Opt for gluten-free chocolate sandwich cookies, dairy-free pudding mixes, and whipped topping alternatives. There are a lot of plant-based puddings and whipped toppings out there now, so everyone can enjoy Dirt Cups regardless of dietary needs.
Can I use homemade chocolate pudding instead of instant?
You sure can! Homemade pudding adds a from-scratch richness, though you’ll want to make sure it’s completely cooled and set before layering. Just keep in mind this will lengthen prep time a bit, but the flavor is outstanding.
How do I transport Dirt Cups for a party?
For easy transport, assemble the cups in mason jars or sturdy plastic cups with lids. Carry gummy worms in a separate container and add them right before serving for the freshest look and taste. A cooler or insulated bag will keep everything perfectly chilled in transit.
Final Thoughts
I hope you’ll find as much joy in making (and devouring) Dirt Cups as I do. They’re outrageously fun, deeply chocolatey, and sure to stir up fond memories with every spoonful. If you’ve never tried this playful classic, gather your ingredients and invite your family or friends to join in—there’s always room for one more at the Dirt Cup party!
Print
Dirt Cups Recipe
- Prep Time: 15 minutes
- Cook Time: 0 minutes
- Total Time: 1 hour 15 minutes (including chill time)
- Yield: 6 cups 1x
- Category: Dessert
- Method: No-Bake
- Cuisine: American
- Diet: Vegetarian
Description
Indulge in these fun and delicious Dirt Cups, a classic treat that kids and adults alike will love. Layers of creamy chocolate pudding, whipped topping, and crushed cookies, topped with gummy worms for a playful touch.
Ingredients
Pudding Mixture:
- 1 (3.9 oz) box instant chocolate pudding mix
- 2 cups cold milk
- 1 (8 oz) container whipped topping (like Cool Whip), thawed
Layers:
- 10 Oreo cookies, crushed
- 1/2 cup chocolate cookie crumbs or extra Oreos for layering
- Gummy worms for decoration
Instructions
- Prepare Pudding Mixture: In a medium bowl, whisk together the pudding mix and cold milk for 2 minutes until thick. Gently fold in the whipped topping until smooth.
- Layer Cups: In small cups or jars, layer about 1 tablespoon of crushed Oreos or cookie crumbs in the bottom. Spoon or pipe a layer of chocolate pudding mixture on top, followed by another layer of crushed cookies. Repeat as desired, ending with a cookie crumb topping.
- Decorate: Decorate the top with gummy worms. Chill in the refrigerator for at least 1 hour before serving.
Notes
- Use clear plastic cups or jars for the best visual effect.
- You can prep these up to a day in advance—just add gummy worms right before serving so they stay fresh.
Nutrition
- Serving Size: 1 cup
- Calories: 240
- Sugar: 18g
- Sodium: 220mg
- Fat: 12g
- Saturated Fat: 6g
- Unsaturated Fat: 4g
- Trans Fat: 0g
- Carbohydrates: 30g
- Fiber: 1g
- Protein: 3g
- Cholesterol: 10mg


Your email address will not be published. Required fields are marked *