
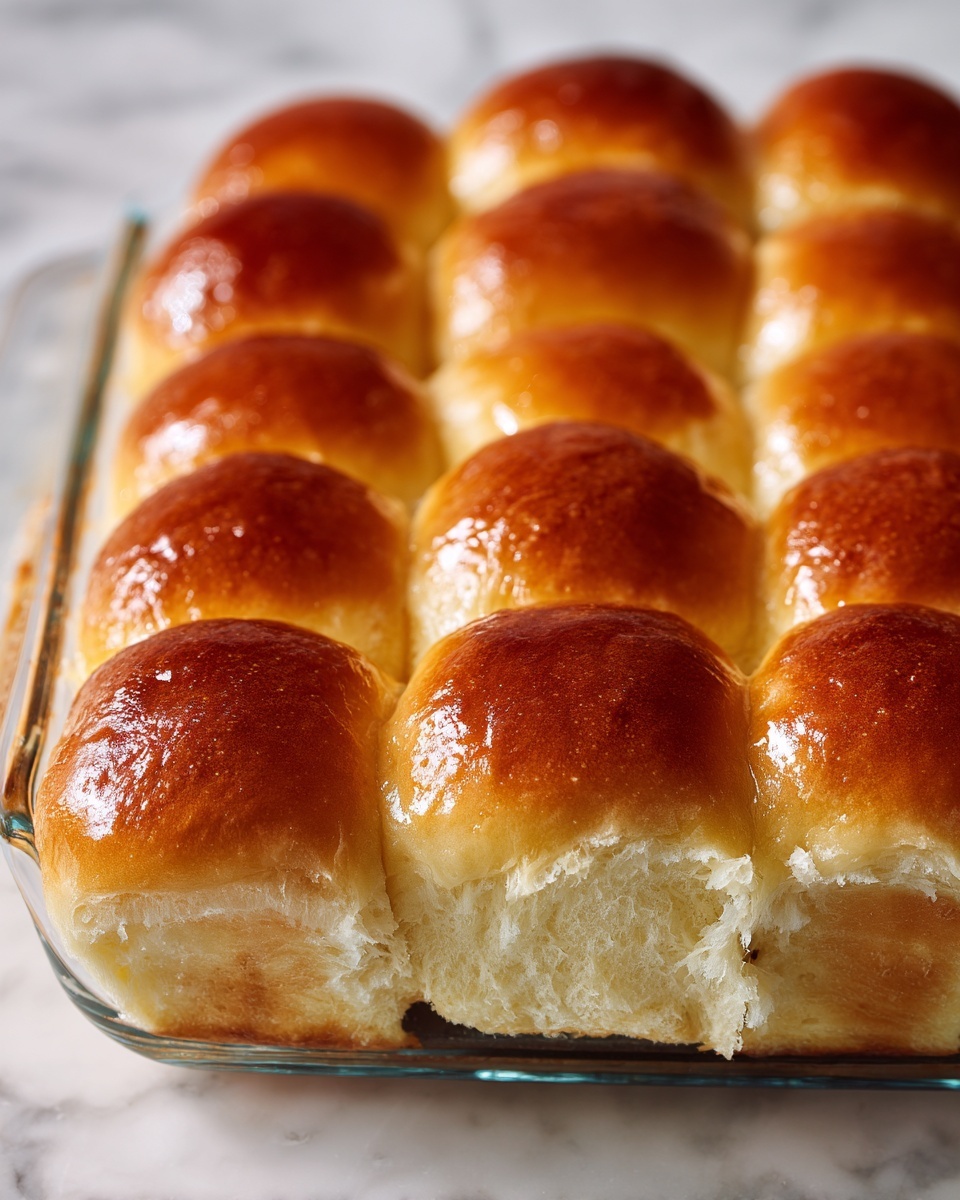
If you’ve ever longed for that warm, tender, buttery bite fresh out of the oven, you’re going to adore this Homemade Dinner Rolls Recipe. These rolls are fluffy, soft, and golden, with a beautifully crisp top that melts in your mouth. Whether they’re accompanying a cozy weeknight stew or starring on your holiday table, these rolls bring everyone to the table with an irresistible aroma and texture. Plus, making them yourself means you control every comforting detail from flour to buttery finish—trust me, nothing beats the joy of pulling these golden treasures right from your own oven.
Ingredients You’ll Need
This recipe uses simple pantry staples that are easy to find but crucial to creating the perfect homemade bread rolls. Each ingredient plays its own part—flour for structure, yeast for rise, butter for rich flavor, and that warm milk to bring everything together softly.
- 3 1/2 to 4 cups all-purpose flour: Gives the dough its body and is adjustable for perfect dough consistency.
- 1 packet (2 1/4 teaspoons) active dry yeast: The magical agent that makes your rolls delightfully fluffy by helping the dough rise.
- 1 cup warm milk (about 110°F/45°C): Activates the yeast and adds a tender crumb and slight sweetness.
- 1/4 cup sugar: Feeds the yeast and balances flavors with a hint of sweetness.
- 1/4 cup unsalted butter, melted: Adds richness and keeps the rolls soft and flavorful.
- 1 large egg: Supports structure and lends to a beautiful golden color.
- 1 teaspoon salt: Enhances all the flavors without overpowering.
- 2 tablespoons melted butter (for brushing): Gives the crust a glossy, buttery sheen and extra flavor.
How to Make Homemade Dinner Rolls Recipe
Step 1: Activate the Yeast
Start by dissolving the sugar and yeast in warm milk. This combination wakes up the yeast, letting it bloom and become foamy within 5 to 10 minutes, signaling it’s ready to work its rising magic. Watching that frothy top appear is always so satisfying—it means your rolls will rise to perfection.
Step 2: Mix the Dough
In a large bowl, combine most of your flour, the salt, the yeast mixture, melted butter, and the egg. Stir everything into a rough dough. You might need to sprinkle in a little extra flour at this stage to prevent stickiness, but keep it moist enough for a soft texture. This step is where your dough begins to take shape, piece by loving piece.
Step 3: Knead the Dough
Transfer your dough to a floured surface and knead vigorously for 8 to 10 minutes until it feels smooth and elastic. If you prefer, fire up your stand mixer with a dough hook—it’s an effortless way to get the perfect kneading rhythm. This process develops the gluten that gives your rolls their wonderful chewiness while keeping them tender.
Step 4: Let the Dough Rise
Place your kneaded dough in a greased bowl, cover it with a clean towel or plastic wrap, and set it in a warm spot to rise for about an hour. The dough should double in size—this is when you really see the yeast’s magic working its way through the mixture. Patience here rewards you with the best texture later.
Step 5: Shape the Rolls
After the first rise, gently punch down the dough to release trapped air. Divide it into 12 to 15 equal portions. Shape each into a smooth, round ball—this final shaping is what gives your rolls that inviting, bakery-worthy look. Arrange them in a greased 9×13-inch baking dish or on a lined baking sheet.
Step 6: Second Rise
Cover your shaped rolls and allow them to rise again for 30 to 45 minutes. They should puff up beautifully, filling the pan and becoming irresistibly soft. This second rise adds extra fluffiness to every roll you pull from the oven.
Step 7: Bake the Rolls
Preheat your oven to 375°F (190°C). Before popping the rolls into the oven, brush the tops generously with melted butter. Bake for 15 to 18 minutes until they turn a gorgeous golden brown. That buttery brush is the secret to a shiny, flavorful crust that invites everyone to dig in.
Step 8: Serve
Brush the rolls again with melted butter right after baking for that extra dose of moisture and shine. Serve them warm—the beloved melt-in-your-mouth texture truly shines when these rolls are fresh and hot.
How to Serve Homemade Dinner Rolls Recipe
Garnishes
While these rolls are incredible as is, a sprinkle of flaky sea salt or fresh herbs like rosemary or parsley on top before baking makes them stand out even more. A light garlic butter glaze adds an irresistibly savory touch that’s perfect for dinner parties or game day snacking.
Side Dishes
Pairing your rolls with rich soups, slow-cooked stews, or roasted meats elevates any meal. Their soft texture and buttery flavor are perfect for mopping up gravies and sauces. Think classic chicken and mashed potatoes, hearty beef stew, or even a fresh garden salad for a lighter pairing.
Creative Ways to Present
For special occasions, try serving the rolls in a braided bread basket or warm them in a communal cast-iron skillet for a rustic vibe. You can also slice them open and offer an array of butters and spreads, inviting guests to customize their perfect bite.
Make Ahead and Storage
Storing Leftovers
Leftover rolls are best kept in an airtight container at room temperature for up to 2 days. This keeps them soft and ready to enjoy without drying out. If you want to extend their life, make sure to cool them completely before storing to avoid sogginess.
Freezing
These rolls freeze beautifully. Wrap individual rolls tightly in plastic wrap and then place them in a freezer-safe bag. They’ll keep well for up to 3 months. When you want to enjoy them, thaw overnight in the fridge or at room temperature for a few hours.
Reheating
To refresh your rolls, warm them in a preheated oven at 350°F (175°C) for about 10 minutes. For an extra touch of yum, brush with a little melted butter before warming. This method revives that fresh-baked texture and aroma that makes homemade dinner rolls so special.
FAQs
Can I use whole wheat flour instead of all-purpose flour?
Absolutely! You can substitute whole wheat flour for some or all of the all-purpose flour for a nuttier flavor and denser texture. Just know that the rolls may be a bit heavier and may require slightly more liquid to keep the dough soft.
What if my yeast doesn’t become foamy?
If the yeast doesn’t foam after mixing with warm milk and sugar, it might be old or the milk temperature was too hot or cold. Make sure to use fresh yeast and keep the milk around 110°F (45°C) when activating for the best results.
How can I make these rolls dairy-free?
You can swap out the milk with any plant-based milk like almond or oat, and use a dairy-free butter substitute for the melted butter. The texture will still be soft and delicious, perfect for those avoiding dairy.
Can I freeze the dough before baking?
Yes, you can freeze the shaped rolls after the first rise. Wrap the baking dish tightly in plastic and foil. When ready to bake, thaw overnight in the fridge, let them complete their second rise, then bake as usual.
What is the best way to get a shiny crust on these rolls?
The secret is brushing the tops with melted butter right before and immediately after baking. This not only gives them a shiny appearance but also locks in moisture and adds a lovely buttery flavor.
Final Thoughts
Making this Homemade Dinner Rolls Recipe is such a joyful, rewarding experience that brings warmth and comfort to any meal. Whether it’s your first time baking bread or you’re a seasoned pro, these rolls will quickly become a treasured staple in your kitchen. Don’t hesitate to try this recipe soon—you’ll delight in every soft, buttery, golden bite.
Print
Homemade Dinner Rolls Recipe
- Prep Time: 20 minutes
- Cook Time: 15-18 minutes
- Total Time: 2 hours 15 minutes
- Yield: 12-15 dinner rolls
- Category: Bread
- Method: Baking
- Cuisine: American
Description
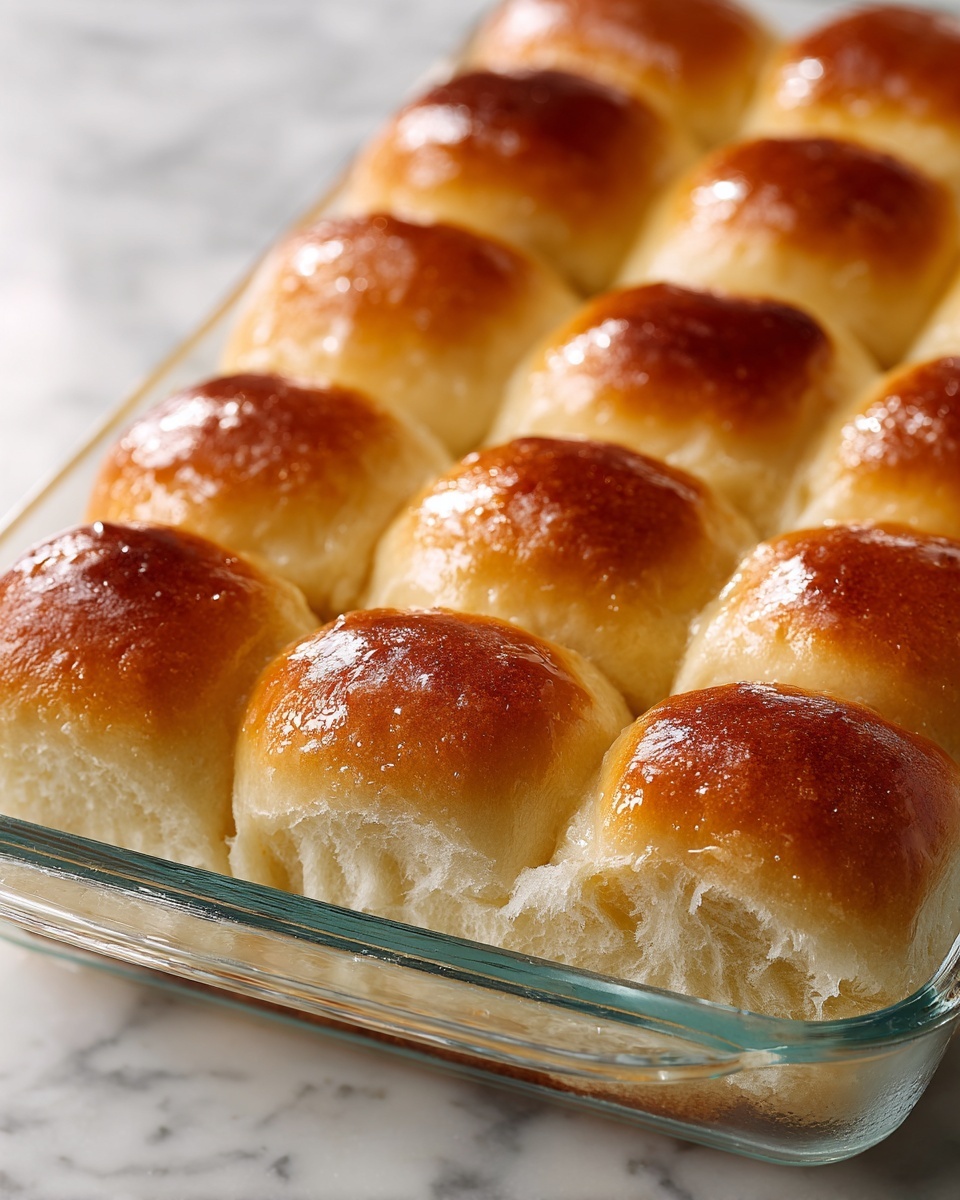
These soft and fluffy dinner rolls are perfect for any meal, boasting a tender crumb and golden crust achieved through a simple yeast dough recipe. Easy to make from scratch, they are ideal for family dinners, holiday gatherings, or any occasion that calls for a comforting bread side.
Ingredients
Dough Ingredients
- 3 1/2 to 4 cups all-purpose flour
- 1 packet (2 1/4 teaspoons) active dry yeast
- 1 cup warm milk (about 110°F/45°C)
- 1/4 cup sugar
- 1/4 cup unsalted butter, melted
- 1 large egg
- 1 teaspoon salt
For Brushing
- 2 tablespoons melted butter
Instructions
- Activate the Yeast: In a small bowl, combine the warm milk, sugar, and yeast. Let it sit undisturbed for 5-10 minutes, until the mixture becomes foamy and bubbly, indicating the yeast is active.
- Mix the Dough: In a large mixing bowl, whisk together 3 1/2 cups of flour and salt. Add the yeast mixture, melted butter, and egg. Stir until a dough forms, then gradually add more flour if necessary, until the dough is manageable and slightly sticky.
- Knead the Dough: Turn the dough out onto a floured surface and knead for 8-10 minutes until it becomes smooth, elastic, and no longer sticky. Alternatively, use a stand mixer with a dough hook attachment to knead for 7-8 minutes on medium speed.
- Let the Dough Rise: Place the kneaded dough in a greased bowl, turning it to coat all sides with oil or butter. Cover with a clean kitchen towel or plastic wrap and let it rise in a warm, draft-free spot for about 1 hour, or until doubled in size.
- Shape the Rolls: Punch down the risen dough to release air, then divide it into 12-15 equal portions. Shape each portion into a smooth ball by stretching the dough under itself and place them evenly spaced in a greased 9×13-inch baking dish or on a baking sheet.
- Second Rise: Cover the shaped rolls loosely with a clean towel or plastic wrap and let them rise again for 30-45 minutes, until puffed and nearly doubled in size.
- Bake the Rolls: Preheat your oven to 375°F (190°C). Before baking, brush the tops of the rolls with melted butter to encourage browning and a tender crust. Bake for 15-18 minutes until the rolls are golden brown on top and sound hollow when tapped.
- Serve: After baking, brush the rolls once more with melted butter while they are still warm. Serve warm to enjoy their soft, buttery texture.
Notes
- Ensure the milk is warm but not hot, ideally around 110°F (45°C), to avoid killing the yeast.
- The dough should be a bit sticky but manageable; add flour gradually to avoid dry rolls.
- You can substitute melted butter with oil if desired, but butter offers richer flavor.
- For extra flavor, add herbs or garlic powder into the dough before rising.
- Store cooled rolls in an airtight container at room temperature for up to 3 days, or freeze for longer storage.
- Brush with additional butter after baking for a glossy, soft crust.


