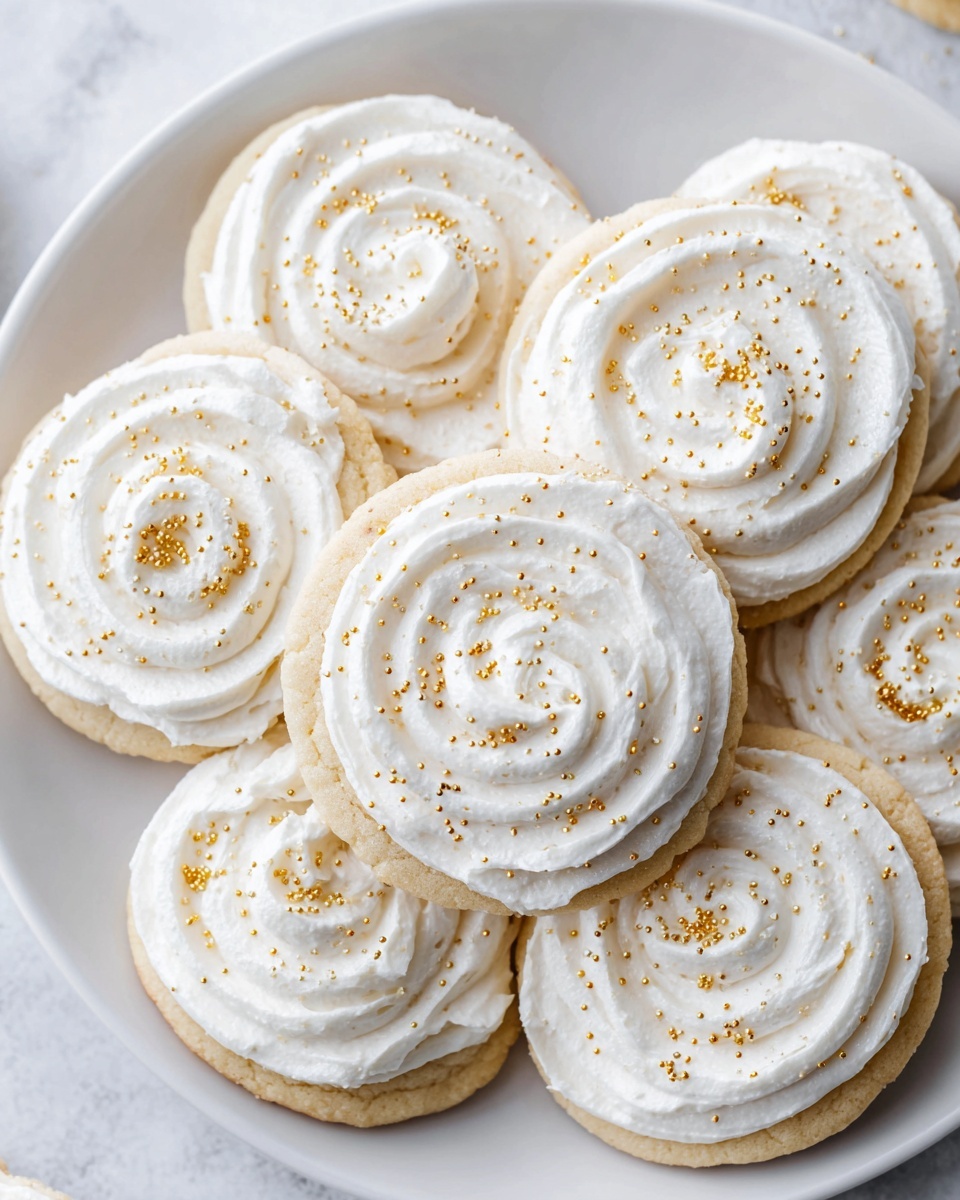
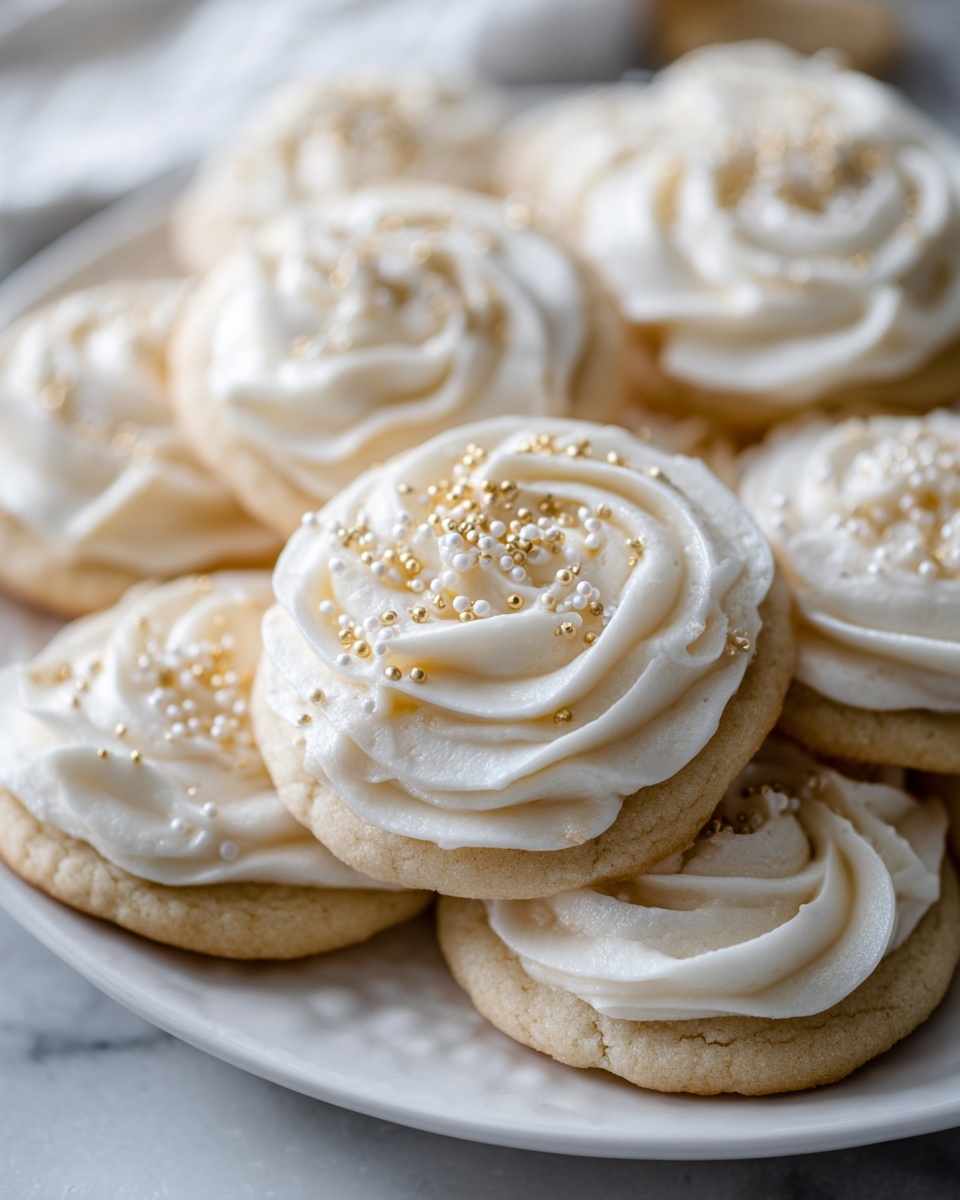
If you are looking to bring a burst of sunshine and a touch of tradition to your dessert table, this Italian Easter Cookies Recipe is an absolute must-try. These delightful cookies boast a perfect balance of tender, buttery dough and an irresistibly bright lemon glaze that makes every bite a joyful celebration. Rooted in Italian heritage, this recipe has the kind of homely charm that makes serving them feel like sharing a treasured family secret. Whether for Easter or simply to brighten a day, these festive cookies are sure to become a beloved favorite.

Ingredients You’ll Need
This Italian Easter Cookies Recipe relies on a handful of simple, pantry-friendly ingredients that come together beautifully to create a cookie with delicate flavor and the perfect texture. Each element, from flour to lemon zest, plays a key role in crafting that perfect balance of moistness, lightness, and vibrant citrus notes.
- 2 cups all-purpose flour: The foundational base that gives these cookies their tender structure.
- 3 tablespoons cornstarch: Adds softness by lightening the dough for a melt-in-your-mouth texture.
- 1 ½ teaspoons baking powder: Ensures a gentle rise for the perfect lightness.
- ½ teaspoon salt: Balances sweetness and enhances the other flavors.
- ¼ teaspoon baking soda: Helps the cookies rise slightly while tenderizing the crumb.
- 1 stick (½ cup) unsalted butter, softened: Provides richness and a smooth mouthfeel.
- ½ cup granulated sugar: Sweetens the dough while contributing to the cookie’s tender crumb.
- 1 large egg, room temperature: Binds all ingredients and adds moisture for that perfect consistency.
- 1 tablespoon pure vanilla extract: Adds warm, comforting depth to the flavor.
- 1 teaspoon lemon extract: Delivers a bright, aromatic citrus punch.
- Zest of 1 lemon: Infuses fresh lemon oils for that unmistakable zing.
- 1 ¾ cups confectioners’ sugar (powdered sugar): The base for a luscious, smooth glaze.
- Juice of 1 lemon: Adds tanginess and helps balance the sweetness in the glaze.
- Pinch of salt (for glaze): Enhances the lemon flavor and rounds out the sweetness.
- Sprinkles, lemon zest, or turbinado sugar for decoration: These add festive color and delightful crunch.
How to Make Italian Easter Cookies Recipe
Step 1: Prepare the Dough
Start by whisking together your dry ingredients – flour, cornstarch, baking powder, salt, and baking soda – in a medium bowl so they are evenly distributed and ready to mix into the wet ingredients. In a separate large bowl, cream the softened butter and granulated sugar until light and fluffy, about 4 minutes using an electric mixer. This step is key for creating a tender and airy cookie. Next, beat in the egg, followed by the vanilla extract, lemon extract, and fresh lemon zest to infuse a bright, fragrant flavor. Gently add the dry ingredients to your wet mix, stirring until just combined. To let the dough firm up and the flavors meld beautifully, cover the bowl and refrigerate for at least 2 hours. It’s well worth the wait!
Step 2: Shape Your Cookies
Preheat your oven to 350°F (175°C) and line baking sheets with parchment paper to prevent sticking and ensure even baking. On a lightly floured surface, take portions of the chilled dough and roll them into 1-inch balls. Then roll each ball into a 4-5 inch rope. The distinctive shape of these cookies is what makes them so charming. Form the rope into a lowercase “b” and thread the long end back through the hole to create a neat little knot. Gently press the knot to make sure it holds during baking. This shaping step adds a touch of traditional elegance and personal satisfaction.
Step 3: Bake to Perfection
Arrange your knotted cookies on the parchment-lined baking sheets, spaced slightly apart so they can bake evenly without sticking. Pop them into the oven for about 15 minutes or until they acquire a lovely light golden hue. The aroma of lemon and vanilla wafting through your kitchen will be simply irresistible at this point—almost too good to wait for them to cool!
Step 4: Prepare the Glaze
While the cookies are baking, whisk together the confectioners’ sugar, fresh lemon juice, and a pinch of salt to create a smooth and glossy glaze. The lemon juice not only adds tang but also gives the glaze that perfect consistency, thick enough to coat but easy to drizzle. This glaze will be the crowning glory of your Italian Easter Cookies Recipe.
Step 5: Glaze and Decorate
Once out of the oven, transfer your warm cookies to a wire rack to cool slightly. Drizzle the glaze generously over each cookie while they’re still warm, letting it drip into every nook and cranny. Immediately adorn them with colorful sprinkles, extra lemon zest, or crunchy turbinado sugar to add texture and festive flair. Let the glaze set completely before serving so each cookie retains its iconic glossy finish and delicate crunch.
How to Serve Italian Easter Cookies Recipe

Garnishes
For garnishing these Italian Easter cookies, think vibrant and fresh to brighten up their tender lemon flavor. Classic sprinkles bring a joyful pop of color, while a sprinkle of extra lemon zest adds a fresh citrus aroma that enhances the glaze’s tang. If you prefer a bit of crunch, turbinado sugar crystals impart a rustic sparkle and satisfying texture.
Side Dishes
Serve these cookies alongside a cup of freshly brewed espresso or a light herbal tea like chamomile or lemon verbena to complement the citrus notes. For a brunch or dessert table, pair them with fresh berries or a tart fruit salad. The lightness of these sides balances the sweetness and adds refreshment that makes each bite even more enjoyable.
Creative Ways to Present
Presentation can make these cookies feel extra special. Arrange them on a festive platter lined with aromatic lemon leaves or sprinkle some edible flowers around for a spring-inspired look. You could also tie individual cookies with pastel-colored ribbons or place them in decorative cellophane bags as charming party favors. The intricate knotted shapes shine when displayed like little edible works of art.
Make Ahead and Storage
Storing Leftovers
These cookies keep beautifully in an airtight container at room temperature for up to 5 days. Make sure the glaze is completely set before storing to prevent sticking and preserve their pretty appearance. Stored properly, the cookies stay tender and flavorful, perfect for snacking anytime.
Freezing
If you want to prepare ahead for celebrations, these cookies freeze well. After shaping but before baking, place them on a baking sheet lined with parchment and freeze until firm, then transfer to a freezer-safe container. When ready to bake, no need to thaw—pop them straight into the oven, adding a minute or two to baking time. For fully baked cookies, you can freeze them glazed and decorated by layering with parchment paper in an airtight container. Thaw at room temperature gently before serving.
Reheating
To refresh your Italian Easter Cookies Recipe leftovers, warm them briefly in a low oven (around 300°F) for 5 minutes. This slightly softens the glaze and revives their fresh-baked charm. Avoid microwaving, as it can make the cookies too soft or lose the glaze’s lovely texture.
FAQs
Can I substitute the lemon extract with another flavor?
Absolutely! While lemon extract gives these cookies their signature brightness, you can try almond or orange extract for a delicious twist. Just keep the lemon zest and juice in the glaze to maintain that fresh citrus finish.
Why do the cookies need to be refrigerated before baking?
Chilling the dough firms it up for easier shaping and helps develop subtle flavors as it rests. It also prevents the cookies from spreading too much while baking, letting them hold their beautiful knotted shape.
Can I make these cookies gluten-free?
With some experimentation, yes! Swap the all-purpose flour for a gluten-free blend that includes xanthan gum for structure. Just be mindful that texture might change slightly, but the lemon glaze adds plenty of flavor to keep them fantastic.
Is the glaze necessary, or can I skip it?
The glaze really elevates this Italian Easter Cookies Recipe by adding a sweet and tangy finish that softens the cookie edges and makes each bite irresistible. Skipping it would leave the cookies drier and less flavorful, so it’s worth the little extra effort.
How long do these cookies keep their best flavor?
They taste freshest within the first 2-3 days. After that, while still tasty, they may start to lose some moisture. Proper airtight storage helps preserve their delightful texture and flavor up to about 5 days.
Final Thoughts
Making this Italian Easter Cookies Recipe is such a joyful experience, from mixing the fragrant, buttery dough to shaping those charming knots and finally drizzling that glossy lemon glaze. These cookies are more than just treats; they’re little celebrations of tradition and flavor that brighten any occasion. I can’t wait for you to try them and discover how their tender crumb and zesty sweetness can bring a slice of Italian springtime right into your kitchen.
Print
Italian Easter Cookies Recipe
- Prep Time: 20 minutes
- Cook Time: 15 minutes
- Total Time: 2 hours 35 minutes
- Yield: 30 servings
- Category: Dessert
- Method: Baking
- Cuisine: Italian
Description
These classic Italian Easter Cookies are tender, lemony, and beautifully glazed with a sweet lemon icing. Shaped into charming knots, they are perfect for celebrating the holiday with a traditional treat that’s both delicious and visually delightful.
Ingredients
Dry Ingredients
- 2 cups all-purpose flour, plus more for dusting
- 3 tablespoons cornstarch
- 1 ½ teaspoons baking powder
- ½ teaspoon salt
- ¼ teaspoon baking soda
Wet Ingredients
- 1 stick (½ cup) unsalted butter, softened
- ½ cup granulated sugar
- 1 large egg, room temperature
- 1 tablespoon pure vanilla extract
- 1 teaspoon lemon extract
- Zest of 1 lemon
Glaze and Decoration
- 1 ¾ cups confectioners’ sugar (powdered sugar)
- Juice of 1 lemon
- Pinch of salt
- Sprinkles, lemon zest, or turbinado sugar for decoration
Instructions
- Prepare Dough: In a medium bowl, whisk together the flour, cornstarch, baking powder, salt, and baking soda. In a separate large bowl, use an electric mixer to cream the softened butter and granulated sugar for about 4 minutes until light and fluffy. Add the egg and beat well, then stir in the vanilla extract, lemon extract, and lemon zest. Gradually combine the dry ingredients into the wet ingredients, mixing until just combined. Cover the dough and refrigerate it for at least 2 hours to firm up.
- Shape Cookies: Preheat the oven to 350°F (175°C) and line baking sheets with parchment paper. On a lightly floured surface, roll the chilled dough into 1-inch balls. Then, shape each ball into a 4-5 inch rope. Form the rope into a lowercase “b” shape, thread the long end through the hole to create a knot, and gently pat to secure.
- Bake: Arrange the shaped cookies on the prepared baking sheets and bake in the preheated oven for 15 minutes or until they are lightly golden around the edges.
- Make Glaze: While the cookies bake, whisk together the confectioners’ sugar, lemon juice, and a pinch of salt until the glaze is smooth and lump-free.
- Glaze and Decorate: Transfer the baked cookies to a wire rack. Drizzle the lemon glaze over the warm cookies. While the glaze is still wet, immediately decorate with sprinkles, lemon zest, or turbinado sugar. Let the glaze set completely before serving.
Notes
- Refrigerating the dough for at least 2 hours helps the cookies maintain their shape when baked.
- Using fresh lemon zest and juice enhances the bright citrus flavor in the cookies and glaze.
- These cookies can be stored in an airtight container at room temperature for up to 5 days.
- For a firmer glaze, add more powdered sugar; for a thinner glaze, add a bit more lemon juice.
- Ensure all ingredients are at room temperature before mixing for best texture.


