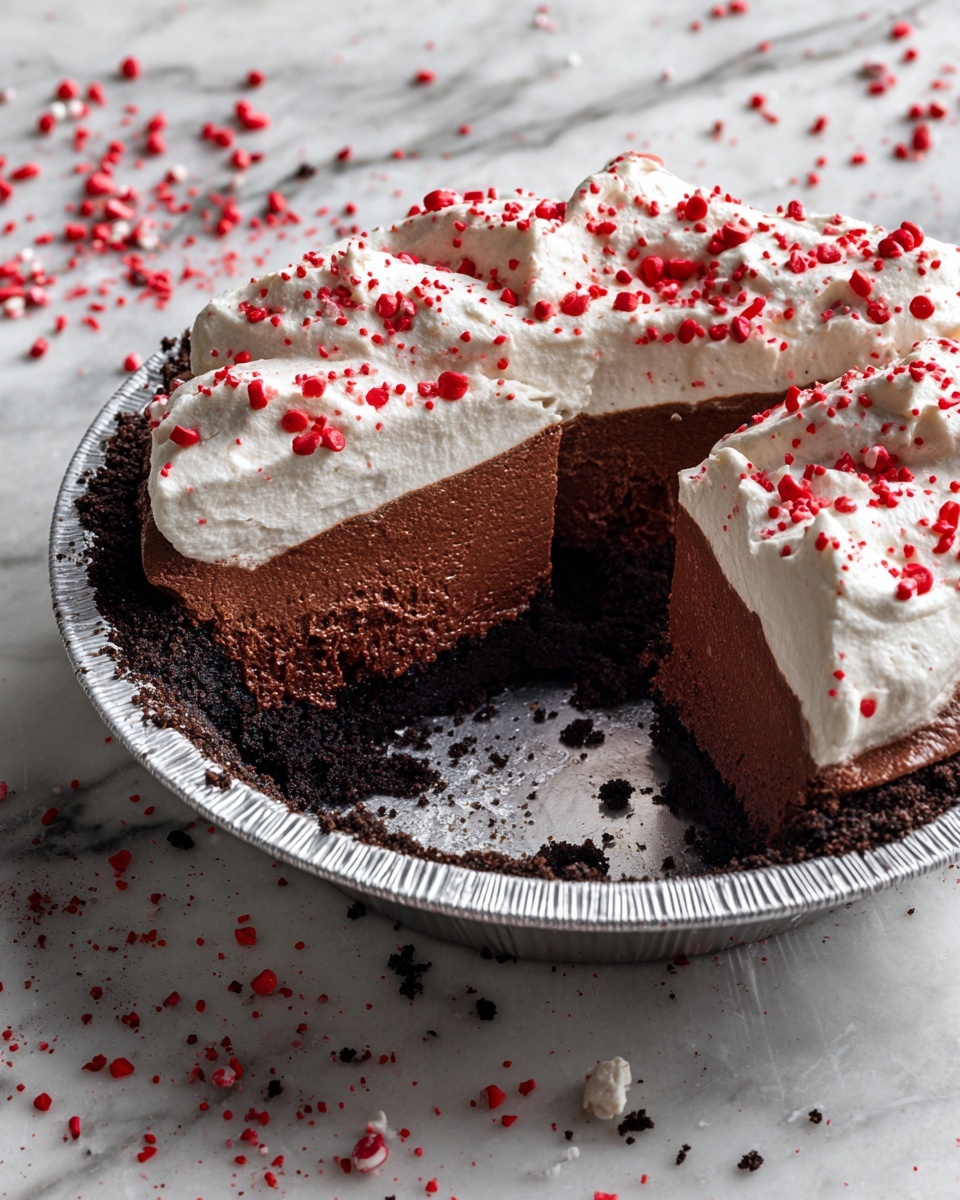
If you’re searching for a festive, refreshing dessert that’s both creamy and crunchy without turning on the oven, this No-Bake Candy Cane Pie Recipe will become your new holiday obsession. Featuring a luscious peppermint-infused filling flecked with crushed candy canes nestled in a chocolate cookie crust, it perfectly balances light fluffiness with vibrant holiday flavor—ideal for Christmas celebrations, potlucks, or any time you want a cool, no-fuss treat packed with cheerful charm.
Ingredients You’ll Need
The magic behind this No-Bake Candy Cane Pie Recipe lies in a handful of simple ingredients that combine to create a dessert bursting with flavor, texture, and color. Each element plays its part: the chocolate cookie crumbs provide a crisp, chocolatey foundation; the cream cheese and heavy cream bring that velvety smoothness and lightness; and the peppermint extract paired with crushed candy canes delivers a festive punch.
- Chocolate cookie crumbs (1 1/2 cups): Use finely crushed Oreos or your favorite chocolate cookies for a rich, crunchy crust that complements the filling perfectly.
- Unsalted butter (5 tablespoons, melted): Helps bind the cookie crumbs together while adding a gentle buttery note.
- Cream cheese (8 oz, softened): Provides a creamy base essential for that luscious, dreamy texture.
- Powdered sugar (1/2 cup): Sweetens the filling evenly and melts seamlessly into the cream cheese.
- Peppermint extract (1/2 teaspoon): The star of holiday flavor that brightens each bite with cool, minty freshness.
- Heavy whipping cream (1 1/2 cups): Whipped to fluffy peaks, it lightens the filling to cloud-like perfection.
- Crushed candy canes (1/3 cup, plus extra for topping): Adds delightful crunch and festive flair throughout the pie.
- Red or pink food coloring (optional): For a pop of cheerful color that makes the dessert as pretty as it tastes.
- Optional toppings: Whipped cream, extra crushed candy canes, chocolate shavings to make your pie truly irresistible.
How to Make No-Bake Candy Cane Pie Recipe
Step 1: Prepare the Chocolate Cookie Crust
Start by combining your finely crushed chocolate cookie crumbs with melted unsalted butter in a mixing bowl. Stir until the crumbs are evenly coated and hold together when pressed. Press this mixture firmly into the bottom and up the sides of a 9-inch pie dish; this sets the stage for the decadent filling. Chill the crust in the refrigerator for at least 20 minutes to firm up, making sure it holds its shape and provides that perfect crunch in every bite.
Step 2: Make the Peppermint Cream Cheese Filling
In a large bowl, beat the softened cream cheese together with the powdered sugar and peppermint extract until the mixture is smooth and creamy. This creates a rich, flavorful base that carries the holiday spirit beautifully. The careful balance of sweetness and mint keeps this filling refreshing and light, avoiding anything overpowering.
Step 3: Whip the Heavy Cream to Stiff Peaks
In a separate chilled bowl, whip the heavy cream until stiff peaks form. This step is crucial because the fluffy whipped cream is what transforms the filling from dense to light and airy. It’s that heavenly cloud-like texture that makes this pie a showstopper.
Step 4: Combine Filling Components
Gently fold the whipped cream into the cream cheese mixture. This folding motion is key to preserving airiness, so take your time and use a delicate touch. Next, stir in the crushed candy canes, and if you’re using food coloring, add a few drops now to give your filling a festive tint that will brighten any dessert table.
Step 5: Assemble and Chill
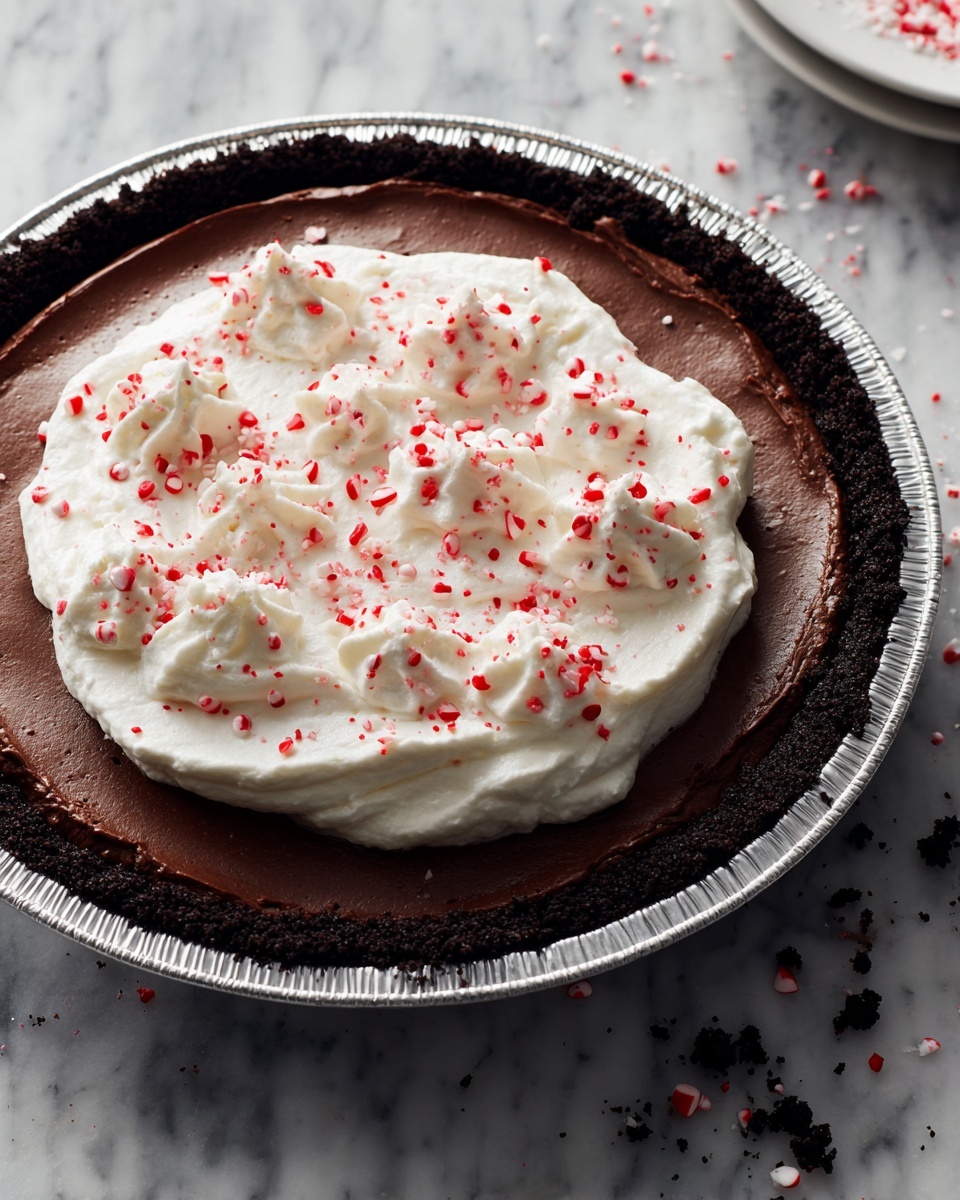
Spread the peppermint cream filling evenly into the chilled cookie crust, smoothing the top for a polished finish. Pop the pie back into the refrigerator for at least 4 hours, or until set and firm. The chilling time allows all the flavors to meld beautifully while the filling fully solidifies into that perfect creamy consistency.
How to Serve No-Bake Candy Cane Pie Recipe
Garnishes
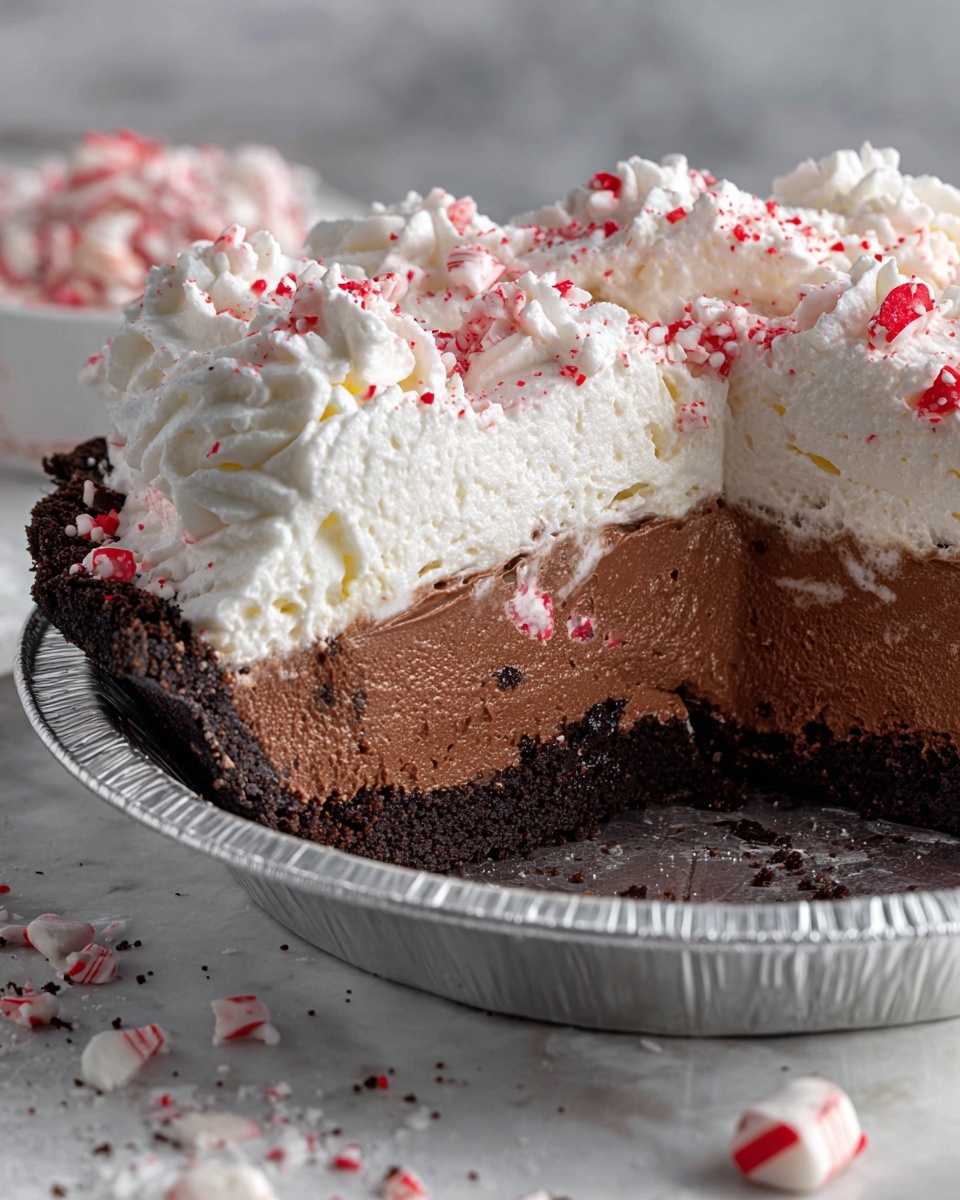
When it comes to garnishing your pie, the options are delightful and enhance the festive vibe. Dollops of freshly whipped cream add an extra layer of creaminess and volume, while sprinkling more crushed candy canes on top provides that anticipated crunch and a burst of peppermint color. For a touch of elegance and chocolatey depth, a handful of chocolate shavings brings serene contrast and visual appeal.
Side Dishes
This pie pairs wonderfully with a variety of light accompaniments that won’t overpower its refreshing flavor. Consider serving alongside hot cocoa or peppermint-spiked coffee for an indulgent treat. Fresh fruit like raspberries or strawberries also contrast nicely with the creamy texture, adding natural sweetness and tartness.
Creative Ways to Present
For a wow factor, serve individual slices with a swirl of whipped cream artistically piped on top, crowned with a mini candy cane as a festive handle. Or, plate with a drizzle of chocolate or caramel sauce artfully zigzagged across the plate. You can even make mini versions in small dessert glasses for party-friendly, grab-and-go servings that keep things neat and elegant.
Make Ahead and Storage
Storing Leftovers
After serving, wrap any leftover slices tightly in plastic wrap or store them in an airtight container in the refrigerator. The pie will keep well for up to 3 days, maintaining its creamy texture and vibrant flavor. This makes it a great make-ahead dessert if you want to enjoy it over a couple of days.
Freezing
If you want to prepare your No-Bake Candy Cane Pie Recipe ahead of time or save leftovers for later, freezing is an option. Wrap the whole pie securely in plastic wrap and foil before placing it in the freezer. When frozen, it can last up to 1 month. To serve, thaw in the refrigerator overnight to preserve its creamy texture without any icy chunks.
Reheating
This pie is best served chilled and does not require reheating. In fact, warming it up would compromise its signature fluffy texture and cause the creamy filling to lose its structure. Simply remove it from the fridge a few minutes before serving to let it soften slightly for easier slicing.
FAQs
Can I make this pie gluten-free?
Yes! Simply swap the chocolate cookie crumbs for gluten-free chocolate cookies, and your pie will be safe for gluten-sensitive guests without sacrificing any flavor or texture.
Is there a non-dairy version of this pie?
You can experiment with dairy-free cream cheese and non-dairy whipping cream alternatives, but results may vary slightly in texture. Choose brands that whip well and taste creamy for the best outcome.
How strong is the peppermint flavor?
The 1/2 teaspoon of peppermint extract offers a balanced, refreshing peppermint note without being overpowering. You can increase it slightly if you prefer a stronger mint taste, but it’s best to add a little at a time to avoid overwhelming the filling.
Can I use fresh peppermint instead of extract?
Fresh peppermint won’t provide the same intense flavor as extract and may add an herbal rather than sweet mint note. For that classic holiday peppermint taste, extract is recommended.
What size pie dish should I use?
A standard 9-inch pie dish works perfectly for this recipe, balancing the crust-to-filling ratio for ideal texture and serving eight generous slices.
Final Thoughts
This No-Bake Candy Cane Pie Recipe is a fantastically easy, utterly delightful holiday dessert that will quickly become a cherished tradition. Its cool peppermint cream filling layered on a rich chocolate crust is as joyful to eat as it is simple to make. Give it a try and watch it disappear at your next festive gathering—everyone will be asking for the recipe!
Print
No-Bake Candy Cane Pie Recipe
- Prep Time: 20 minutes
- Cook Time: 0 minutes
- Total Time: 4 hours 20 minutes
- Yield: 8 servings
- Category: Dessert
- Method: No-Cook
- Cuisine: American
- Diet: Vegetarian
Description
No-bake candy cane pie is a festive, creamy dessert featuring a crunchy chocolate cookie crust and a cool peppermint-flavored filling studded with crushed candy canes. This light and fluffy pie is perfect for holiday celebrations, Christmas parties, potlucks, or as a convenient make-ahead treat requiring no baking.
Ingredients
For the Crust:
- 1 1/2 cups chocolate cookie crumbs (like Oreos, finely crushed)
- 5 tablespoons unsalted butter (melted)
For the Filling:
- 8 oz cream cheese (softened)
- 1/2 cup powdered sugar
- 1/2 teaspoon peppermint extract
- 1 1/2 cups heavy whipping cream
- 1/3 cup crushed candy canes (plus more for topping)
- Red or pink food coloring (optional)
Optional Toppings:
- Whipped cream
- Extra crushed candy canes
- Chocolate shavings
Instructions
- Prepare the Crust: In a bowl, combine the chocolate cookie crumbs with melted butter until the mixture is well incorporated. Press this mixture firmly into the bottom and up the sides of a 9-inch pie dish to form an even crust. Chill in the refrigerator for at least 20 minutes to set.
- Make the Filling: In a large mixing bowl, beat the softened cream cheese with powdered sugar and peppermint extract until the mixture is smooth and creamy. In a separate bowl, whip the heavy cream until stiff peaks form, ensuring it holds its shape.
- Combine Ingredients: Gently fold the whipped cream into the cream cheese mixture to maintain the airy texture. Stir in the crushed candy canes and add red or pink food coloring if desired for a festive look.
- Assemble the Pie: Spread the prepared filling evenly into the chilled crust and smooth the surface with a spatula. Place the pie in the refrigerator and chill for at least 4 hours, or until firm enough to slice.
- Serve and Garnish: Before serving, decorate the pie with optional toppings such as whipped cream, extra crushed candy canes, and chocolate shavings to enhance flavor and presentation.
Notes
- For a gluten-free version, use gluten-free chocolate cookies.
- The pie can be prepared a day in advance and stored in the refrigerator to enhance flavors and convenience.
- To intensify the peppermint flavor, increase the peppermint extract gradually while tasting to avoid overpowering the dessert.


