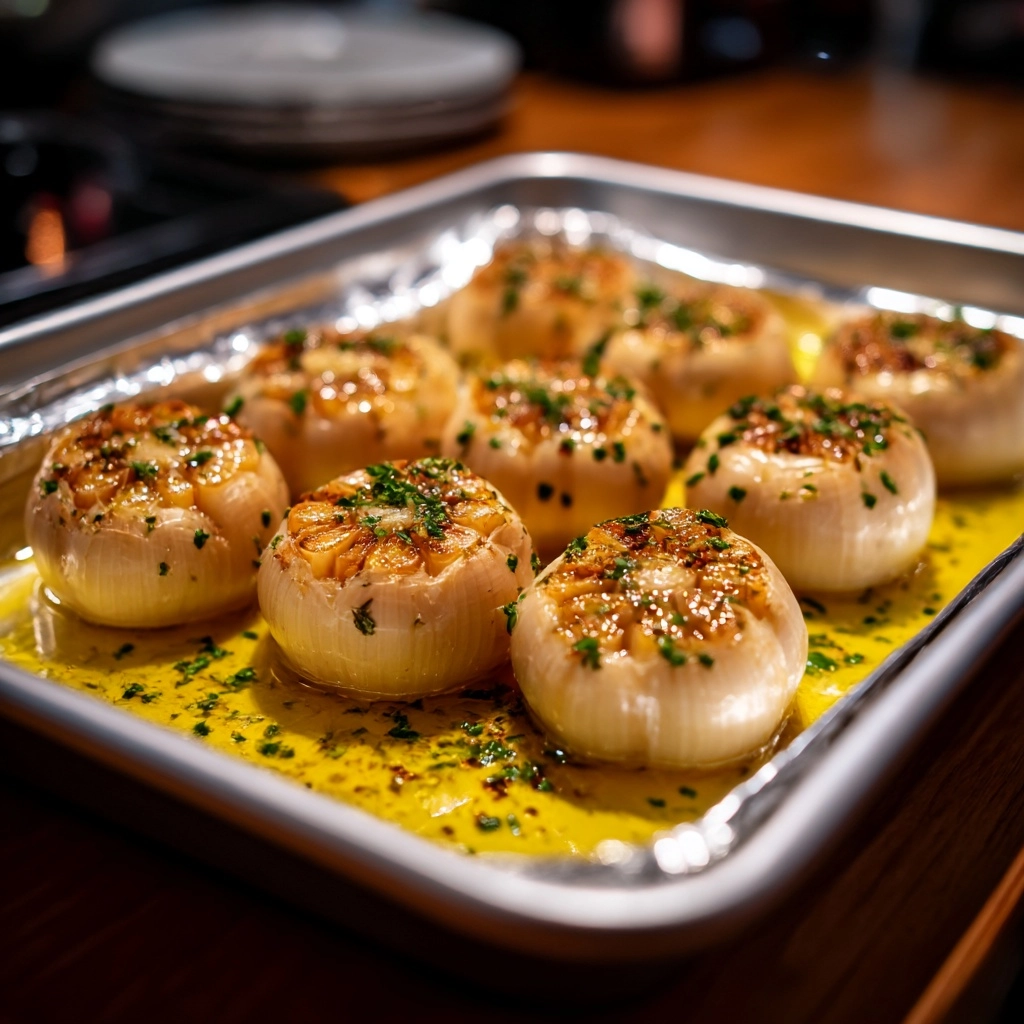
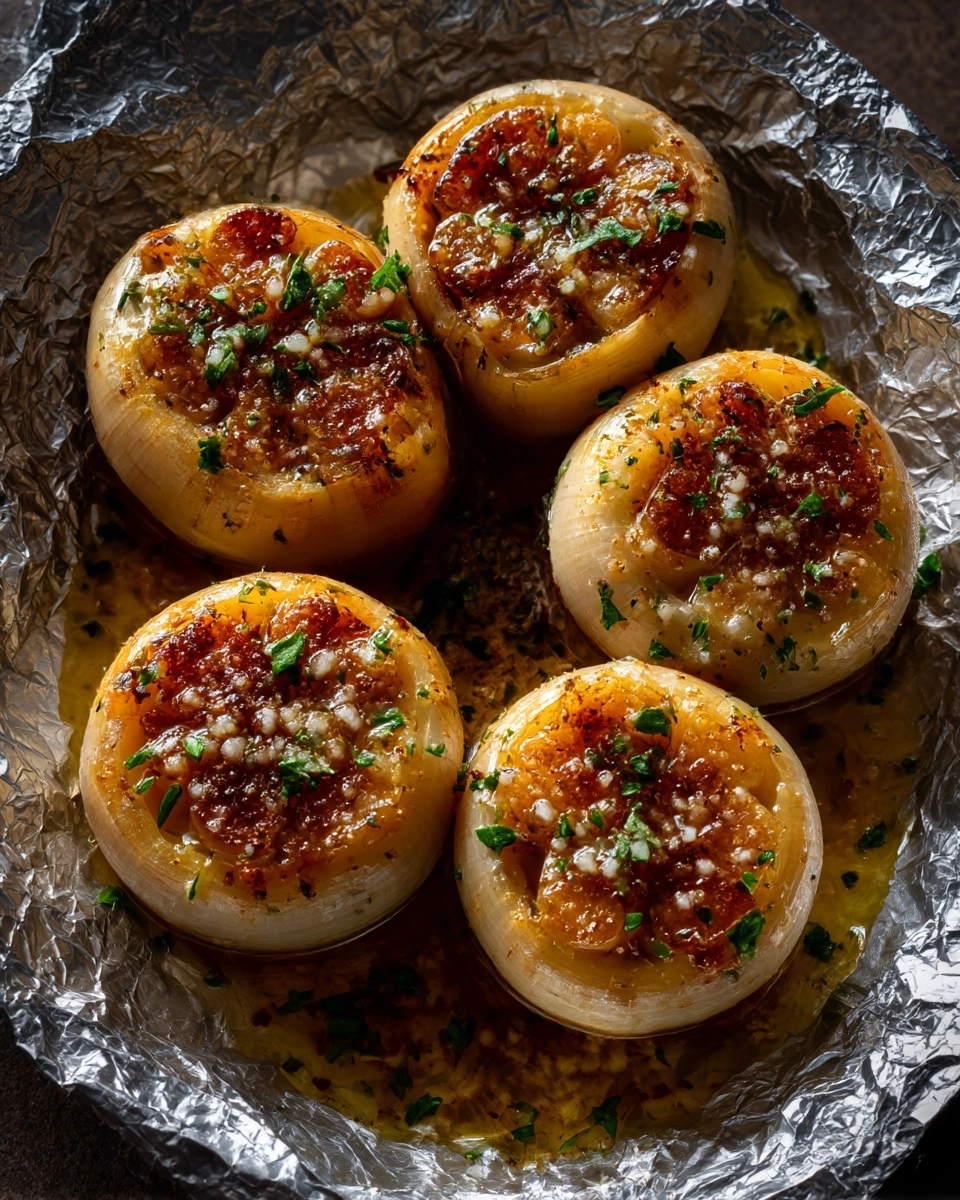
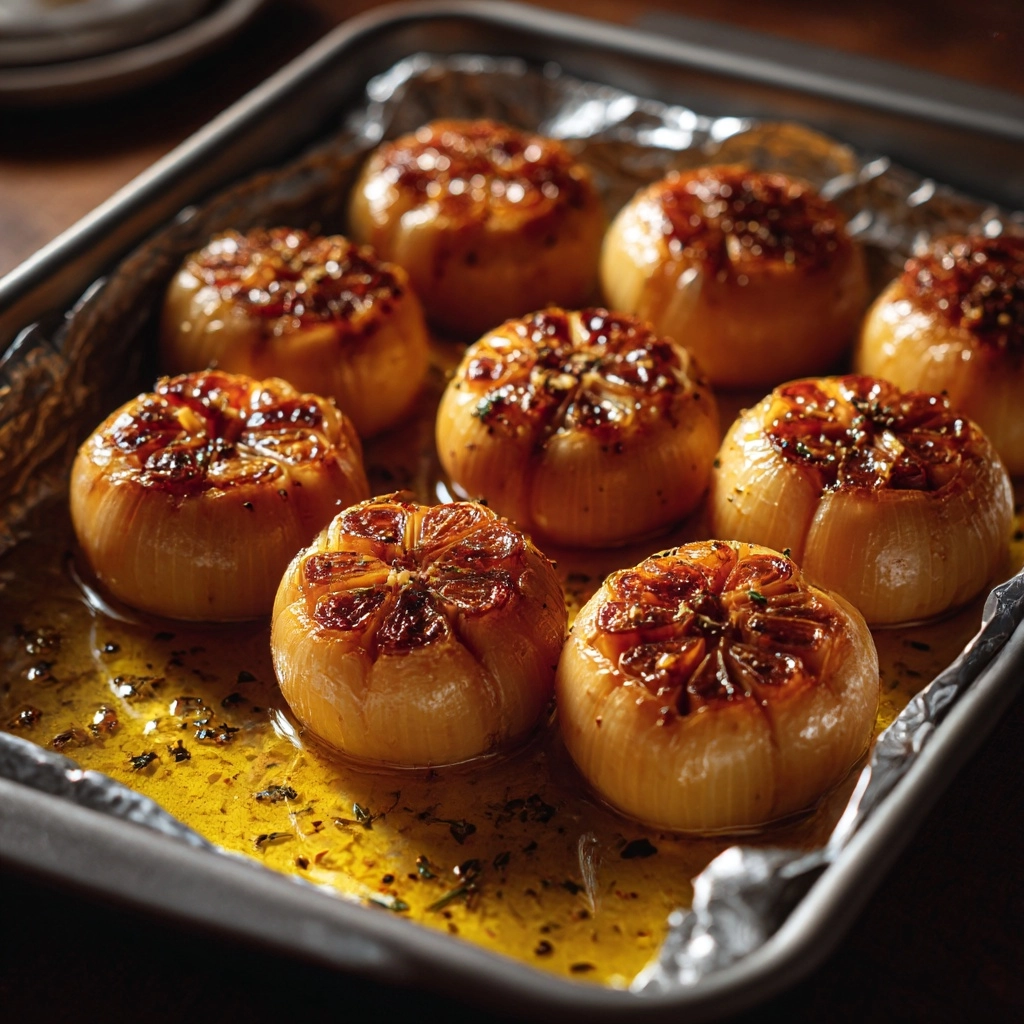
There are few kitchen joys as simple and transformative as roasting a head of garlic. Roasted Garlic softens into a mellow, buttery spread that brings a gentle, sweet aroma and flavor to everything it touches. It takes any meal up a notch with its irresistible fragrance and creamy texture, and honestly, it’s the secret ingredient that makes almost any dish special. Eaten warm out of the oven or smeared on bread, you’ll be shocked by how the bite and heat of raw cloves melt away, leaving behind pure, savory gold.
Ingredients You’ll Need
Gathering your ingredients for Roasted Garlic couldn’t be more straightforward, but choosing good-quality basics makes all the difference. Each one plays a small but vital role in coaxing out the cloves’ signature sweetness, adding bold aroma, and ensuring golden, caramelized results.
- Garlic bulbs: Choose tight, heavy heads with unbroken skins—these roast up sweet, creamy, and spoonable.
- Olive oil: Drizzling with a fruity, good-quality olive oil helps the garlic soften and caramelize while infusing it with rich flavor.
- Salt: Just a pinch draws out moisture and wakes up the subtle flavors as the cloves roast.
- Optional herbs (thyme or rosemary): Tucking in a few sprigs for the roast infuses the garlic with an herbal aroma that’s simply divine.
How to Make Roasted Garlic
Step 1: Prep Your Garlic Heads
Start by preheating your oven to 400°F (200°C). Peel away the loose, papery outer layers of the garlic bulbs, but keep the heads intact. Using a sharp knife, carefully slice about a quarter inch off the top of each bulb to reveal the tips of all the cloves inside—this will help the oil seep in and the garlic roast evenly.
Step 2: Dress and Wrap
Arrange your cut garlic heads, cut-side up, on a baking sheet or in a small baking dish. Generously drizzle each bulb with olive oil, letting it trickle into the exposed cloves. Sprinkle with salt, and if you’re using them, tuck a few sprigs of fresh herbs around the bulbs. Next, wrap each head individually in foil to form a snug packet, locking in steam for the creamiest results.
Step 3: Into the Oven
Slide the foil-wrapped bulbs into the oven and bake for about 40–45 minutes. The kitchen will start to smell amazing! When the garlic is done, the cloves will feel very soft when pressed and will have turned a lovely, golden color. If you want even deeper caramelization, open up the foil for the final 5–10 minutes of roasting.
Step 4: Cool and Squeeze
Carefully remove your foil packets from the oven and let them cool just enough to handle—they’ll be piping hot. Once safe to touch, squeeze each roasted garlic bulb at the base and watch the luscious, nutty cloves pop right out. Their texture should be plush and easily spreadable.
How to Serve Roasted Garlic

Garnishes
Just before serving, consider a sprinkle of flaky sea salt or freshly chopped parsley for a pop of color and a burst of freshness. If you love cheese, a dusting of grated Parmesan over the warm cloves takes the Roasted Garlic to new heights. Even a drizzle of extra virgin olive oil as a finishing touch can add a delightful gloss and richness.
Side Dishes
Roasted Garlic makes nearly every meal more memorable. It’s perfect spread onto slices of warm baguette as an appetizer or served alongside a cheese board. Fold it into creamy mashed potatoes, or swirl it through risotto or pasta for an instant flavor boost. Don’t be shy—its mellow flavor shines anywhere you want a soft, savory undertone.
Creative Ways to Present
For a dramatic effect, serve the whole roasted bulbs right on a platter and invite guests to squeeze out their own cloves. Or, press the soft garlic into a ramekin, then use as a decadent dip for crudité or chips. For brunch, try mashing roasted garlic into butter for an unforgettable slather on toast and eggs. Roasted Garlic even works as an instant spread for sandwiches and wraps.
Make Ahead and Storage
Storing Leftovers
If you somehow manage not to eat every clove, store extra Roasted Garlic in an airtight container in the refrigerator. Drizzle with a little olive oil to help preserve its luscious texture. It will stay tasty and mellow for up to one week, ready to add a boost of flavor to anything you’re cooking.
Freezing
Roasted Garlic freezes beautifully! Press the cloves out and freeze them in a single layer on a parchment-lined baking sheet. Once frozen, transfer them to a small freezer bag or airtight container. This way, you can grab a clove or two anytime you want them, whether it’s for sauces, soups, or a quick spread.
Reheating
To enjoy Roasted Garlic warm, gently reheat the cloves in the microwave for a few seconds, or pop them into a preheated oven for just a few minutes. Always reheat only what you plan to use, as repeated warming can dull the delicate flavor. Adding a drop of olive oil before reheating helps restore any lost moisture.
FAQs
How do I know when the Roasted Garlic is done?
You’ll know Roasted Garlic is ready when the cloves are deeply golden, soft all the way through, and offer almost no resistance when pierced with a knife. The aroma will go from sharp to sweetly mellow, and the entire house will smell heavenly.
Can I use different types of garlic for roasting?
Absolutely! Standard white garlic, elephant garlic, or even purple varieties all roast beautifully. Elephant garlic will be milder and the cloves larger, while purple garlic can provide a more nuanced flavor and a striking visual appeal.
Do I need to roast garlic with herbs?
Herbs are purely optional but highly encouraged if you want to layer in extra aroma. Thyme and rosemary are classic, but sage or oregano add their own twist. Roasted Garlic is delicious even without, so don’t worry if you keep it simple!
Can I make Roasted Garlic without foil?
If you prefer to avoid foil, simply use a small, covered ovenproof dish or a dedicated garlic roaster. The goal is to trap steam around the garlic so it becomes super soft. Without a cover, the cloves can dry out before they caramelize properly.
What are some unique ways to use leftover Roasted Garlic?
Leftover Roasted Garlic is a true kitchen treasure! Mash it into salad dressings, stir it into hummus, blend into soups, or even whisk it into mayonnaise for an instant aioli. Pretty much anywhere you’d use regular garlic, try swapping in this roasted version for a mellow, sweet twist.
Final Thoughts
I hope you’ll give Roasted Garlic a try—playing with this simple technique will totally change the way you think about garlic. It’s cozy, slightly indulgent, and guaranteed to impress. Make an extra batch; once you taste that creamy, mellow flavor, you’ll want Roasted Garlic on hand for every meal!
Print
Roasted Garlic Recipe
- Prep Time: 5 minutes
- Cook Time: 40-45 minutes
- Total Time: 45-50 minutes
- Yield: 3 roasted garlic heads 1x
- Category: Appetizer/Side Dish
- Method: Baking
- Cuisine: Various
- Diet: Vegetarian
Description
Roasted garlic is a versatile ingredient that adds a deep, mellow flavor to dishes. Learn how to roast garlic with this simple recipe.
Ingredients
Ingredients:
- 3 heads of garlic
- 1–2 tablespoons olive oil
- Salt and pepper to taste
Instructions
- Preheat the oven: Preheat your oven to 400°F (200°C).
- Prepare the garlic: Cut the top off each head of garlic to expose the cloves.
- Drizzle with oil: Drizzle olive oil over the exposed garlic cloves.
- Season: Sprinkle with salt and pepper.
- Wrap in foil: Wrap each head of garlic in aluminum foil.
- Bake: Place the foil-wrapped garlic heads in the oven and bake for about 40-45 minutes, or until the cloves are soft and caramelized.
- Cool and use: Allow the roasted garlic to cool slightly before squeezing the cloves out of their skins. Use in various dishes or spread on bread.
Notes
Notes:
- Roasted garlic can be stored in the refrigerator for up to a week.
- Adjust the cooking time based on the size of the garlic heads.
Nutrition
- Serving Size: 1 clove
- Calories: 5
- Sugar: 0g
- Sodium: 0mg
- Fat: 0g
- Saturated Fat: 0g
- Unsaturated Fat: 0g
- Trans Fat: 0g
- Carbohydrates: 1g
- Fiber: 0g
- Protein: 0g
- Cholesterol: 0mg


Your email address will not be published. Required fields are marked *