
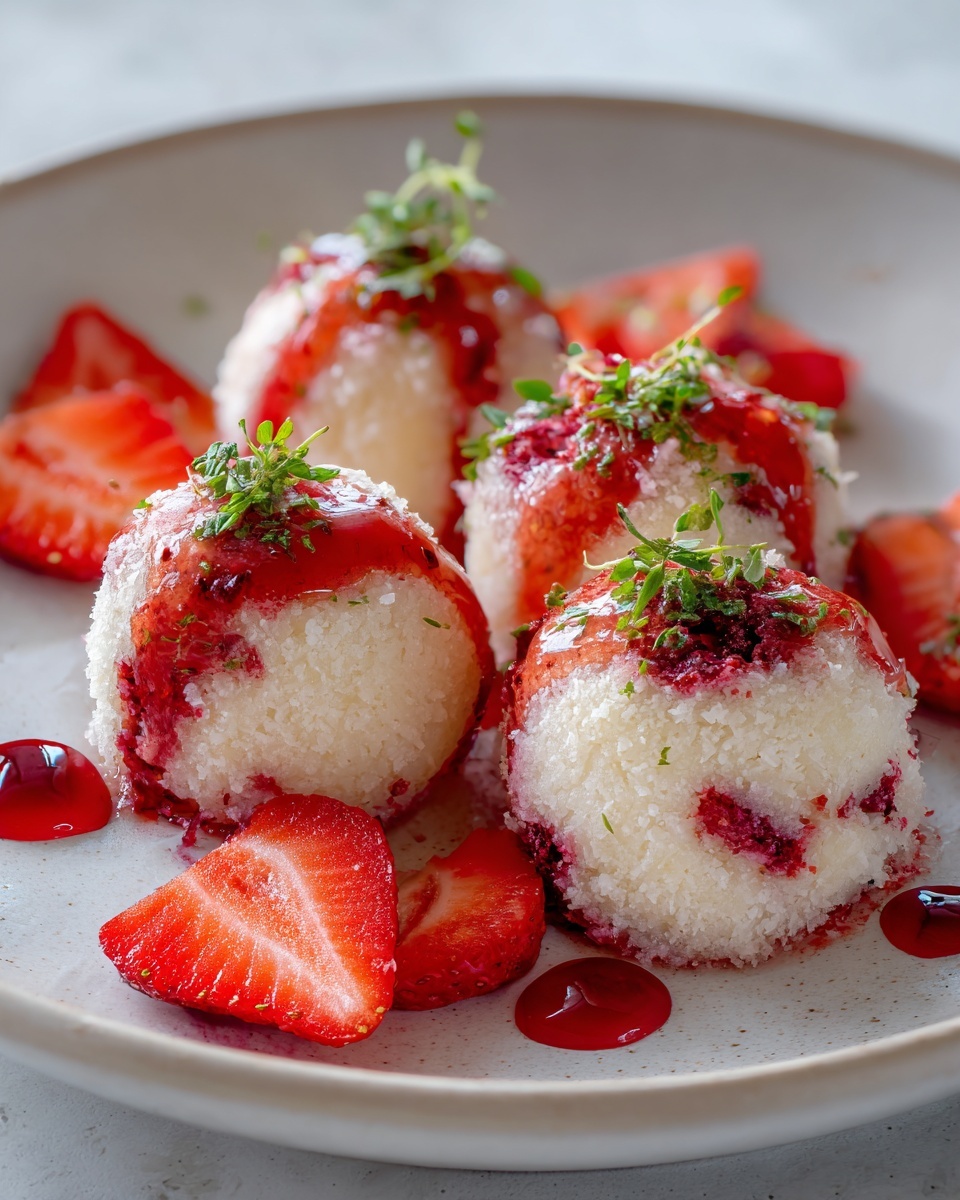
If you’re on the hunt for a delightful treat that satisfies your sweet tooth while fueling your body right, look no further than Strawberry Cheesecake Protein Balls: The Ultimate Healthy Snack Recipe. These little bites pack all the tangy richness of strawberry cheesecake into a convenient, protein-packed snack that’s perfect for any time of day. They’re sweet, creamy, and just the right texture, making them a guilt-free indulgence you’ll want to keep on hand for those mid-afternoon cravings or post-workout refuels.
Ingredients You’ll Need
These ingredients are straightforward and easy to find, but each one plays an important role in building the flavor, texture, and nutritional profile of your Strawberry Cheesecake Protein Balls. Together, they create a balanced snack that’s both energizing and delicious.
- Rolled oats: Provide a hearty base loaded with fiber and a satisfying chew.
- Vanilla protein powder: Adds a boost of protein while bringing a gentle, sweet flavor.
- Freeze-dried strawberries, crushed: Deliver a vibrant strawberry punch with a tangy zing.
- Cream cheese, softened: Creates the creamy cheesecake texture and rich taste.
- Honey or maple syrup: Offers natural sweetness that perfectly balances the tangy notes.
- Coconut oil, melted: Binds ingredients smoothly and adds a hint of tropical flavor.
- Unsweetened almond milk: Lightens the mixture for easy rolling and smooth consistency.
- Vanilla extract: Enhances all the sweet flavors with its fragrant warmth.
- Pinch of salt: Amplifies sweetness and cuts through richness for depth.
- Optional shredded coconut: Adds a fun texture and extra tropical flair when rolling the balls.
How to Make Strawberry Cheesecake Protein Balls: The Ultimate Healthy Snack Recipe
Step 1: Combine Dry Ingredients
Start by tossing together the rolled oats, vanilla protein powder, crushed freeze-dried strawberries, and a pinch of salt in a large bowl. Whisk these ingredients so they’re evenly mixed, setting the foundation for those irresistible cheesecake flavors.
Step 2: Soften the Cream Cheese
To get that creamy texture, make sure your cream cheese is soft but not melted. You can microwave it briefly for about 15-20 seconds if needed, just enough to make it easy to blend without losing that luscious consistency.
Step 3: Add Wet Ingredients
Now, add the softened cream cheese, honey or maple syrup, melted coconut oil, vanilla extract, and almond milk to the bowl with the dry mix. These ingredients will harmonize to create a sticky, flavorful dough that holds together beautifully.
Step 4: Mix It All Together
Stir everything until fully combined. You’re aiming for a mixture that’s homogenous and slightly sticky; this texture is what helps the protein balls keep their shape once rolled.
Step 5: Check Consistency
If your mixture feels too dry and crumbly, add unsweetened almond milk one tablespoon at a time to bring it together. Too wet? Sprinkle in extra rolled oats or protein powder a spoonful at a time until it firms up perfectly.
Step 6: Chill the Dough
Pop the bowl into the refrigerator for 15-20 minutes. Chilling helps the mixture firm up, making it much easier to roll into those perfect little balls.
Step 7: Prepare Your Work Station
If you’re using shredded coconut, pour it into a shallow dish for easy rolling. Also, line a plate or baking sheet with parchment paper to set your finished protein balls on.
Step 8: Roll the Balls
Scoop out roughly a tablespoon of dough at a time and roll it between your palms until smooth and round. Dampening your hands slightly can help prevent sticking and makes the process more enjoyable.
Step 9: Coat with Coconut (Optional)
Roll each ball in the shredded coconut until completely coated for an added layer of flavor and texture. Press gently to ensure the coconut adheres well.
Step 10: Place on Baking Sheet
Arrange your rolled protein balls on the prepared baking sheet, leaving a little space between each to avoid sticking.
Step 11: Final Chill
Refrigerate the tray for at least 30 minutes to let the balls set fully. This step intensifies the cheesecake vibe and firms up their texture.
Step 12: Storing
Once set, transfer your Strawberry Cheesecake Protein Balls: The Ultimate Healthy Snack Recipe to an airtight container. They’ll stay fresh in the fridge for up to a week or can be frozen for up to a month.
How to Serve Strawberry Cheesecake Protein Balls: The Ultimate Healthy Snack Recipe
Garnishes
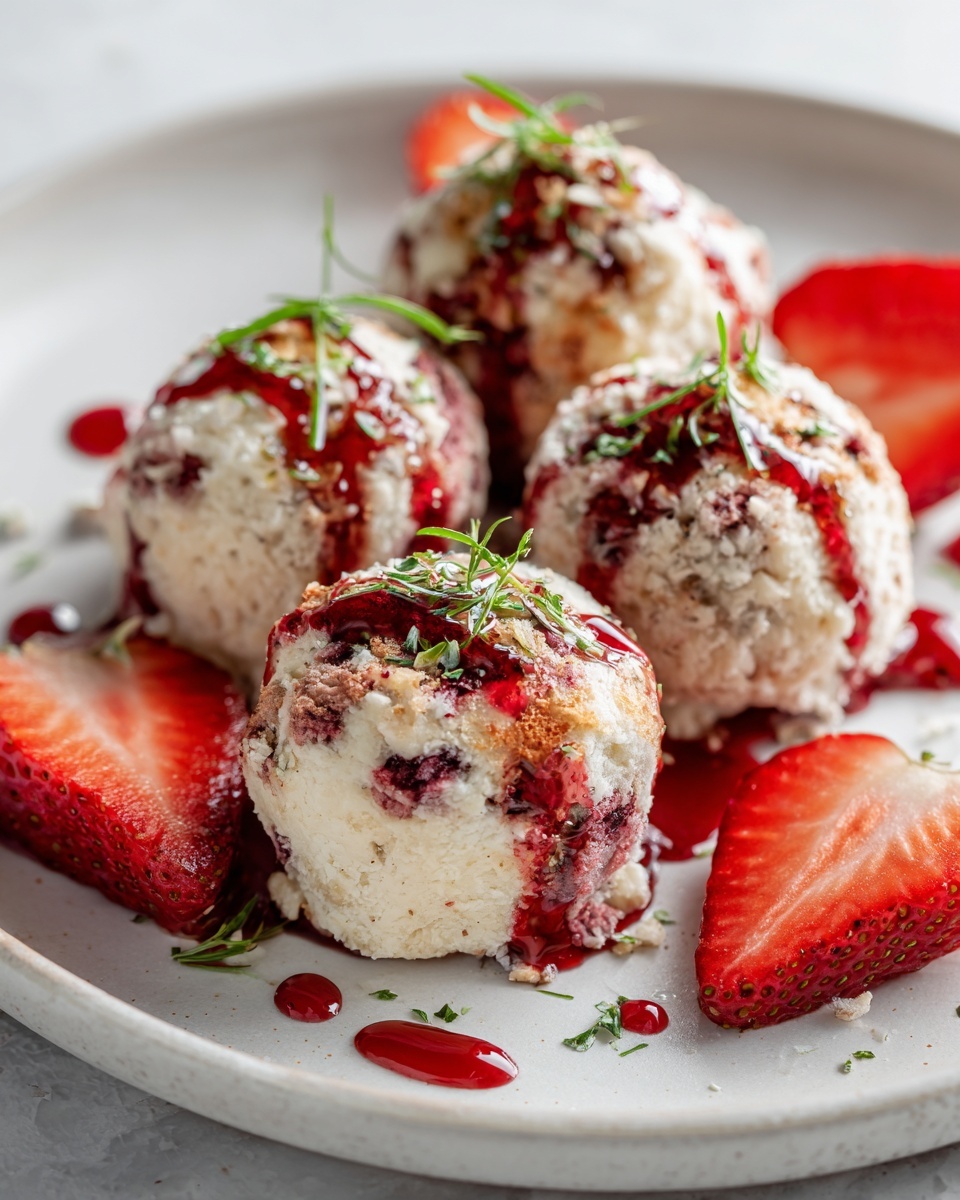
Sprinkle with extra crushed freeze-dried strawberries or a dusting of shredded coconut for added visual appeal and an extra hint of flavor. A fresh strawberry sliced on top can also make them feel like a special treat.
Side Dishes
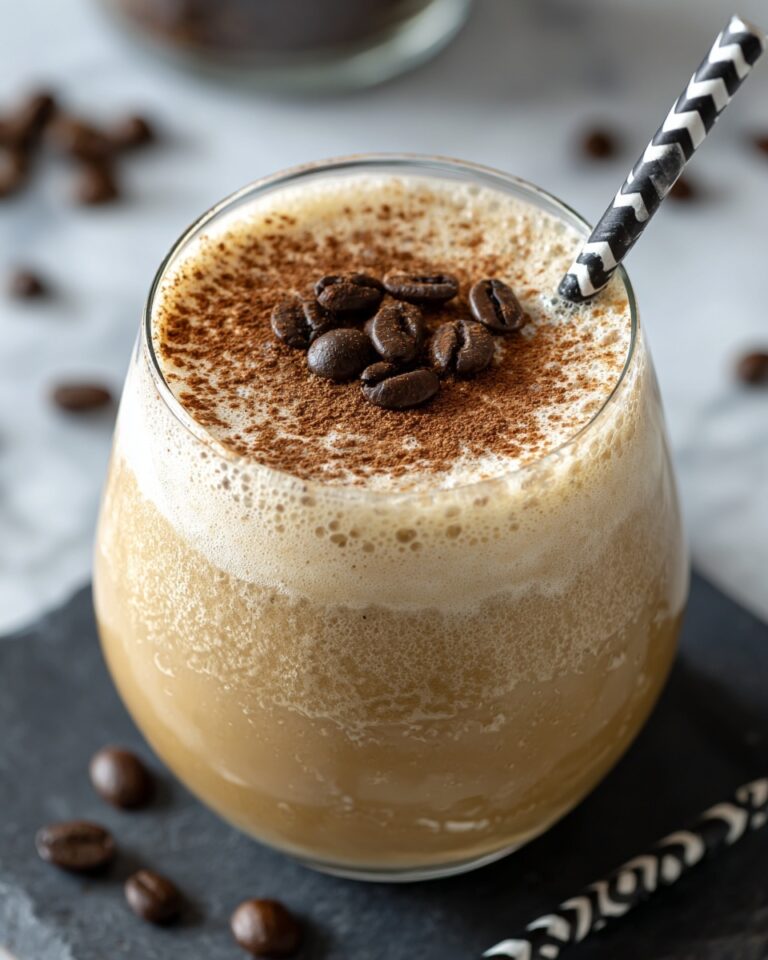
Pair these protein balls with a cup of green tea or a refreshing smoothie to balance the creamy richness with light, hydrating flavors. They also complement a bowl of fresh berries perfectly for a wholesome snack platter.
Creative Ways to Present
Serve these in small glass jars layered with Greek yogurt and fresh fruit for a stunning grab-and-go breakfast cups. Or thread them onto skewers with pieces of strawberries for fun party bites that everyone will love.
Make Ahead and Storage
Storing Leftovers
Keep your protein balls in an airtight container in the fridge to maintain their freshness and texture. They hold up beautifully for up to a week, making them perfect for meal prep or snack planning.
Freezing
If you want to prepare ahead or keep a stash handy, freeze the protein balls in a single layer on a baking sheet, then transfer them to a container or freezer bag. They’ll last for about a month and thaw quickly in the fridge.
Reheating
Since these are best enjoyed cool or at room temperature, no actual reheating is needed. Simply thaw frozen balls in the fridge overnight or for a few hours at room temperature before enjoying.
FAQs
Can I use other protein powders?
Absolutely! The recipe works well with whey, plant-based, or any vanilla-flavored protein powder you prefer. Just make sure it’s a type that blends smoothly for the best texture.
Are the Strawberry Cheesecake Protein Balls gluten-free?
They can be, if you use certified gluten-free rolled oats and protein powder. Always check your ingredient labels to keep them gluten-free.
Can I substitute cream cheese?
For a dairy-free option, try using vegan cream cheese. It will change the flavor slightly but still delivers that creamy cheesecake feel.
How long do these protein balls last?
Stored properly in the refrigerator, they will stay fresh for up to a week, making them ideal for snack prep and quick bites throughout the week.
Can children eat these protein balls?
Yes! They’re a kid-friendly snack packed with nutritious ingredients. Just be mindful of any allergies to dairy, nuts, or gluten depending on your ingredient choices.
Final Thoughts
There’s nothing quite like a snack that tastes indulgent yet fuels your body well, and these Strawberry Cheesecake Protein Balls: The Ultimate Healthy Snack Recipe fit perfectly into that category. I hope you enjoy making and eating them as much as I do, and that they bring a little extra joy and energy to your day whenever you need it!
Print
Strawberry Cheesecake Protein Balls: The Ultimate Healthy Snack Recipe
- Prep Time: 15 minutes
- Cook Time: 0 minutes
- Total Time: 45 minutes
- Yield: 15 servings
- Category: Snack
- Method: No-Cook
- Cuisine: American
- Diet: Low Fat
Description
Delicious and nutritious Strawberry Cheesecake Protein Balls that combine the flavors of strawberries and creamy cheesecake with a protein-packed boost. These no-bake, easy-to-make snacks are perfect for a healthy treat any time of day, offering a perfect balance of oats, protein powder, and natural sweeteners with a creamy texture from cream cheese.
Ingredients
Dry Ingredients
- 1 cup rolled oats
- 1/2 cup vanilla protein powder (whey or plant-based)
- 1/4 cup freeze-dried strawberries, crushed
- Pinch of salt
Wet Ingredients
- 1/4 cup cream cheese, softened
- 2 tablespoons honey or maple syrup
- 1 tablespoon coconut oil, melted
- 1/4 cup unsweetened almond milk (or any milk)
- 1/4 teaspoon vanilla extract
Optional Coating
- 1/4 cup shredded coconut for rolling
Instructions
- Combine Dry Ingredients: In a large mixing bowl, add the rolled oats, vanilla protein powder, crushed freeze-dried strawberries, and a pinch of salt. Whisk everything together to ensure even distribution of all the dry elements.
- Soften Cream Cheese: Make sure your cream cheese is softened for easy mixing. If needed, microwave it for 15-20 seconds but be careful not to melt it completely, as this will affect the texture.
- Add Wet Ingredients: Add the softened cream cheese, honey or maple syrup, melted coconut oil, vanilla extract, and almond milk to the bowl with the dry ingredients.
- Mix it All Together: Stir all the ingredients thoroughly until you have a fairly uniform and slightly sticky mixture. This ensures that each protein ball will hold together well.
- Check Consistency: If the mixture feels too dry and crumbly, gradually add almond milk one tablespoon at a time until it reaches a sticky, rollable consistency. If too wet, add extra rolled oats or protein powder one tablespoon at a time to absorb excess moisture.
- Chill the Dough: Place the mixture in the refrigerator and chill for 15-20 minutes. This firms up the dough, making it easier to handle.
- Prepare Work Station: If you’re using shredded coconut for coating, pour it into a shallow dish. Line a plate or baking sheet with parchment paper where you will place the formed balls.
- Roll the Balls: Using about a tablespoon of mixture at a time, roll it between your palms to form smooth, round balls. Slightly dampen your hands if the mixture sticks too much.
- Coating (Optional): Roll each protein ball in shredded coconut until fully coated. Press gently so the coconut adheres well to the surface.
- Place on Baking Sheet: Lay the finished protein balls on the lined baking sheet spaced apart to avoid sticking together.
- Final Chill: Refrigerate the protein balls on the baking sheet for at least 30 minutes to fully set and firm up before serving.
- Storing: Store in an airtight container in the refrigerator for up to one week. For longer storage, freeze the balls for up to one month and thaw in the refrigerator before eating.
Notes
- Use plant-based protein powder to make this recipe vegan-friendly, but omit cream cheese or substitute with vegan cream cheese for a fully vegan option.
- Freeze-dried strawberries add intense flavor without moisture; avoid fresh strawberries as they will make the mixture too wet.
- Honey can be replaced with maple syrup to keep the recipe vegan.
- Adjust sweetness and protein powder according to your taste and dietary needs.
- Protein balls are great as a grab-and-go snack, quick breakfast, or post-workout fuel.
- Chilling times are important to get the right texture for rolling and coating.

